DevOps - Lab 1: Installing & Configuring Git
Installing & Configuring Git
In Lab 1: Installing & Configuring Git, participants typically focus on the foundational steps of setting up Git, a widely used version control system. The lab involves the installation of Git on the local machine and configuring essential parameters such as user name and email address. Participants may also explore basic Git commands to initiate a new repository, commit changes, and manage version history. This introductory lab aims to familiarize participants with the initial steps required to establish a Git environment, laying the groundwork for efficient and collaborative software development practices. Successful completion of this lab provides participants with the fundamental skills to start utilizing Git for version control in their coding projects.
Lab:
Step 1: Create a Github Account
GitHub, Inc. is a United States based global company that provides hosting for software development and version control using Git. It has been a subsidiary of Microsoft since 2018. It offers the distributed version control and source code management (SCM) functionality of Git, plus its own features. It provides access control and several collaboration features such as bug tracking, feature requests, task management, and wikis for every project.
GitHub offers its basic services free of charge. Its more advanced professional and enterprise services are commercial. Free GitHub accounts are commonly used to host open-source projects.
Go to https://github.com and click on Sign up for GitHub

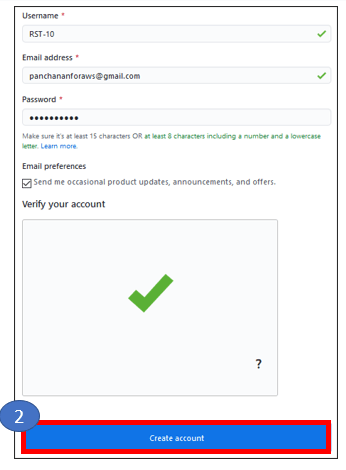
Provide with your details – username, email address, password & click on Create Account
Step 2: Create a Repository
Click on Create a new repository

Create a Public Repository by name centralrepo

Step 3: Launch two EC2 instances in two regions (Mumbai & London). Run below commands in both machines
sudo su -
yum update –y
yum install git –y
git –-version
git config –-global user.name “Ram/Shyam”
git config –-global user.email "ram/shyam@gmail.com"
git config --list
git remote add origin https://github.com/RST-10/centralrepo.git
Step 4: Git Commands in Mumbai EC2
Create Directory & go inside that
mkdir mumbaigit
cd mumbaigit
git init  .                       (to initialize git)
Create new file, see status, put in staging area & commit into local repo
touch myfile  (put some content)
git status
git add .
git commit -m "1st commint from Mumbai"
git log
git show <commit-id>
git push origin master
Step 5: Git Commands in London EC2
Create directory & go inside that
mkdir londongit
cd londongit
git init  (to initialize git)
git remote add origin <centralgit repo url>
git pull origin master
git log
git show <commit-ID>
cat >> file1  (append with some content)
git status
git add .
git commit –m “1st commit from London”
git push –u origin master
Step 6: Git Log
Git log options
git log
git log –1
git log --oneline
To pic commit based on commit message
git log --grep “any word of commit msg”
To see the content of particular commit
git show <commit-ID>
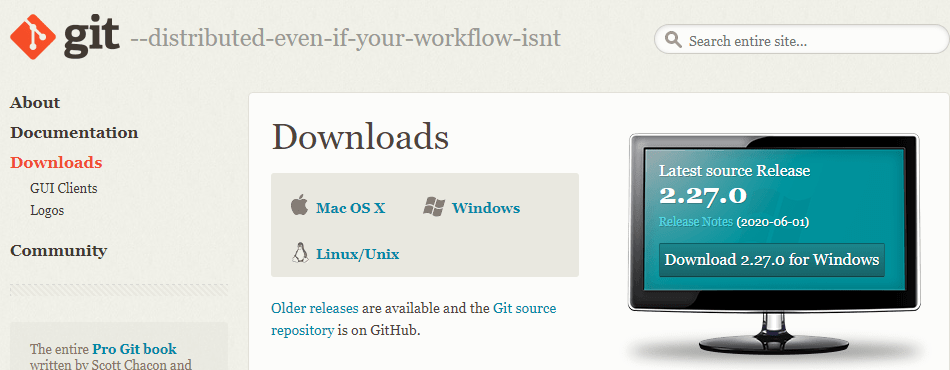
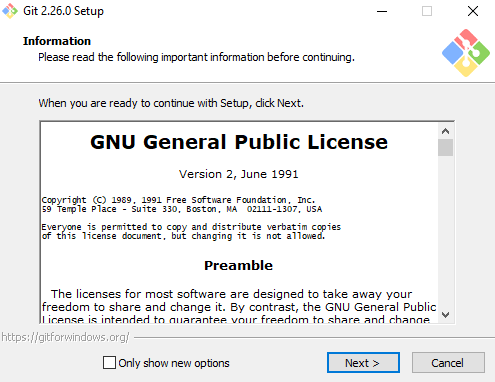
Installing Git on Windows
- Go to the browser and search for https://git-scm.com/downloads and click on Download 2.27.0 for windows
- Follow the installations steps, Click Next
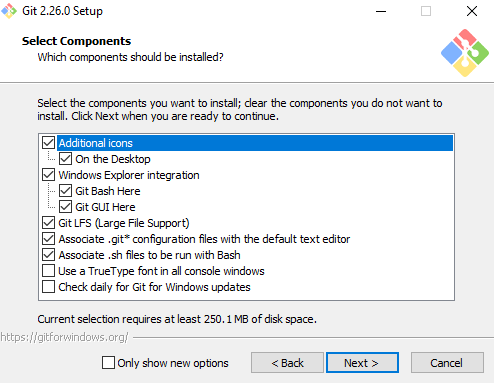
- Check the Additional icons and click on Next
- Click Next

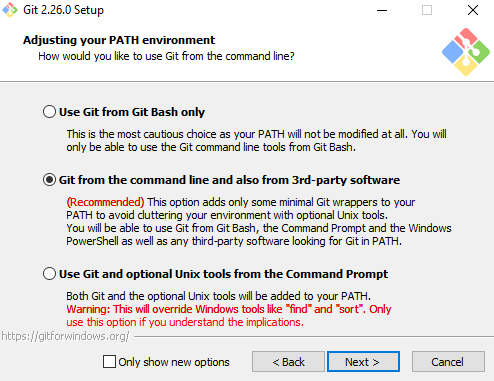
- Leave it by default (Git from the command line and also from 3rd party software) Click Next
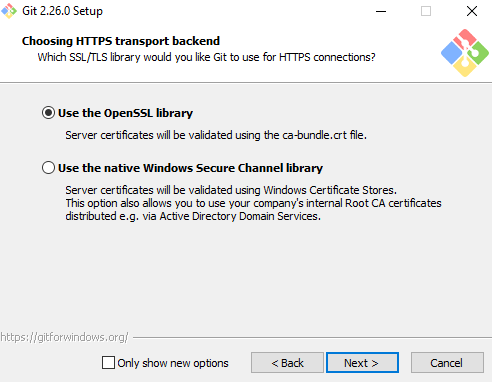
- Leave it by default (Use the OpenSSL library) Click Next
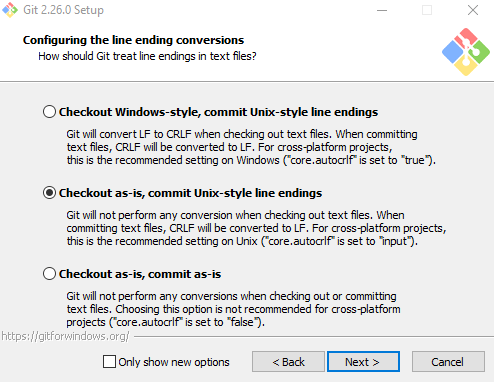
- Leave it by default (Checkout as-is, commit Unix-style line endings) Click Next
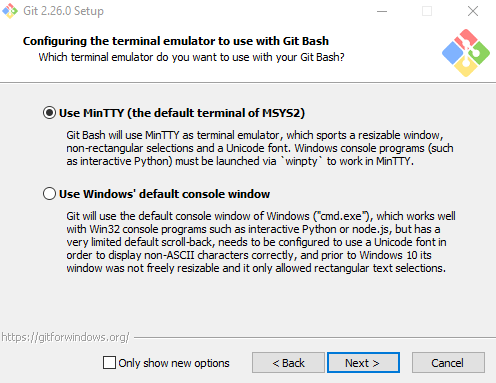
- Leave it by default (Use MinTTY) Click Next
- Leave it by default (Enable file system caching, Enable Git Credential Manager) Click Install

- Verification: Open Command prompt and check the version of git
