NSO Lab 5: Configuring Device using NSO GUI Mode
Configuring Device using NSO GUI Mode
In Lab 5: Configuring Device using NSO GUI Mode, participants typically shift their focus to the graphical approach of configuring network devices within the Cisco Network Services Orchestrator (NSO) environment. This lab involves tasks such as accessing the NSO GUI, navigating through the interface to define and modify device configurations visually, and applying changes using the graphical tools provided. Participants may take advantage of the NSO GUI's intuitive features to streamline the configuration process and validate changes in real-time. The lab aims to provide hands-on experience in leveraging NSO's GUI mode for device configuration, allowing participants to explore a more visual and user-friendly interface for orchestrating network devices. Successful completion of Lab 5 equips participants with practical skills in configuring devices through the NSO GUI, enhancing their capabilities in network automation and orchestration using a graphical workflow.
Lab:
Task 1: Use NSO GUI to Configure Device:
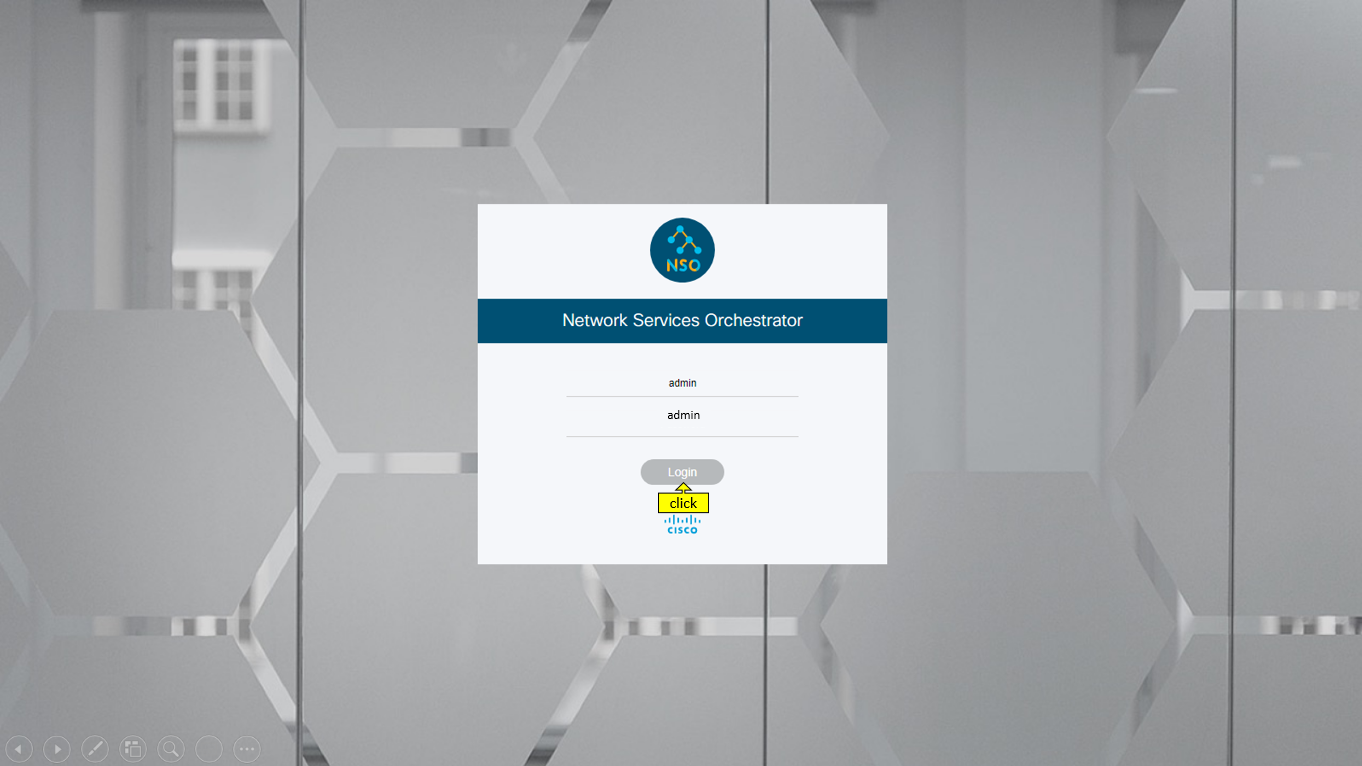
Step 1: Access the web browser and type http://127.0.0.1:8080 to open the NSO GUI. Type username= admin and password= admin to log into the NSO GUI:
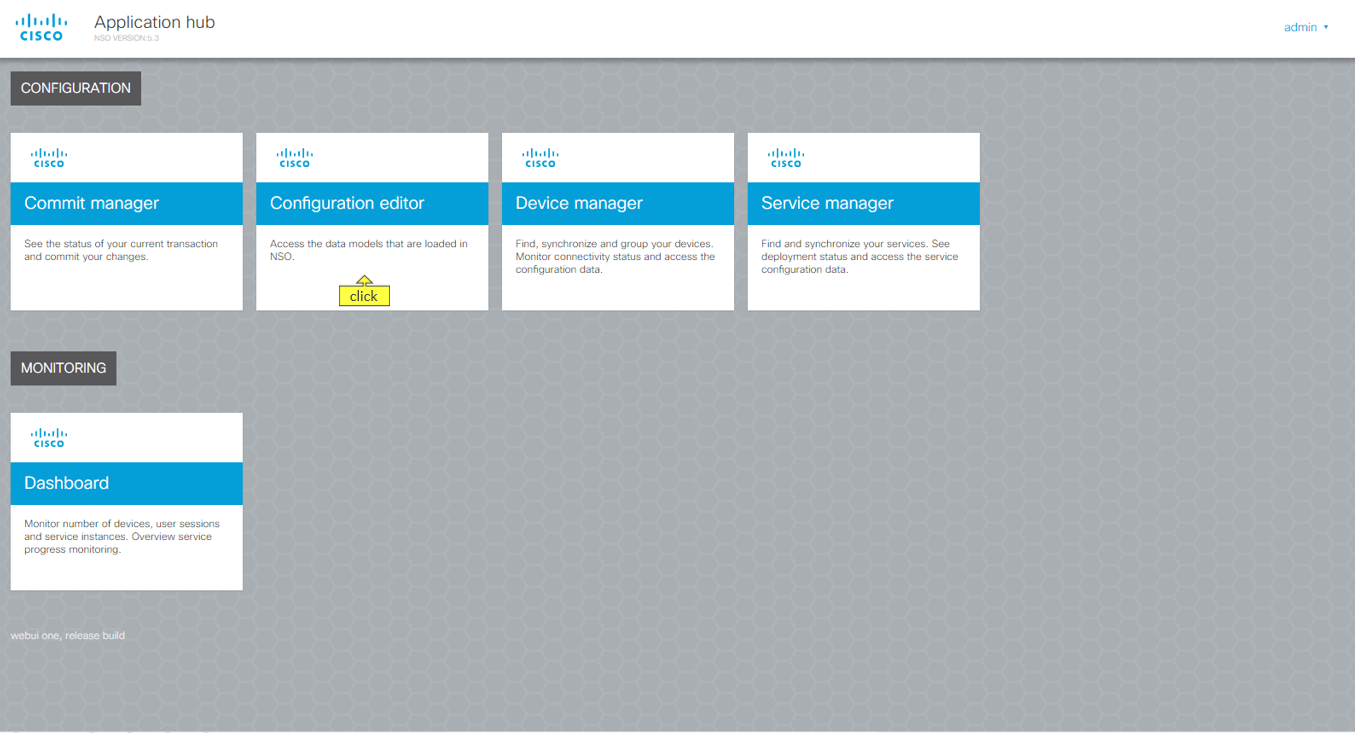
NSO GUI opens up an application hub from where we can configure and monitor, devices and services.
Click on Device Manager to open Device Manager Page to list all managed devices and access the configuration data
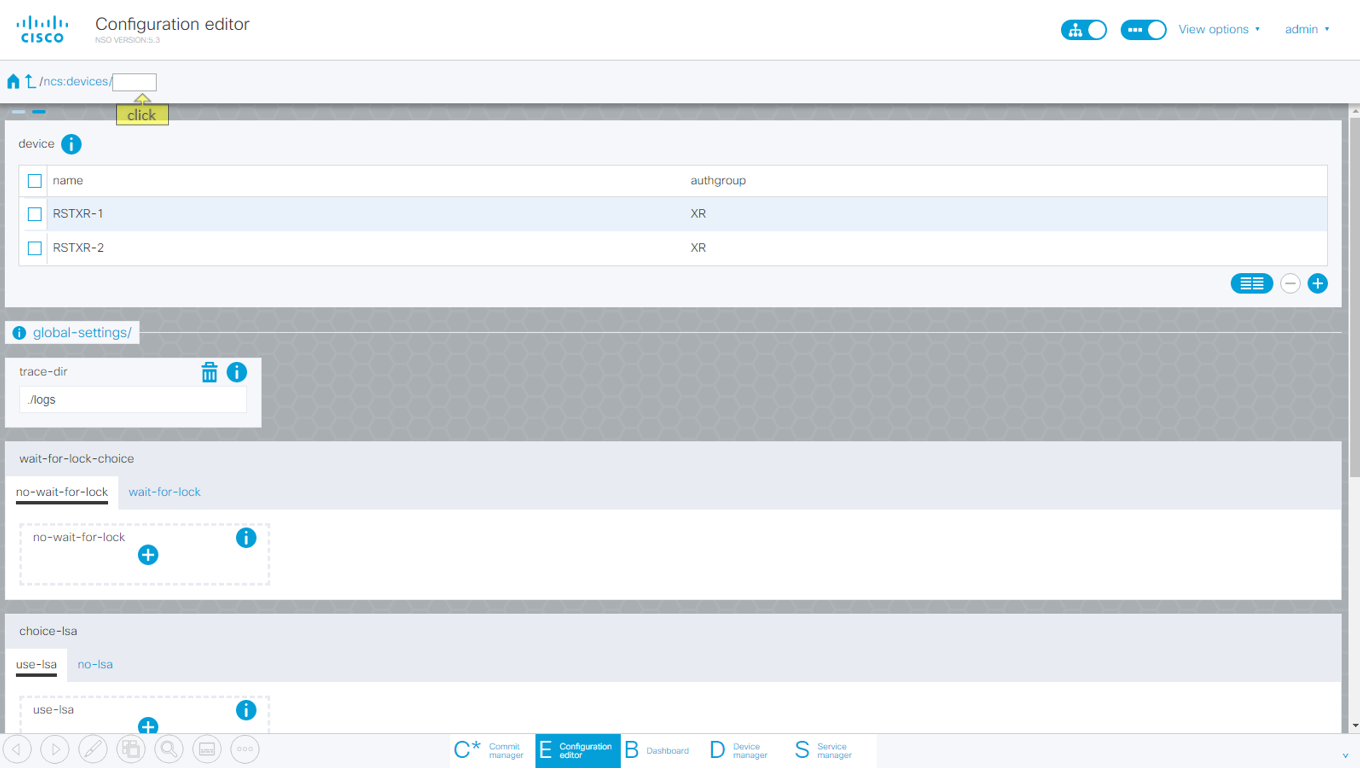
Step 2: Click on configuration editor to configure new device:
The configuration editor page lists all packages and Modules that are loaded in NSO. Let us use the devices module to add a new device.
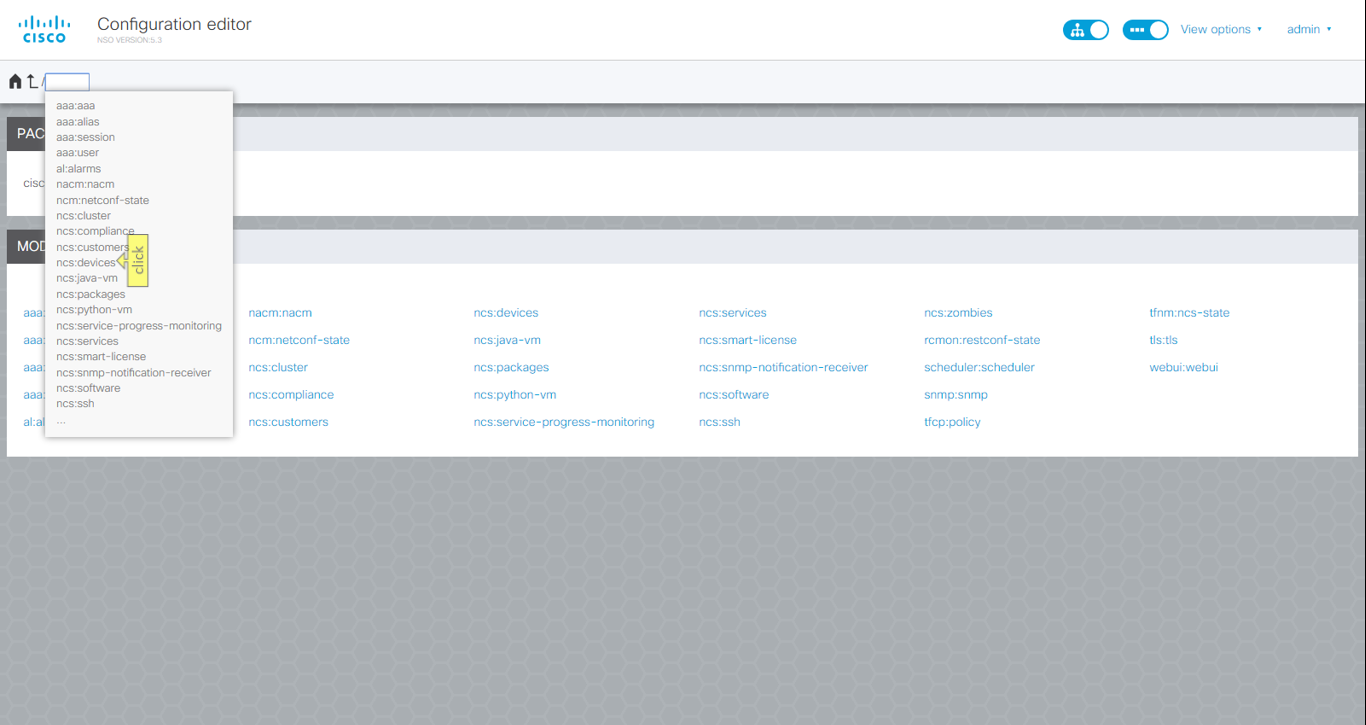
Step 3: Click on top-left empty box to select the option:
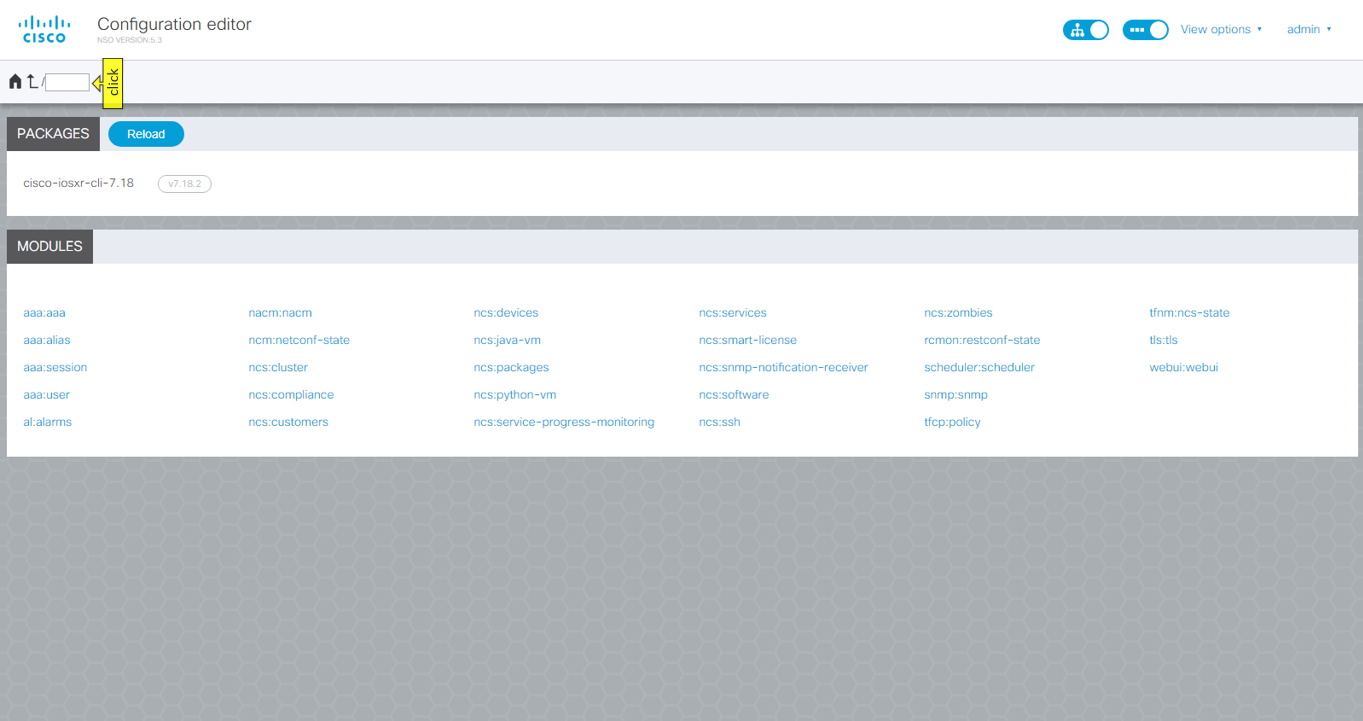
Now we can see the list of options, from there click on ncs:devices for selecting one of the devices to be configured.
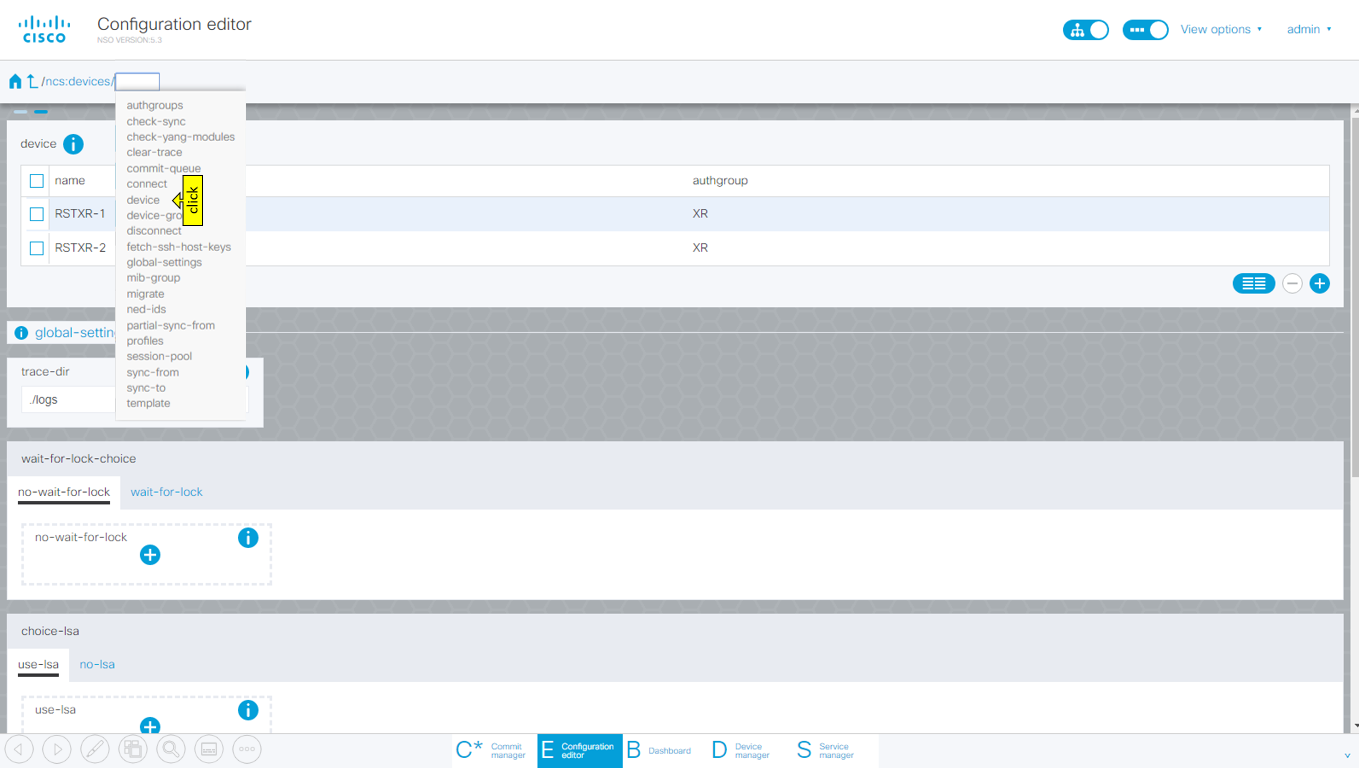
Step 4: Click on top-left empty box to select the option:
Now we can see the list of options, from there click on device for selecting one of the devices to be configured.
Step 5: Select RSTXR-2 as device:

Step 6: Click on top-left empty box to select the option:
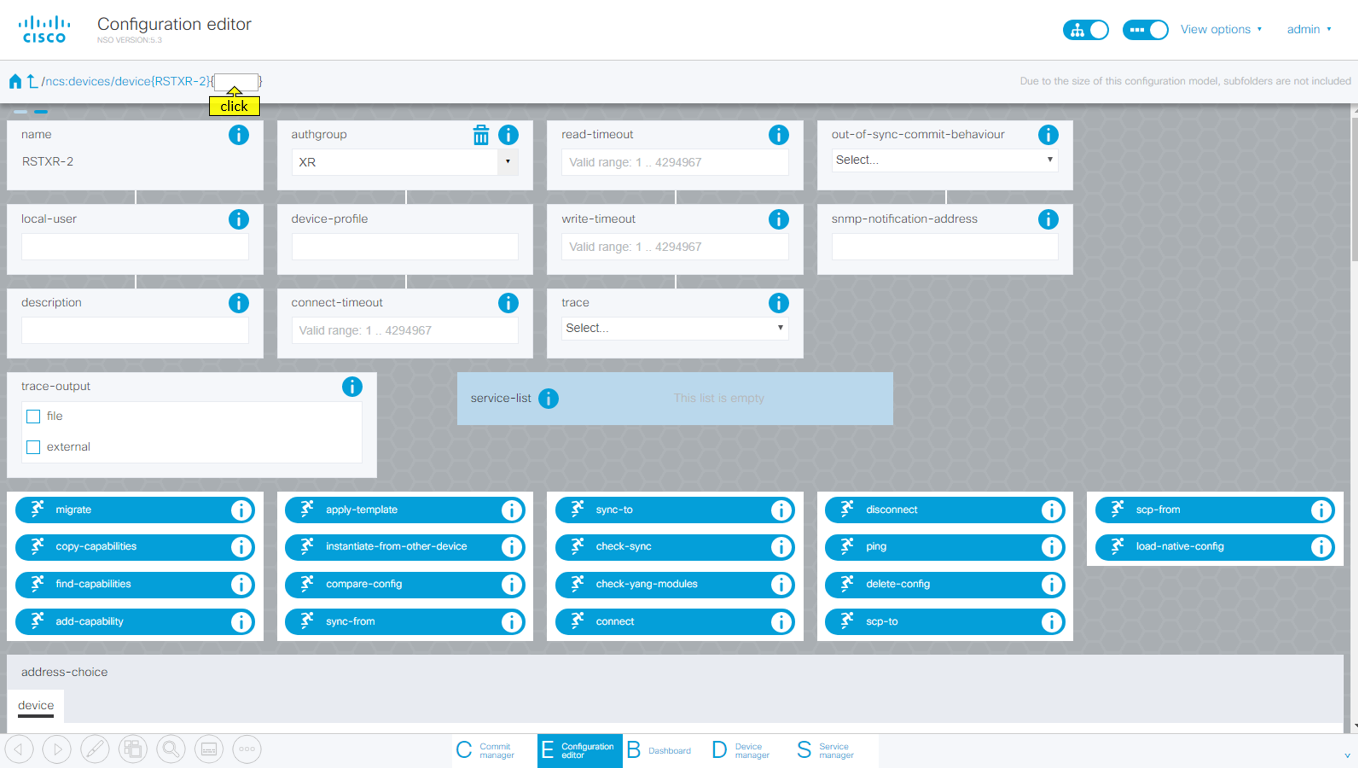
Now we can see the list of options, from there click on config

Step 7: Click on cisco-iosxr:interface/
Scroll the page down to click on cisco-iosxr:interface/

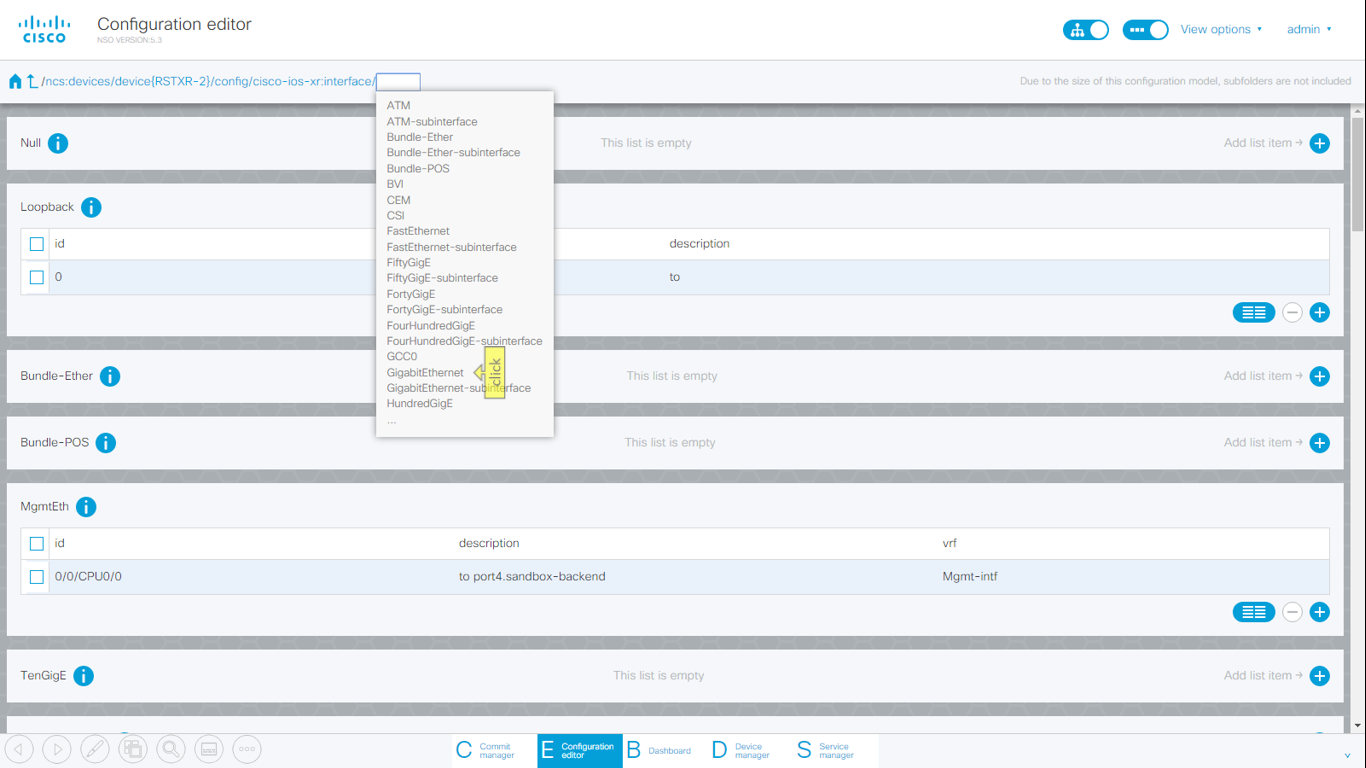
Step 8: Select GigabitEthernet to configure the interfaces:
Click on the empty box which comes after cisco-ios xr:interface/ to select GigabitEthernet
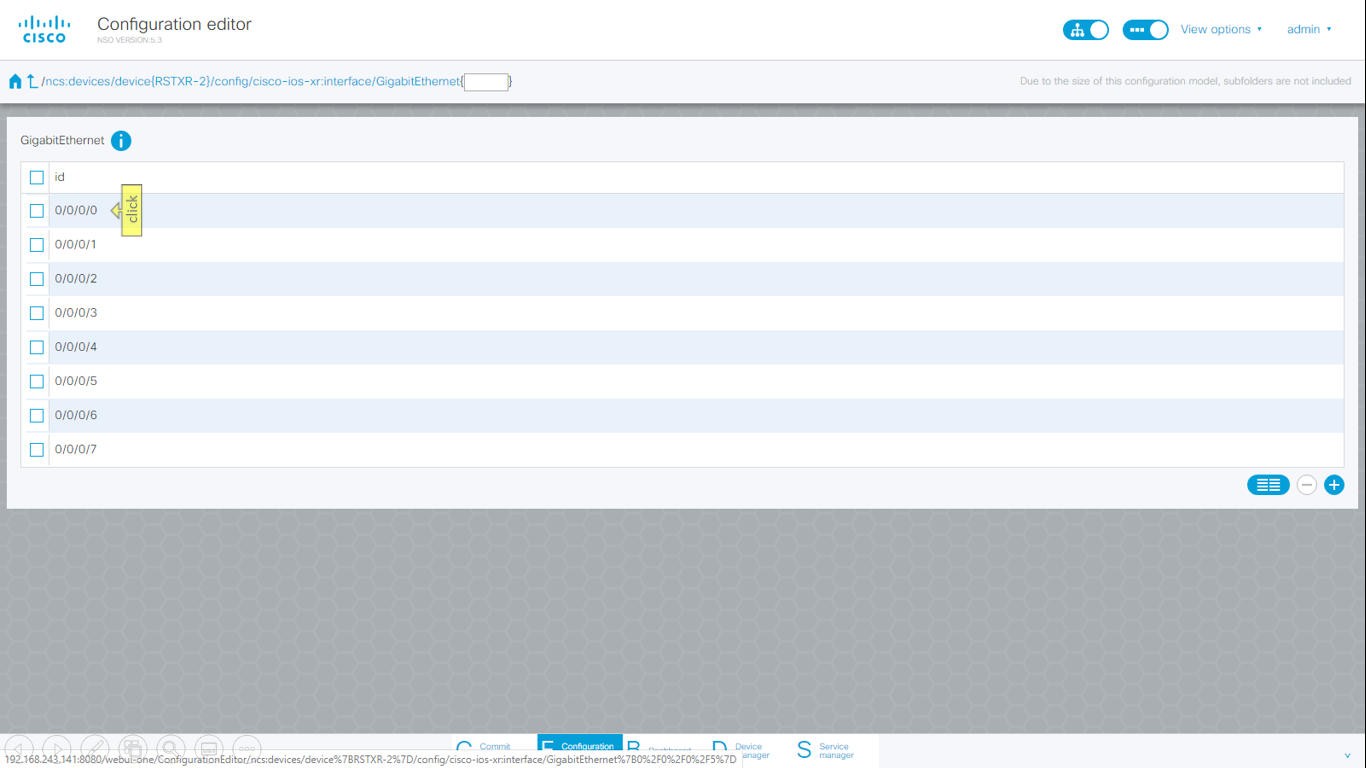
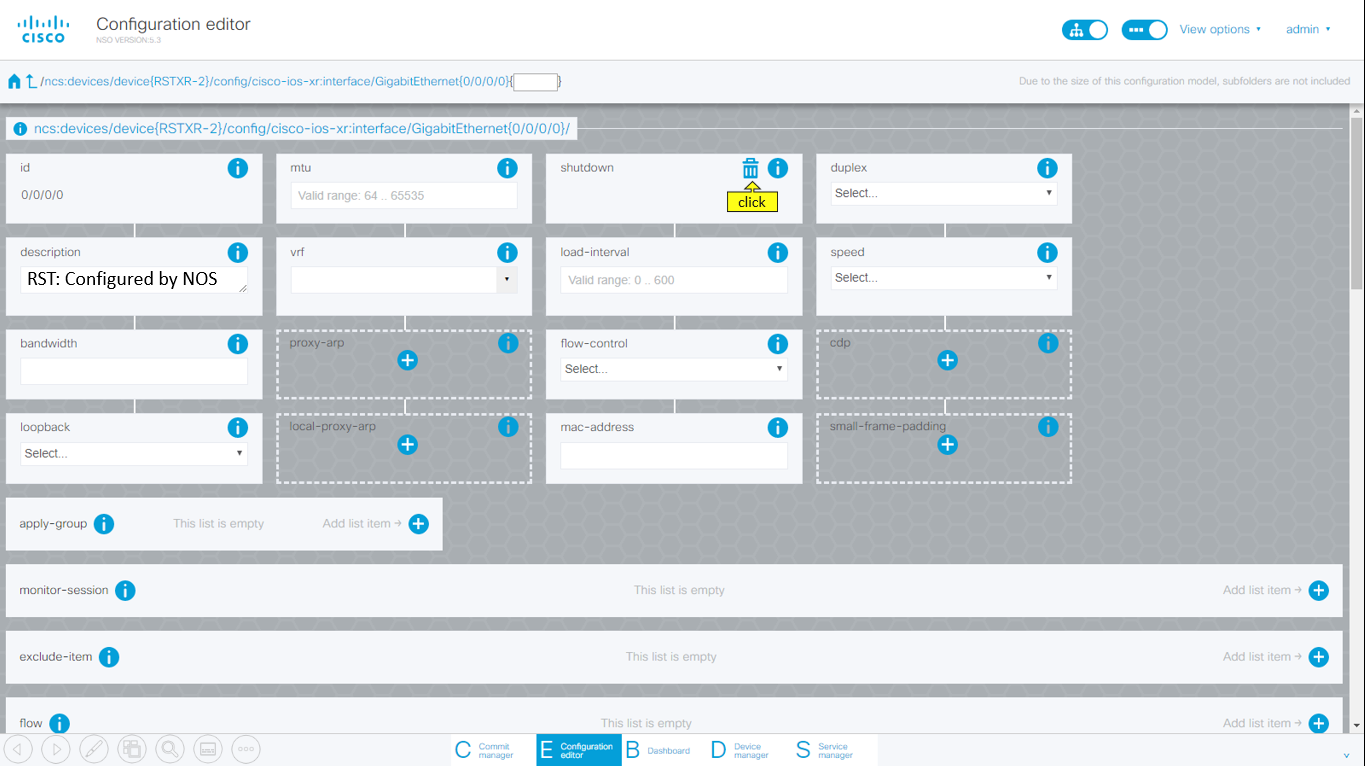
Step 9: Select 0/0/0/0 interface to configure IPv4 address:
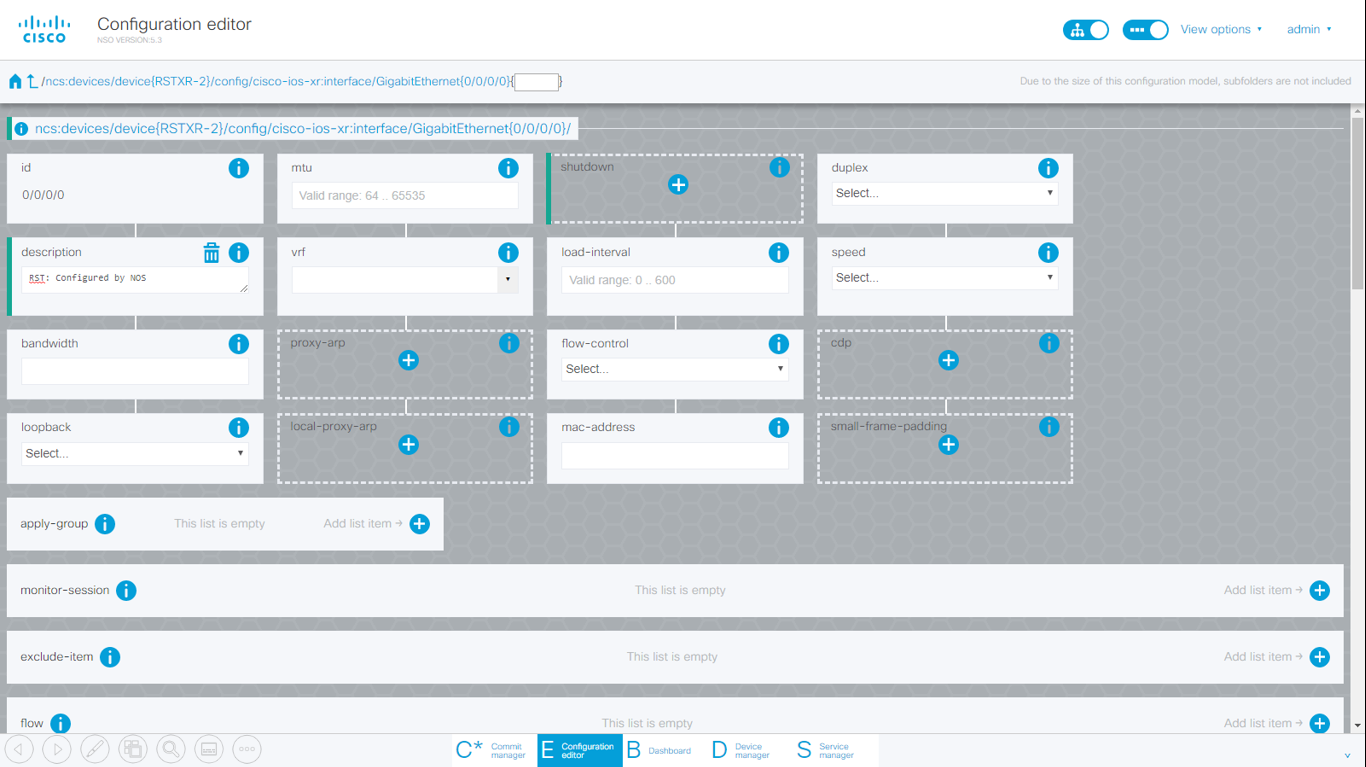
Delete the shutdown configuration by clicking on the delete icon as shown below:
After deleting the shutdown configuration, we will see a similar page as shown below:
Step 10: Click on IPv4/ to configure IP address:
Scroll the page down and click on IPv4/ to configure IPv4 Parameters
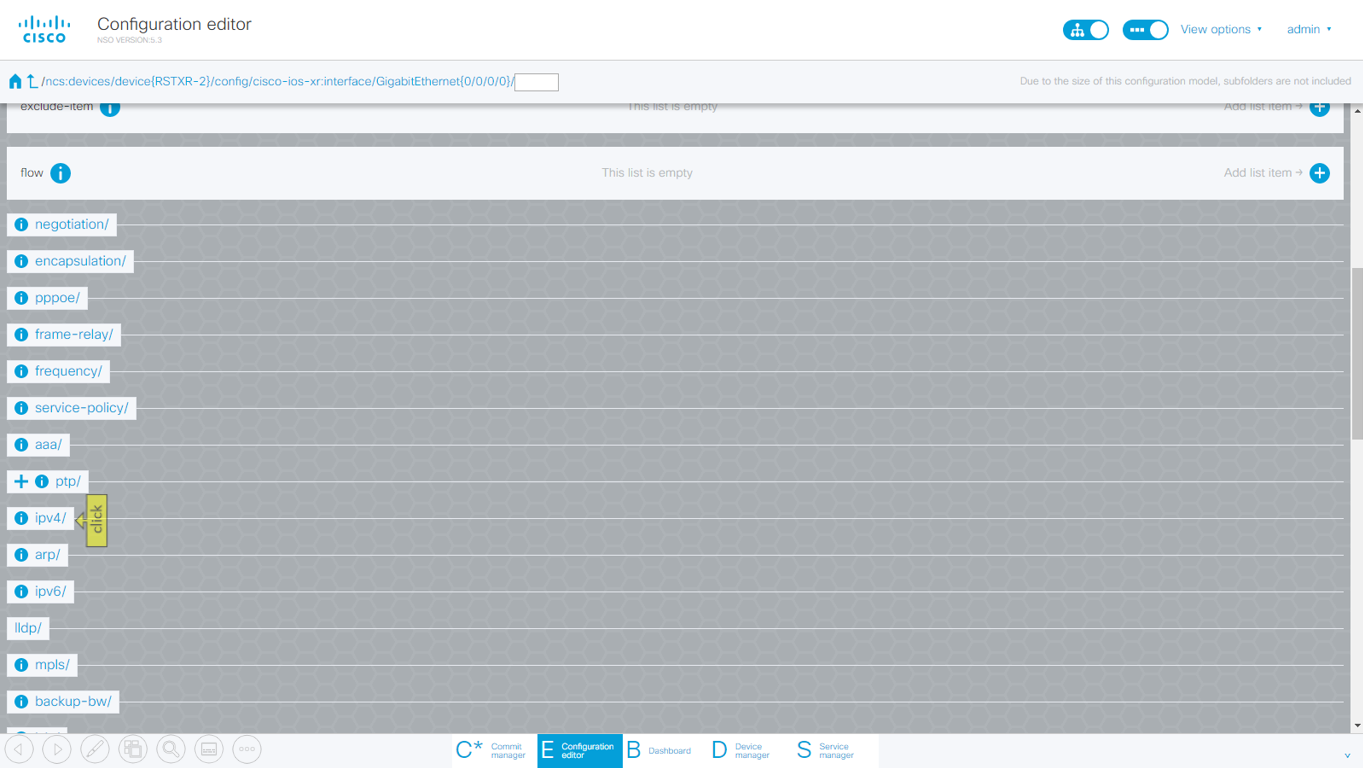
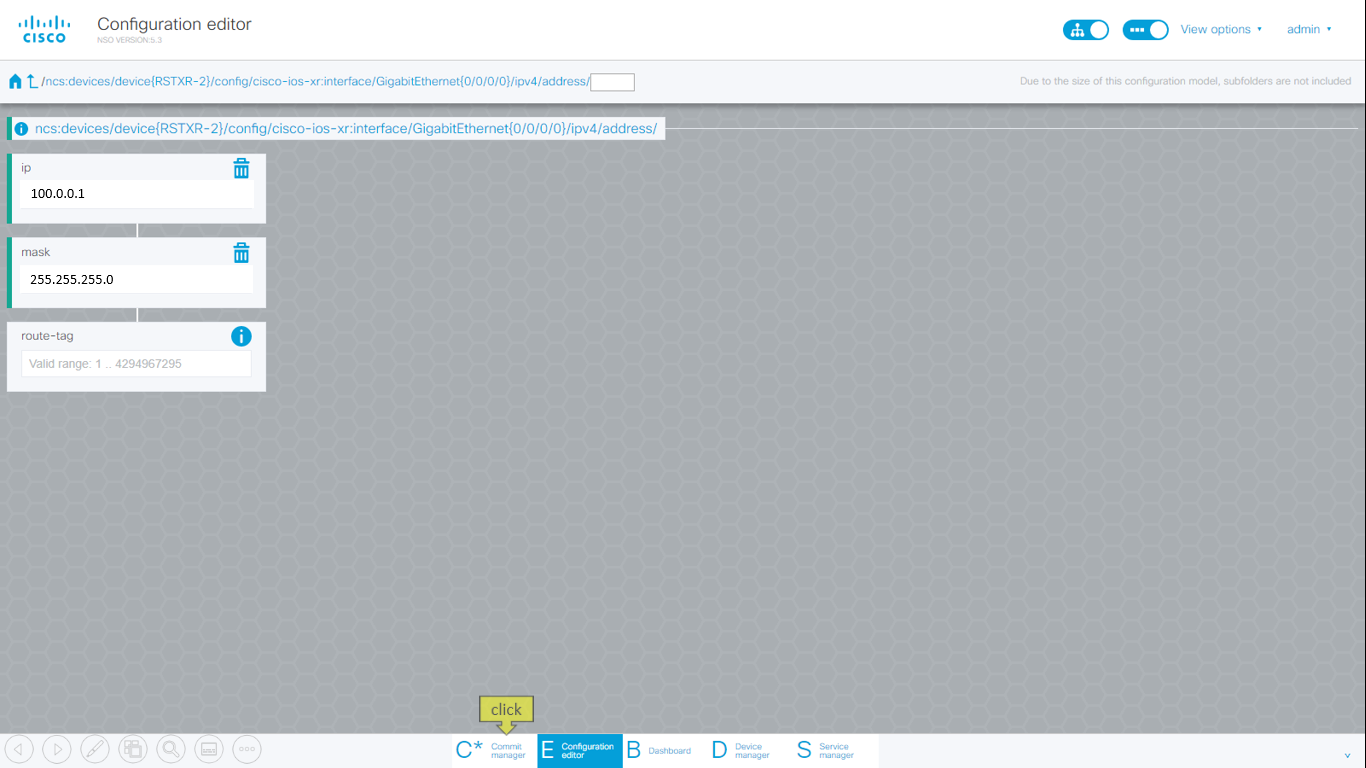
Click on address/

Now confiure the IP address as 100.0.0.1 and subnet mask as 255.255.255.0
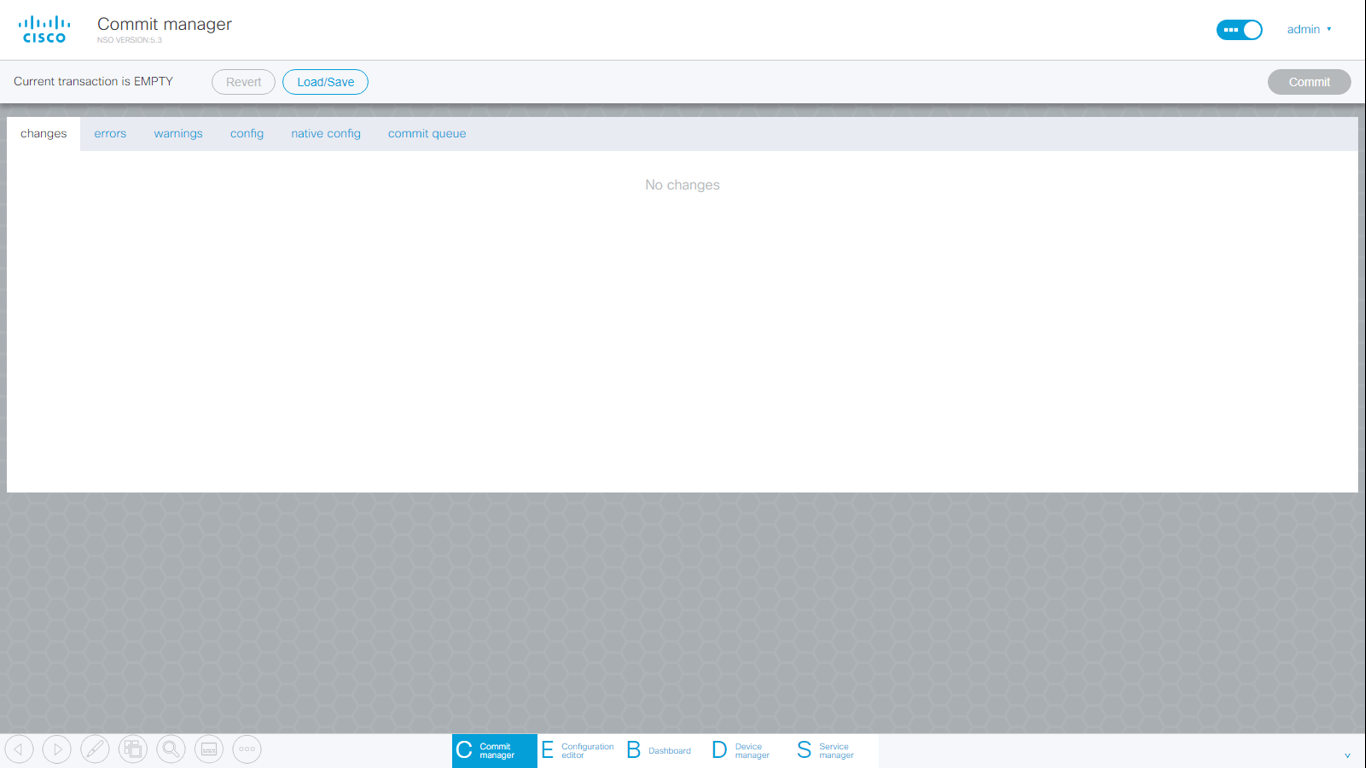
After configuring the IP address click on commit manager
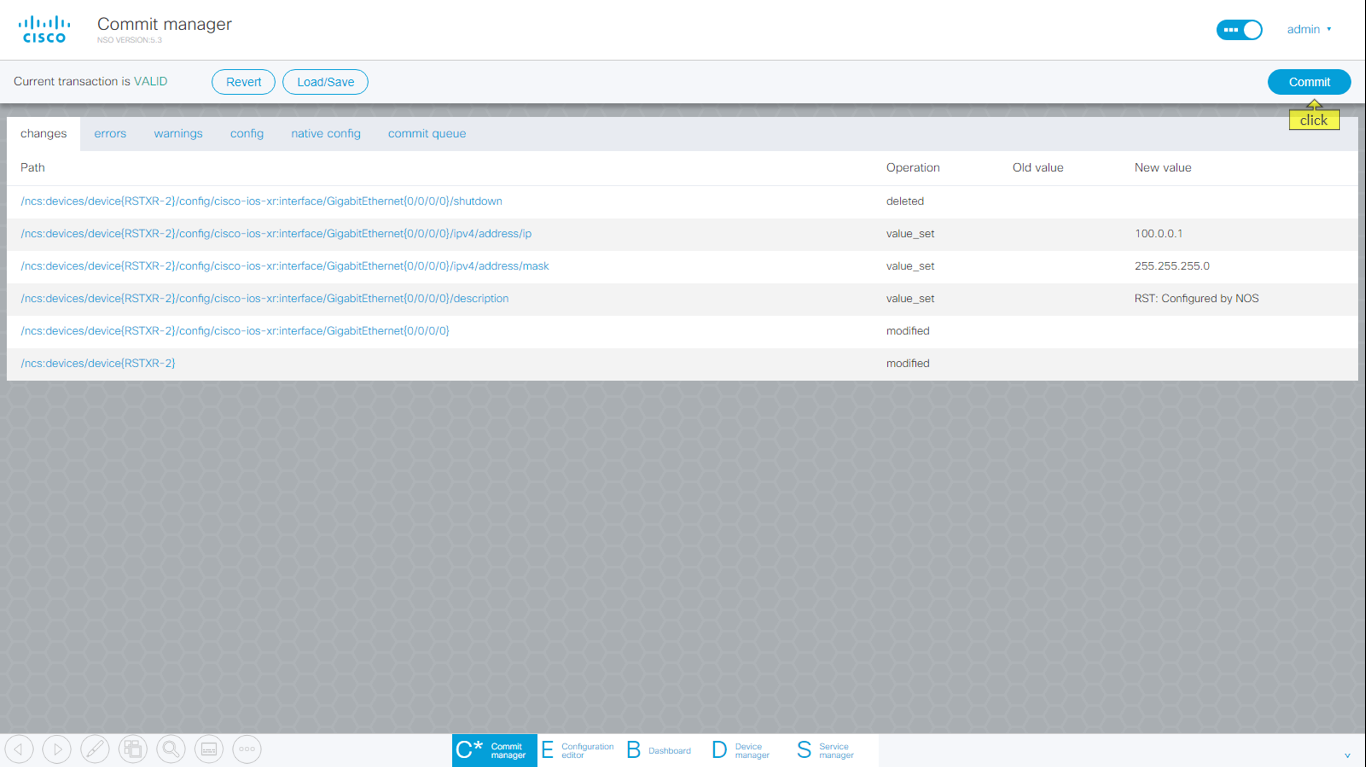
Step 11: Click on top-right commit button to commit changes to NSO:
When asked to confirm commit, say yes
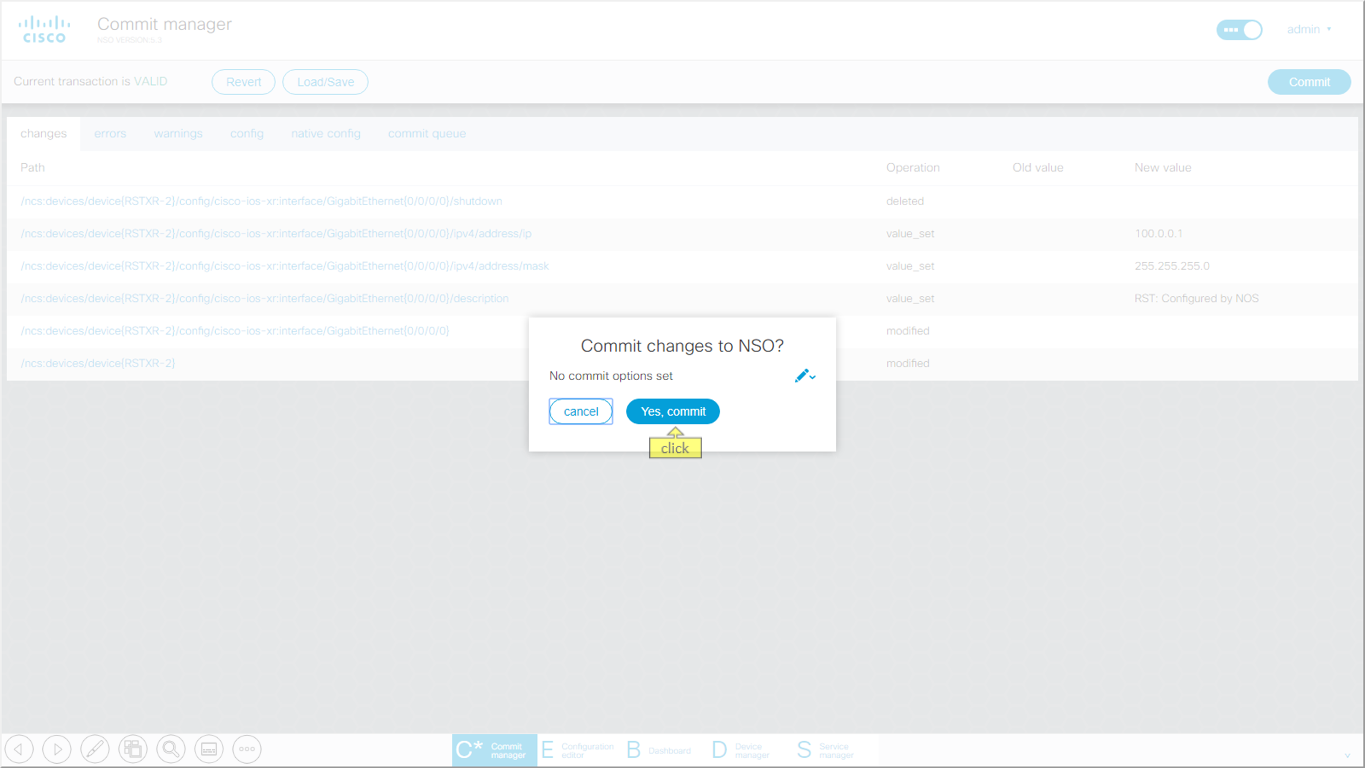
Now we can see that all the changes we made are commited to NSO