Microsoft Lab 9 – WDS (Wireless Distribution System)
Windows Deployment Services (WDS)
In Lab 9 - Windows Deployment Services (WDS), participants typically focus on deploying and managing operating system images across a network using WDS in a Windows Server environment. This lab involves tasks such as installing and configuring the WDS server role, creating and managing boot and install images, and setting up deployment options. Participants may explore advanced configurations such as multicast deployments and customizing images for specific deployment scenarios. The lab aims to provide hands-on experience in utilizing WDS for efficient and scalable operating system deployment, enabling participants to streamline the provisioning of Windows operating systems across multiple machines. Successful completion of Microsoft Lab 9 equips participants with practical skills in deploying and managing Windows images using WDS, contributing to a more automated and standardized operating system deployment process.
Lab:
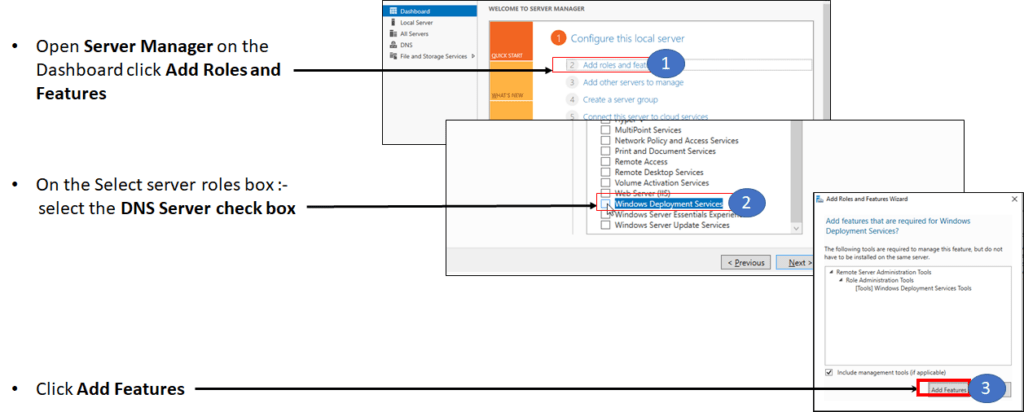
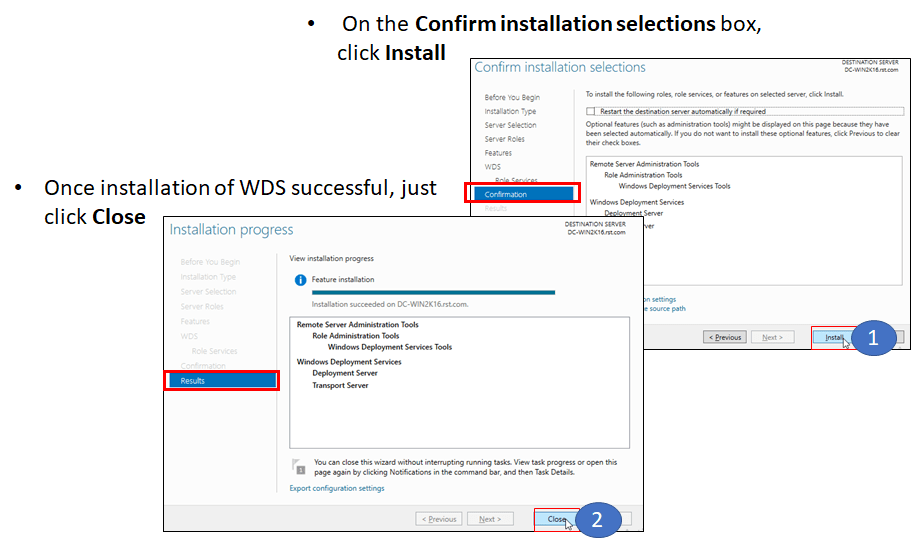
Adding WDS Role using Server Manager


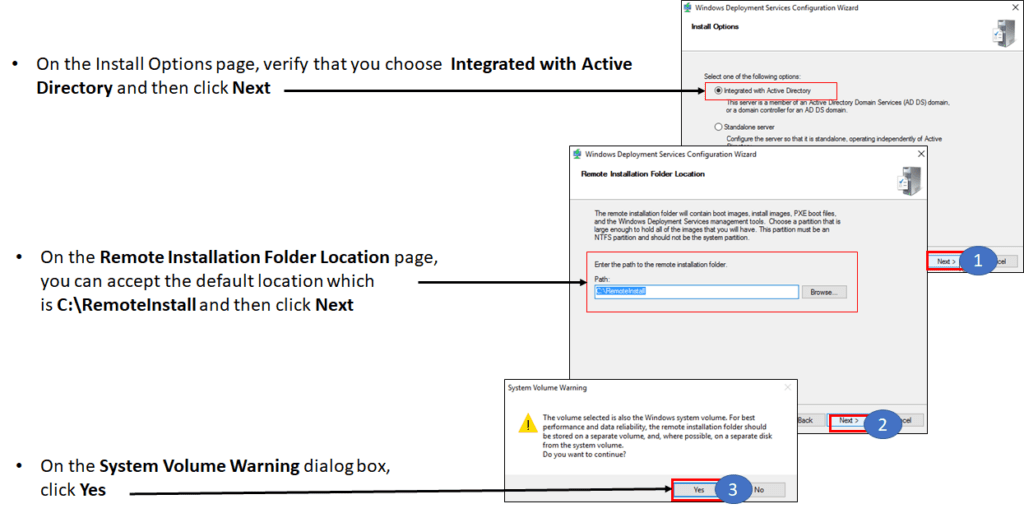
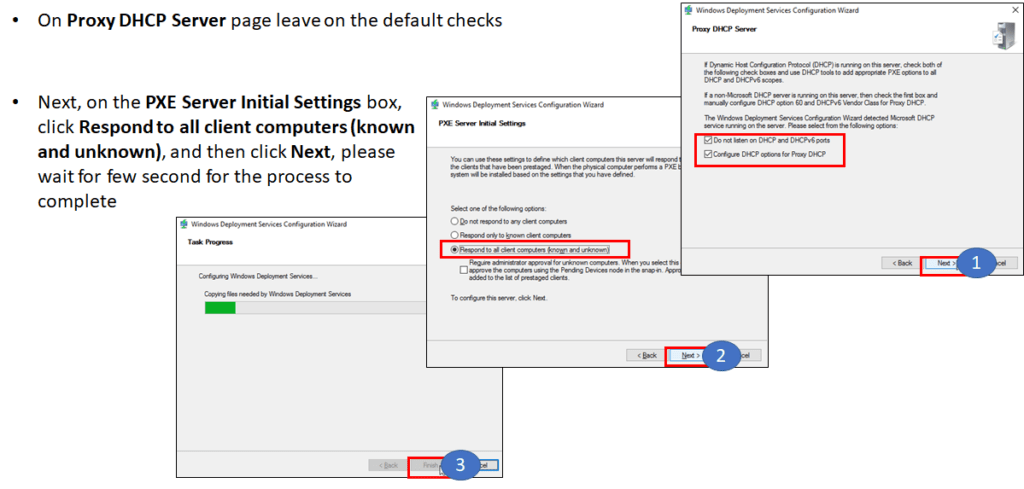
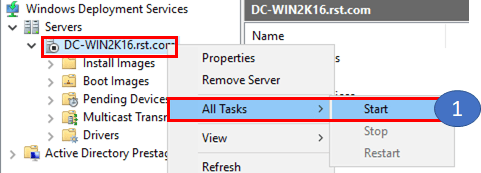
- Start the Windows Deployment Service
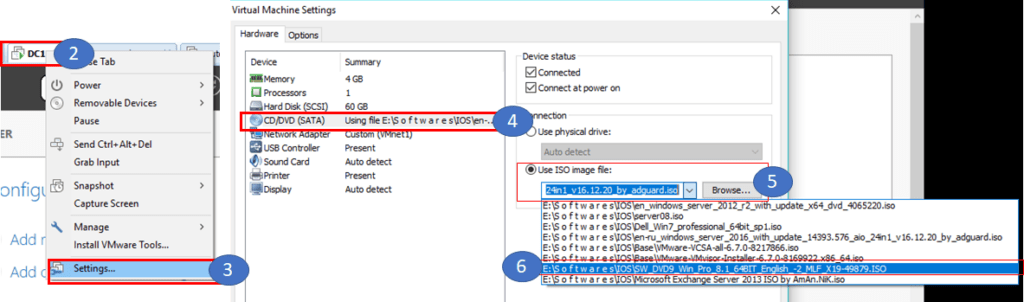
- Before we proceed, please make sure that you already insert your Windows 7, either DVD or ISO format if you are using Vmware/Hyper-V
- Our next step is to add a boot image into the WDS console, so in the Windows Deployment Services console, double click DC-WIN2K16.rst.com and then right-click Boot Images, and then click Add Boot Image

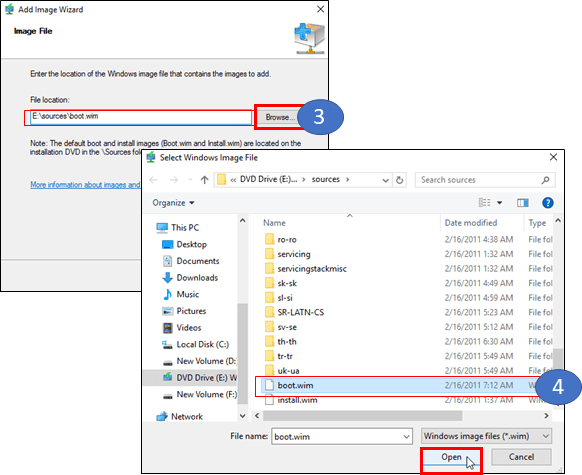
- On the Add Image Wizard, on the Image File page, click Browse, then in Select Windows Image File box, double-click DVD Drive (D:), double-click sources folder, and then double-clickboot.wim
- On the Image File box, verify the File Location which is D:\sources\boot.wim and then click Next
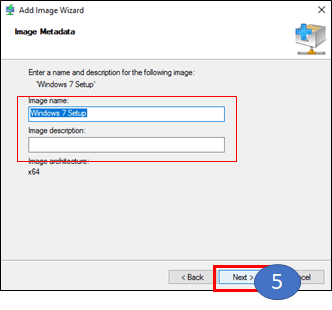
- On the Image Metadata box, click Next

- On the Available Images box, leave the default checks as it is, and then click Next to proceed

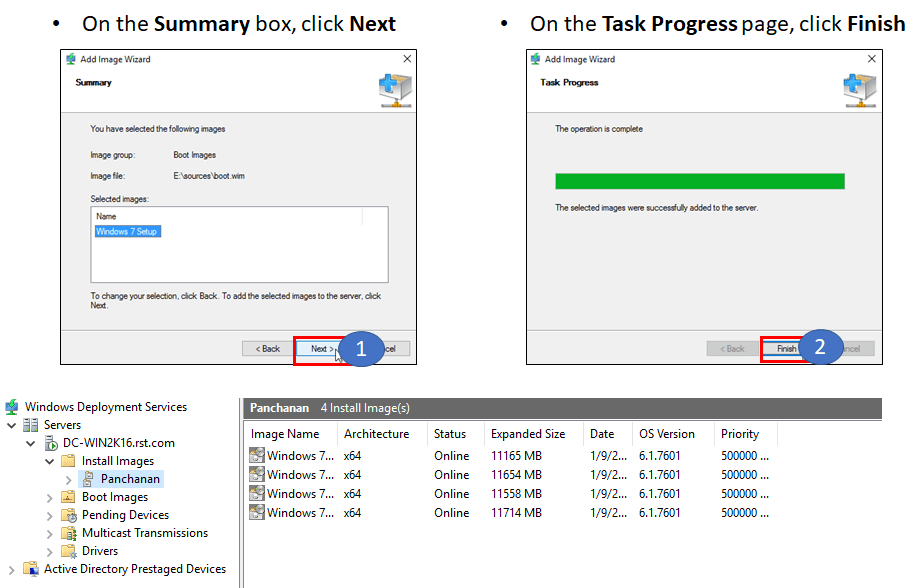
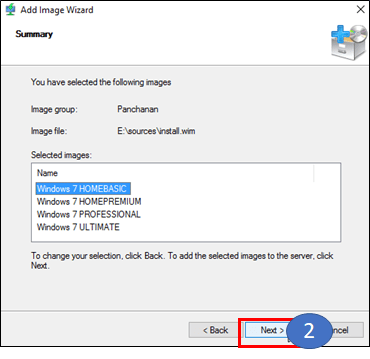
- On the Summary box, click Next and wait for few minutes for the process to be completed
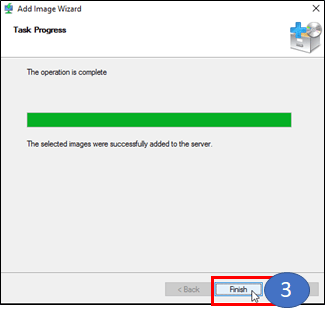
- On the Task Progress box, click Finish
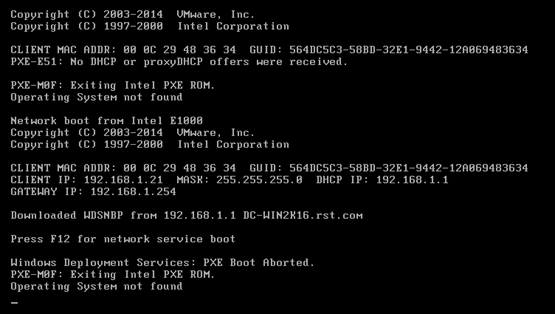
- Press F12 for Network Service boot
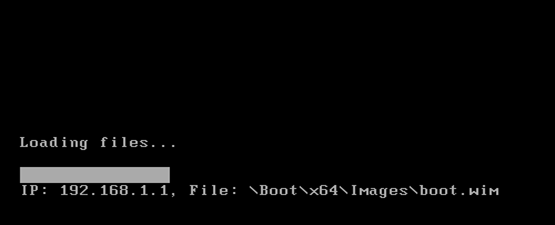
- Loading files from the WDS server
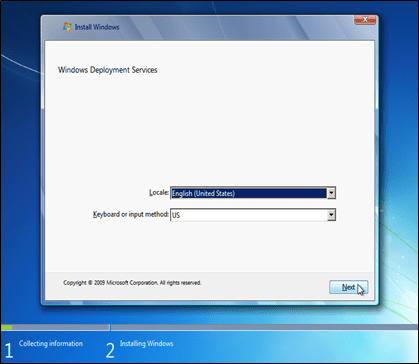
- If the loading files successful, WDS Windows Setup box will appear and you can proceed by clicking Next
- Type a User Name and Password

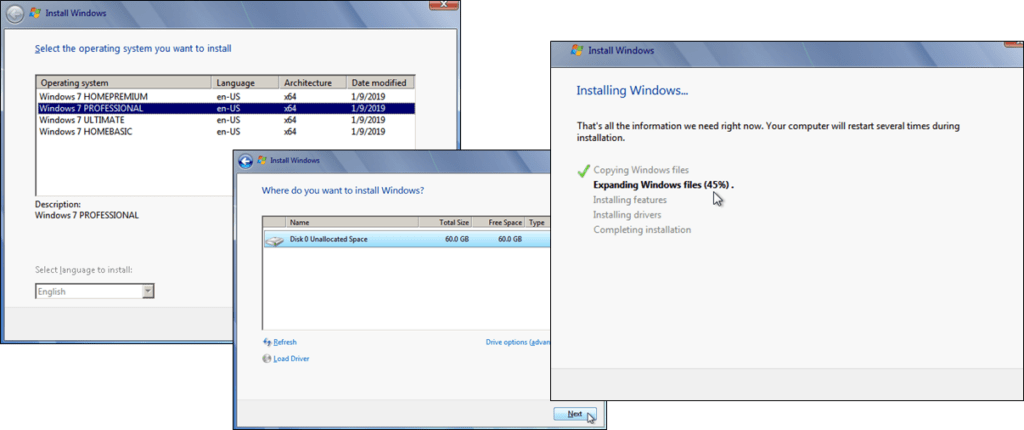
- Next, on the Select the operating system you want to install, select Windows 7 Professional and then click Next to proceed with installation