Lab 1: Virtualization Type 1 Hypervisor
Task 1: Creating Virtual machine on Type1 Hypervisor:
VIRTUALIZATION: Virtualization transforms a hardware element into a software element that emulates behavior of a hardware. Today every IT Infrastructure is virtualized, from Devices to CPU to Storage to the entire Network. Virtualization is very commonly used on Servers
A virtual Server is also referred as Virtual Machine (VM). To create and run a VM on a physical machine we need virtualization software. Virtualization software allows you to simultaneously run two or more operating systems using only one PC. Virtualization software are also called a Hypervisor. There are multiple Hypervisors like VMWare Workstation, Microsoft Hyper-V, QEMU, etc.
HYPERVISOR: Virtualization software (Hypervisor) runs on the physical hardware and emulates hardware elements that are required by the VM. Virtual elements created by Hypervisor can be Shared amongst Multiple VMs VM uses the emulated hardware elements like HDD, Memory, CPU Core, NIC, etc. and operates like these are its own physical hardware and installs its own OS to provide a virtual compute environment to run your software and applications. Applications are not aware that they are working in a virtualized environment. The guest machines (VMs) work in isolated environment over host machine.
HYPERVISOR TASKS:
- Providing an operating platform to VMs, i.e., providing unified and consistent access to the host machine CPU, memory, Storage, NIC, etc.
- Managing the execution of the guest OS.
- Providing connectivity between VMs and between VMs and external network resources.
- Full Virtualization gives complete virtualization of the hardware environment
HYPERVISOR TYPES:
Type-1 Hypervisor: These are bare-metal or native hypervisors running directly on physical server hardware, e.g., VMware ESXi, Hyper-V, KVM, etc.
Type-2 Hypervisor: These are hosted hypervisors running on host OS, e.g., Oracle Virtual Box, VMware Workstation, etc.
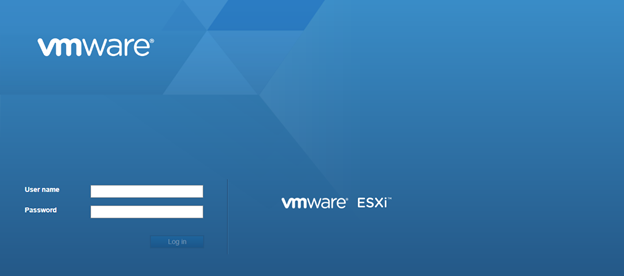
Step 1: Access the web browser and type “ https://30.0.0.254/ui/#/login“ to use web user interface of VMware ESXi (Type 1 Hypervisor) and login using credentials: Username: root, Password: rst@12345.
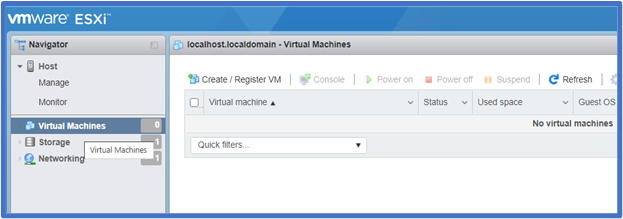
Step 2: As seen below, on the left side top of VMware ESXi Frontpage, under the Navigation bar click the virtual machines button.
Step 3: Now as seen below, click on create / Register button to start the creation of virtual machines.
l
Following screen will open up to help create virtual machine
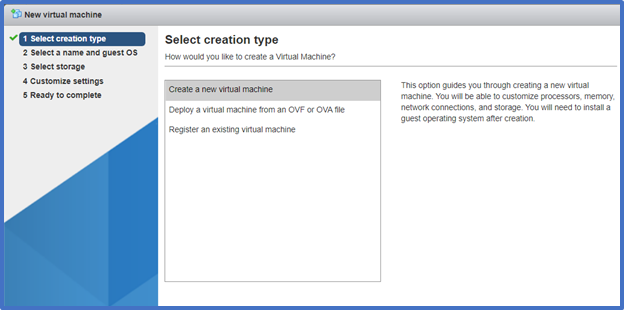
Step 4: Click on create a new virtual machine and press next:
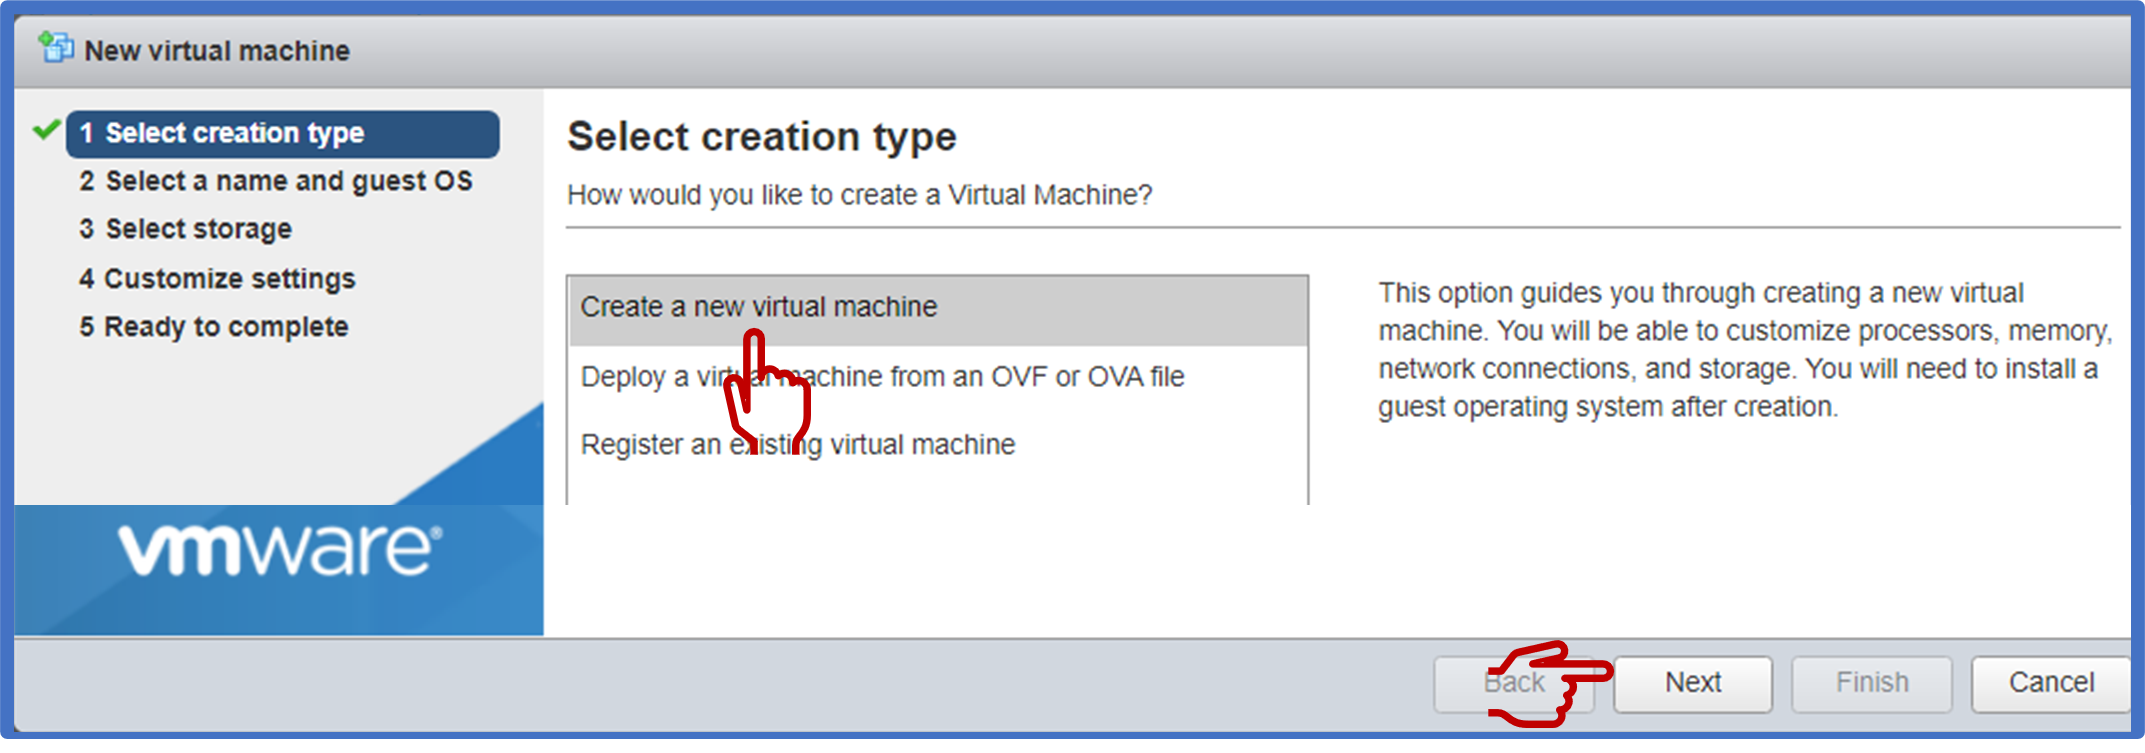
Following screen will open.
Step 5: As seen below, Provide a VM name as VM1, compatibility as ESXi 6.5 virtual machines, Guest OS Family as Linux, Guest OS version as Ubuntu Linux 32bits. And then press next
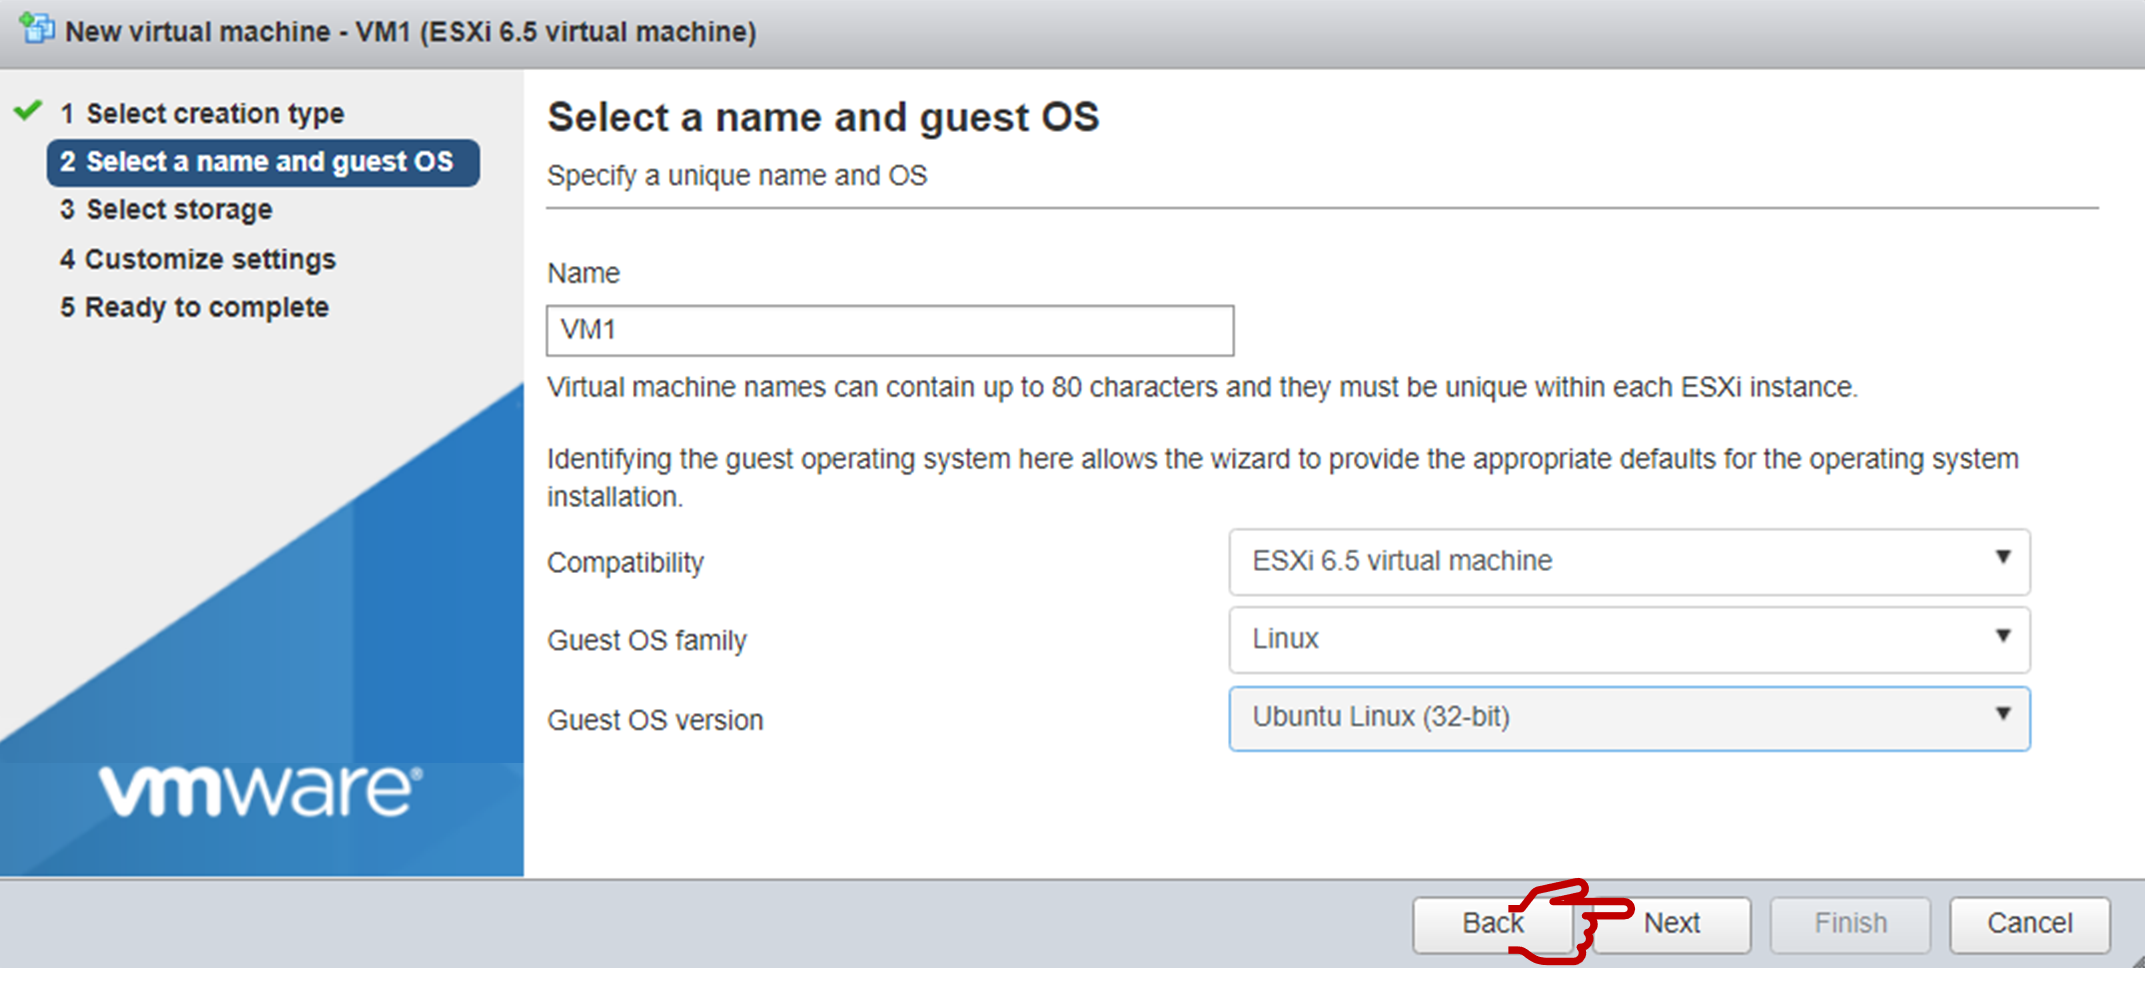
Following screen will show up now click next
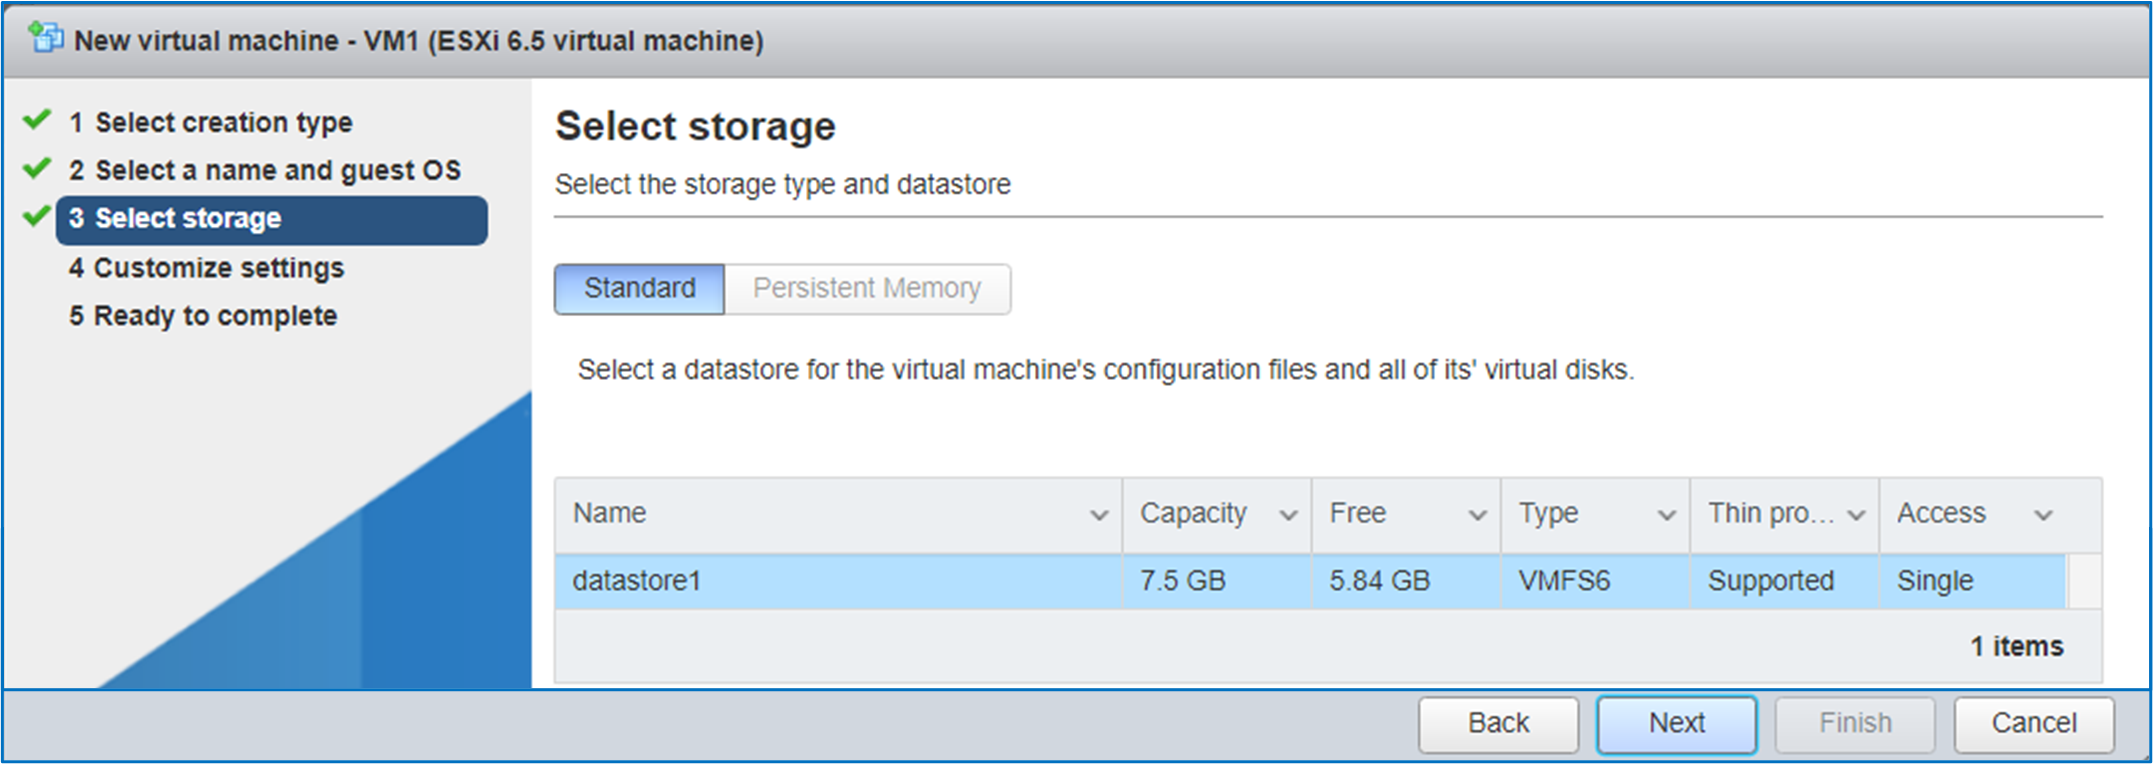
Following Screen will be displayed
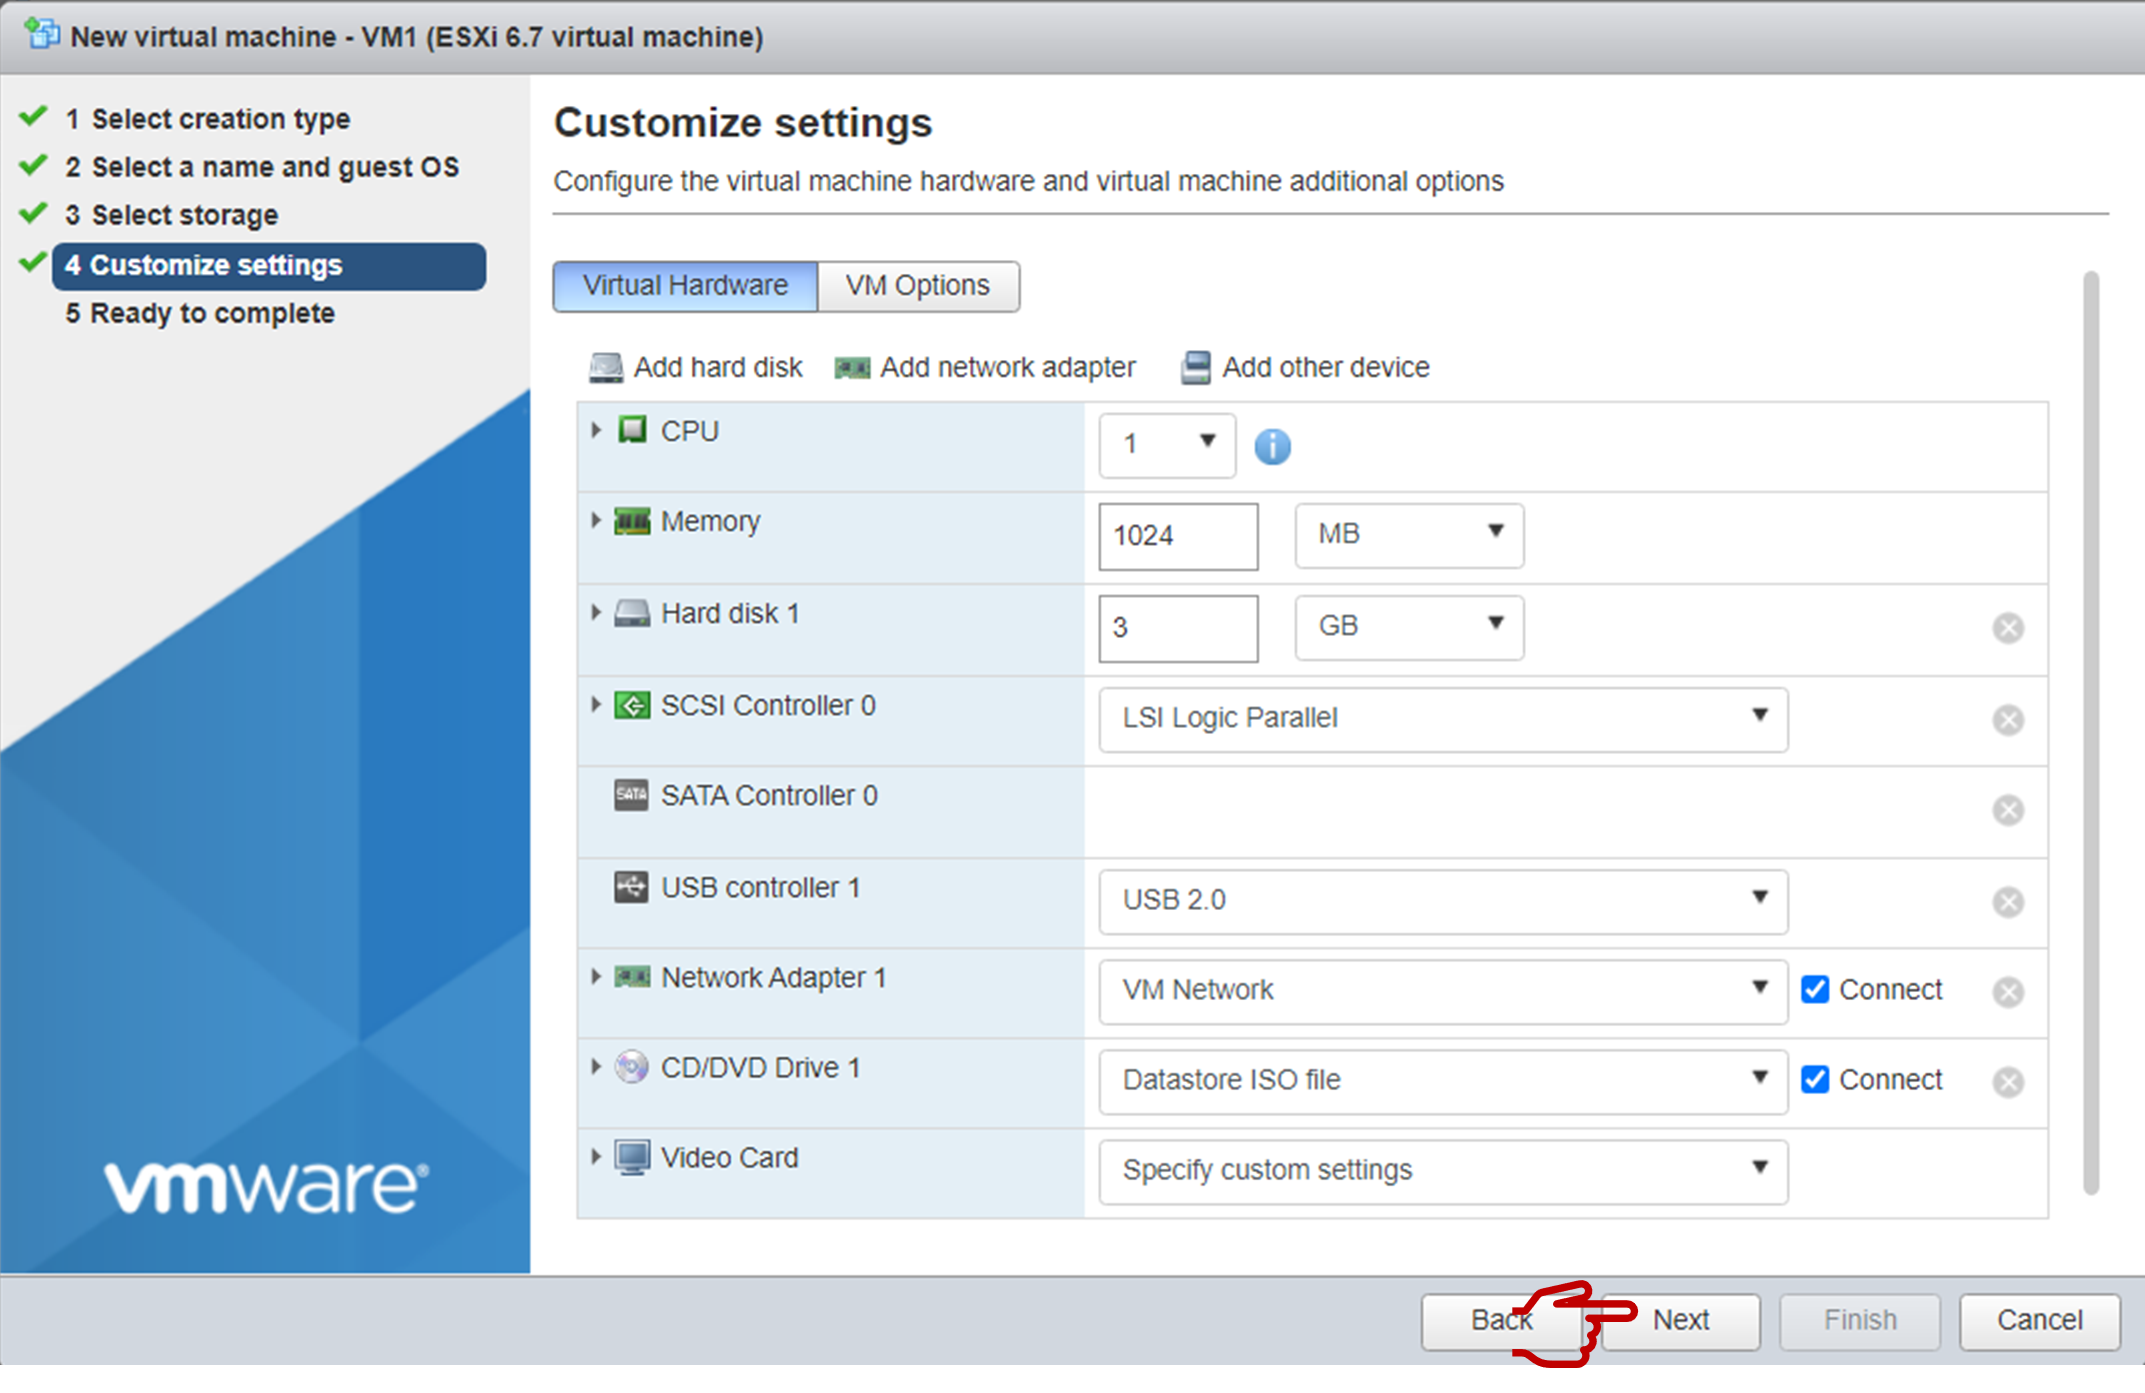
Step 6: Configure hardware resources for virtual Machine: Provide 1CPU, IGB Ram, 3GB HDD for VM. Now scroll down and in CD/DVD Drive select Datastore ISO file as seen below:
This will open following window so that you can select the ISO image of operating system to be loaded on your virtual machine.
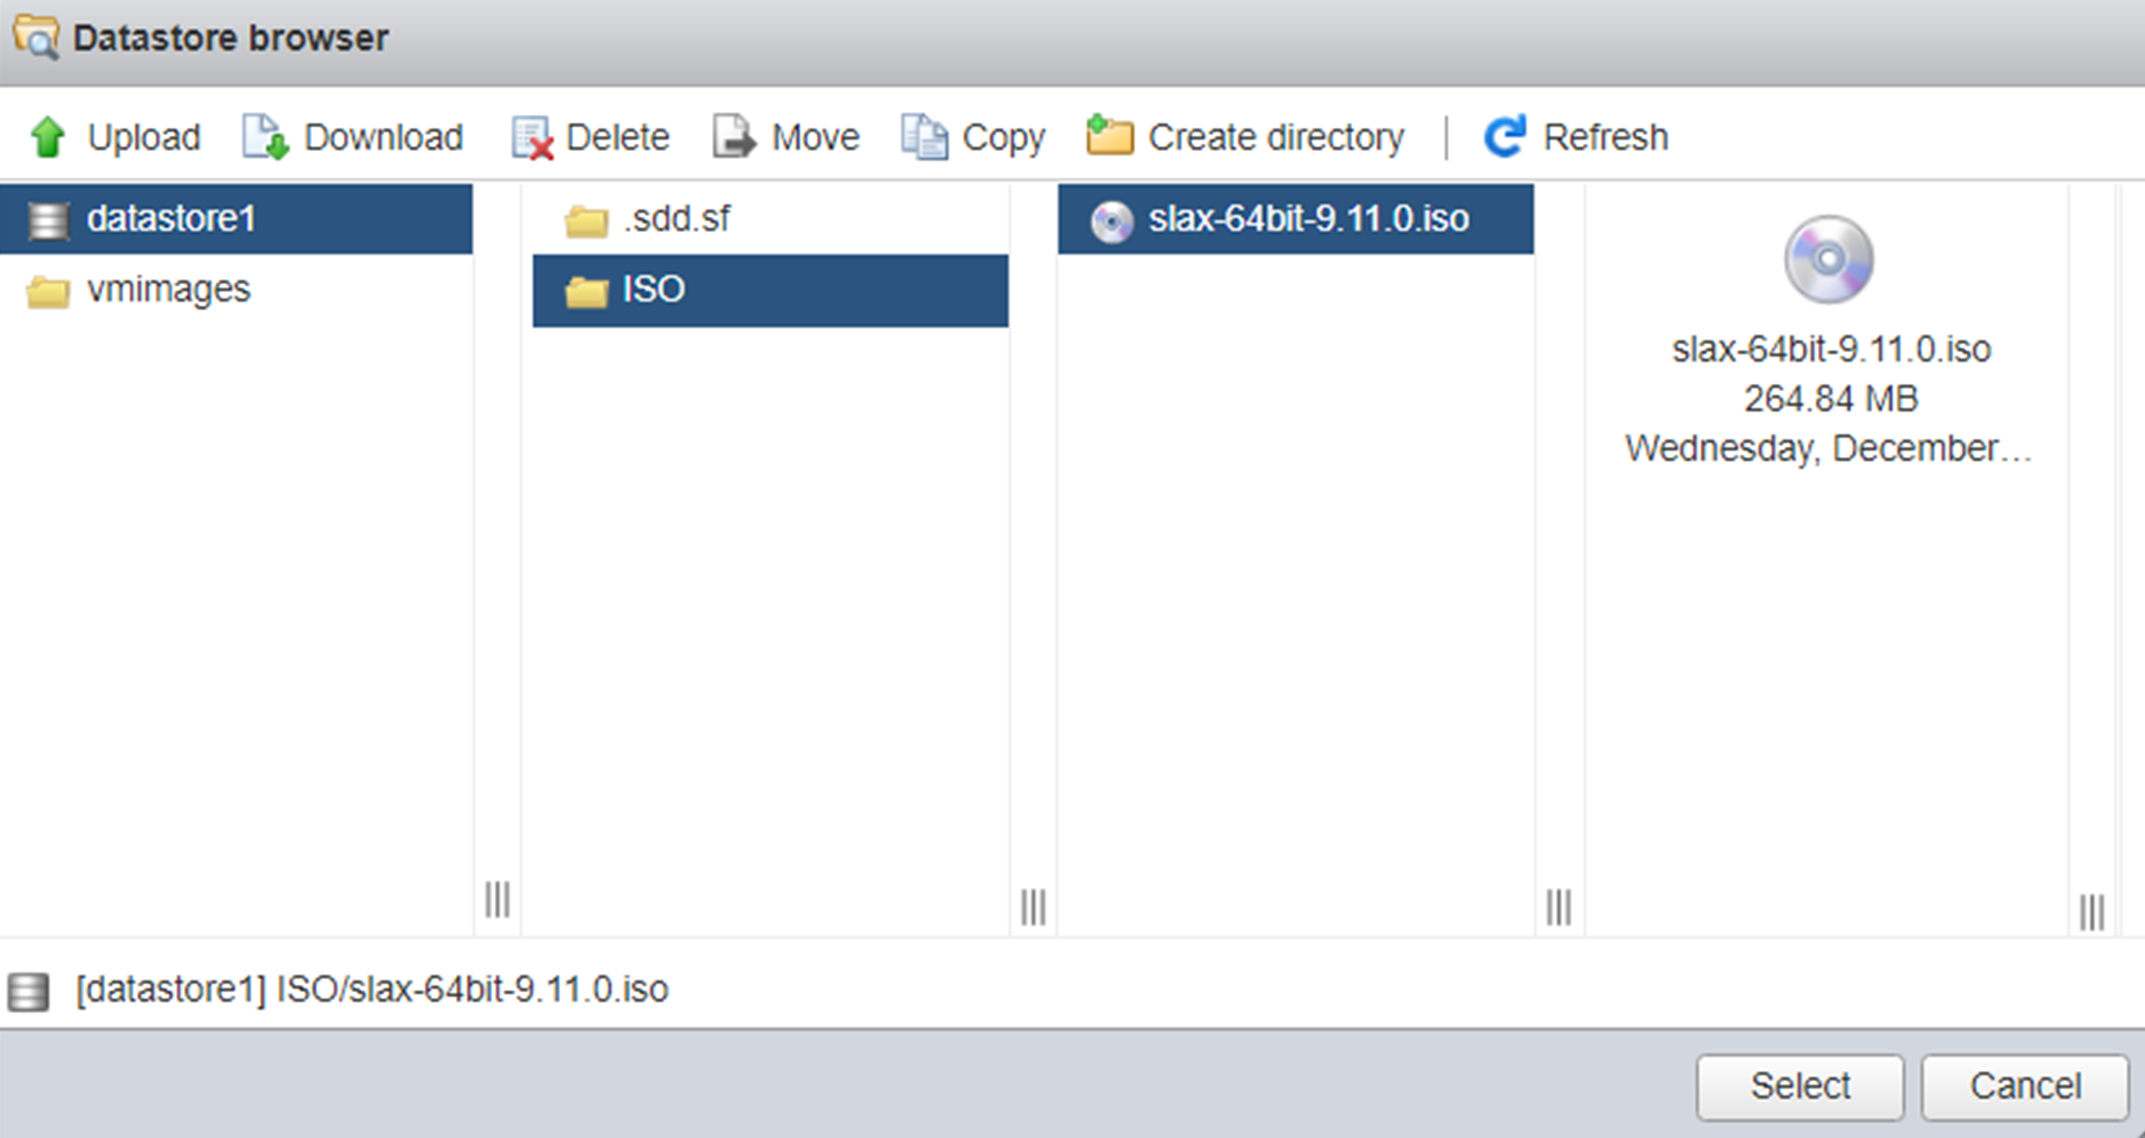
Following screen will be displayed, select next to if all parameters are correct.
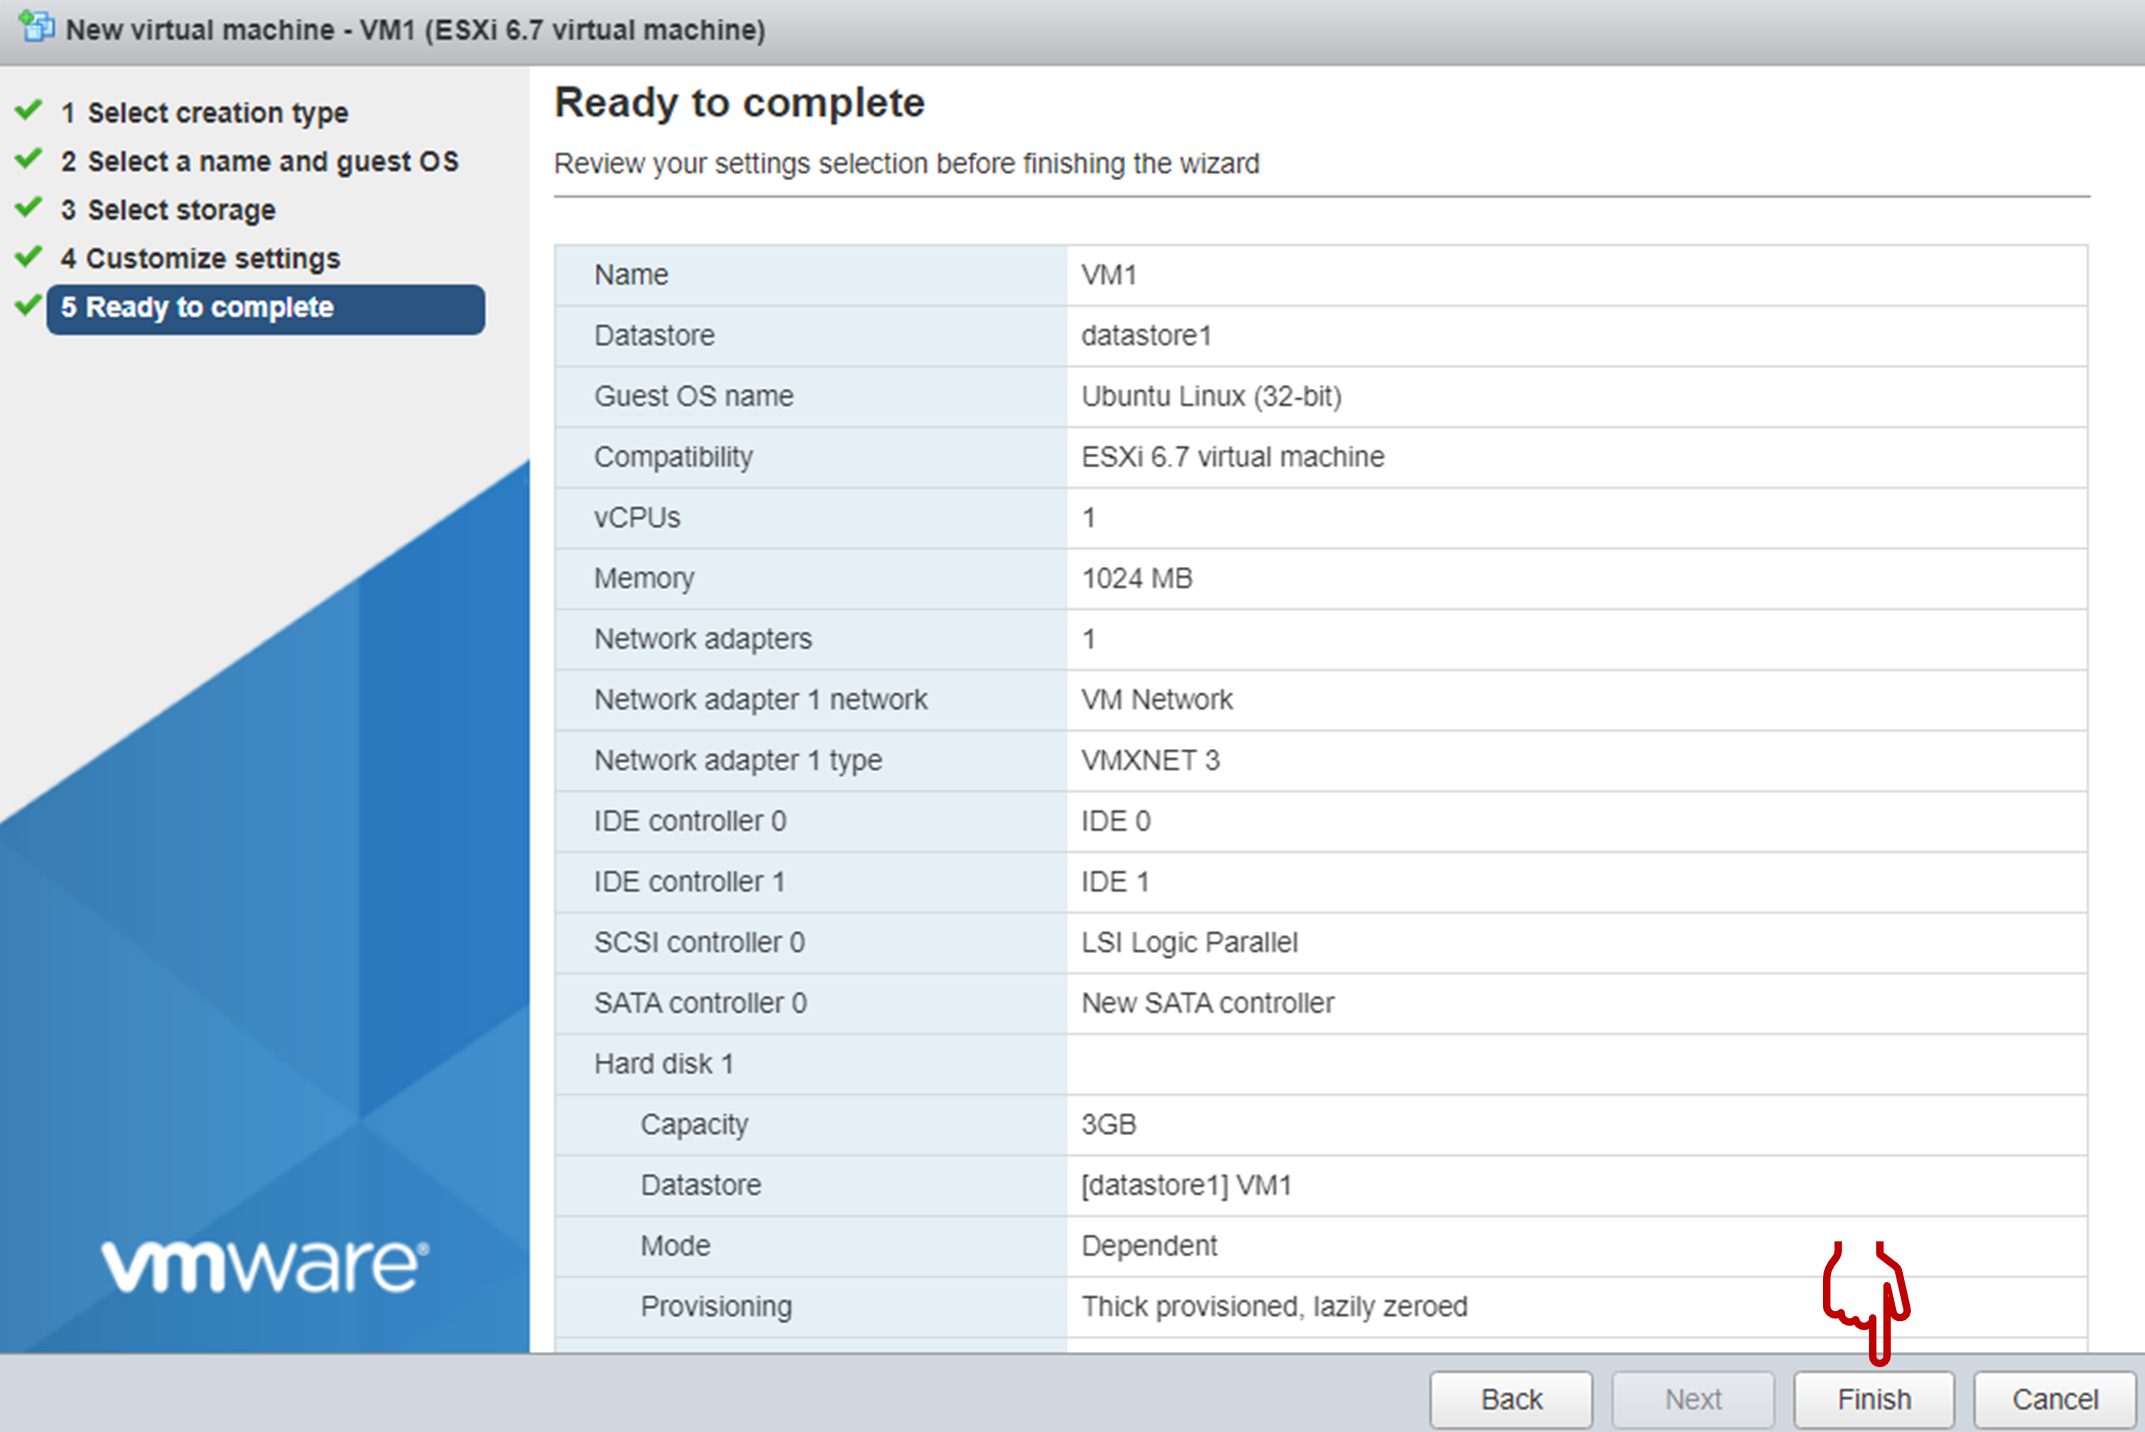
Make a final review of selected parameters and click finish
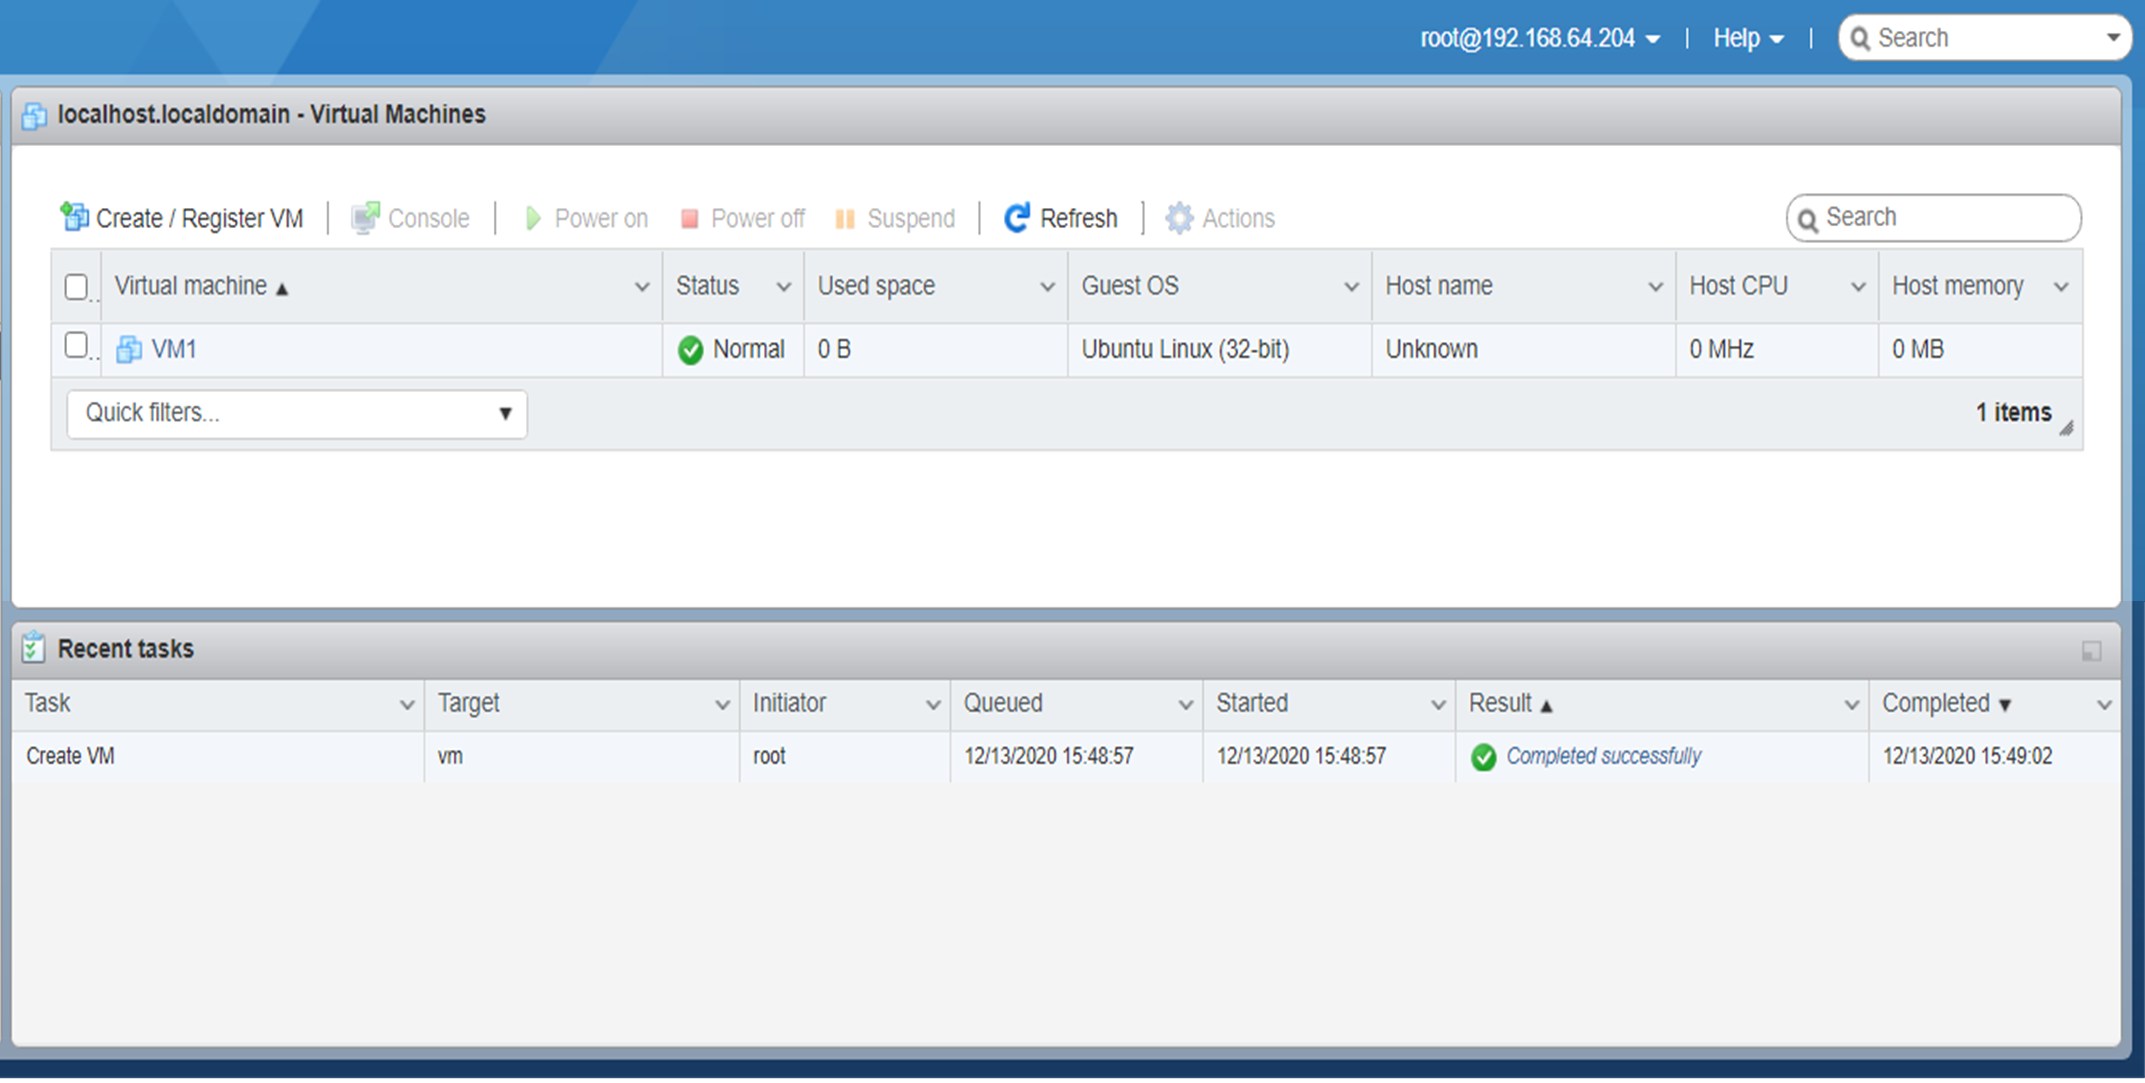
Now router will start creating VM and once VM is created it will display message of successful creation. We can see in the screen below that VM1 is successfully created and status is normal:
Step 7: Configure Let us power on the virtual machine and check if everything is working all right:
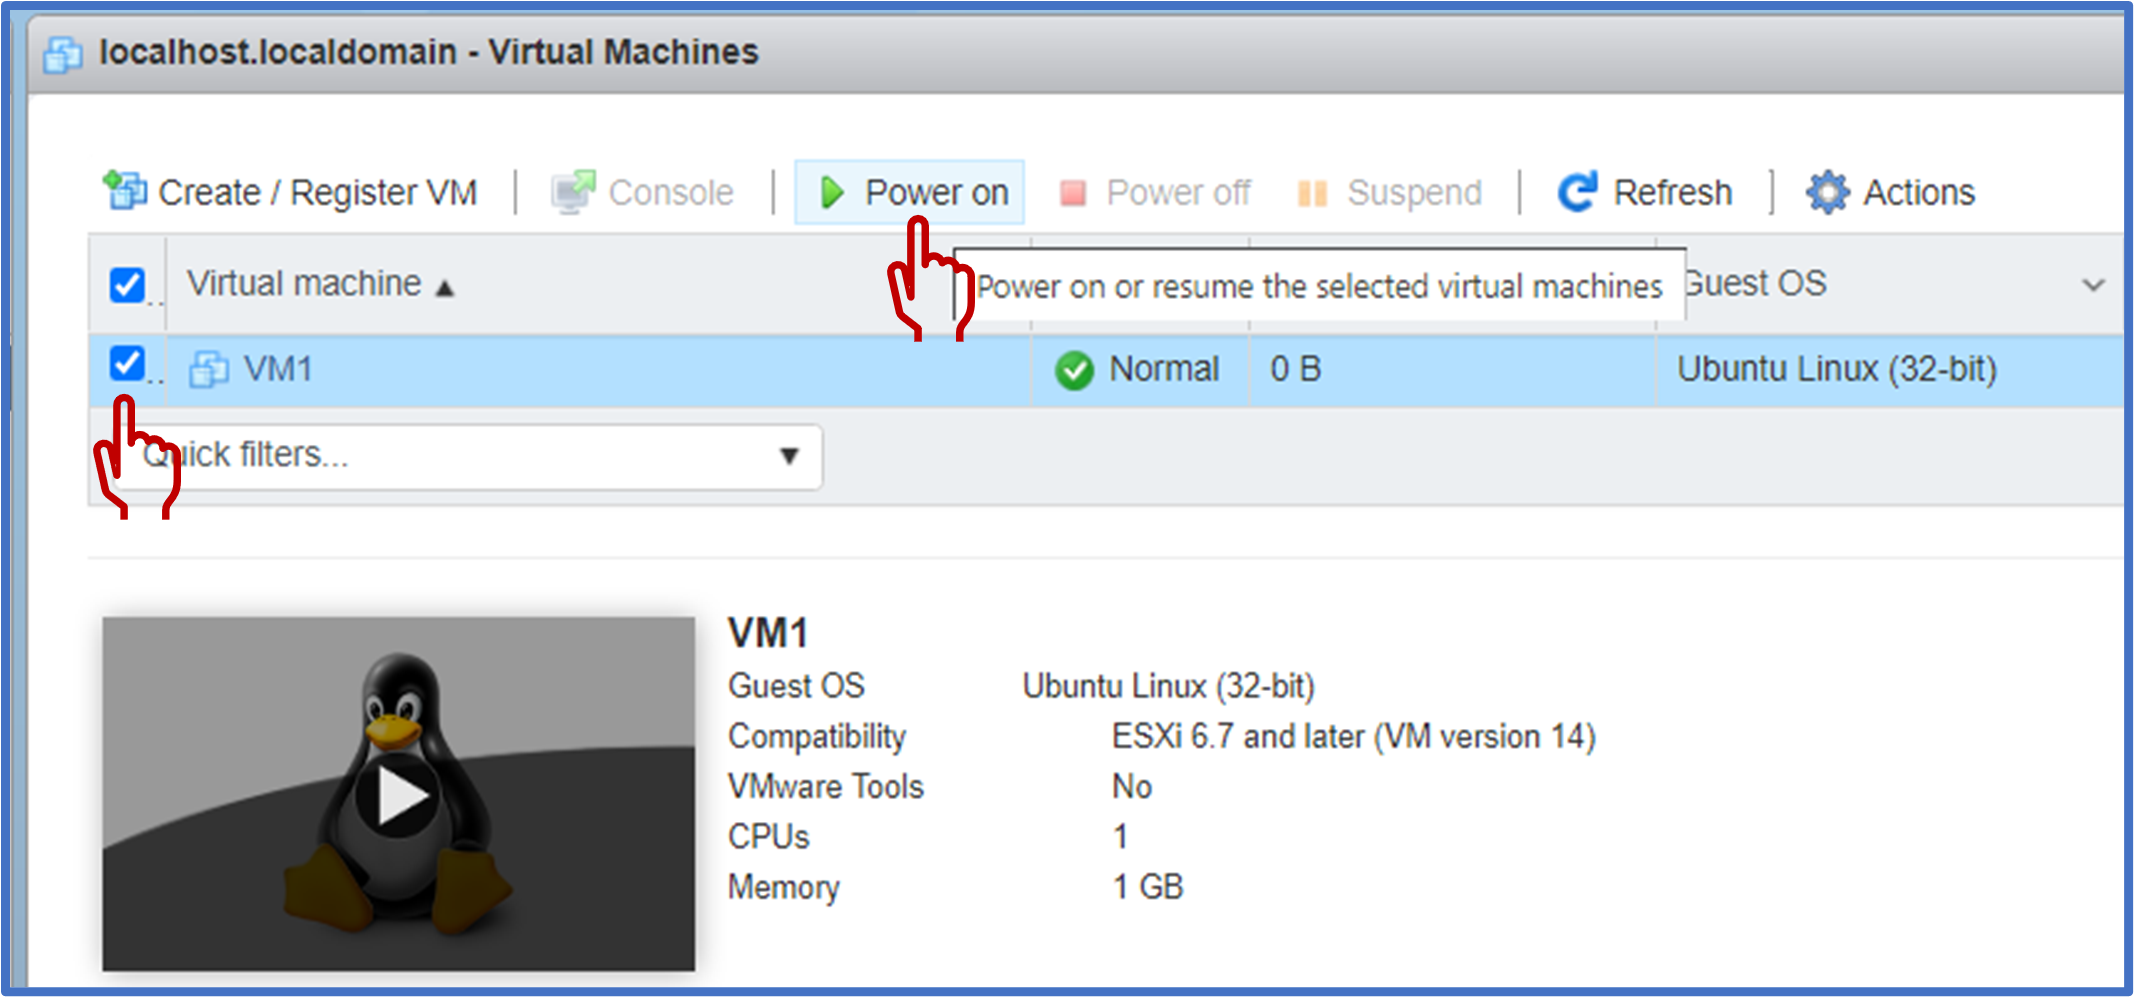
As seen below VM has successfully booted.
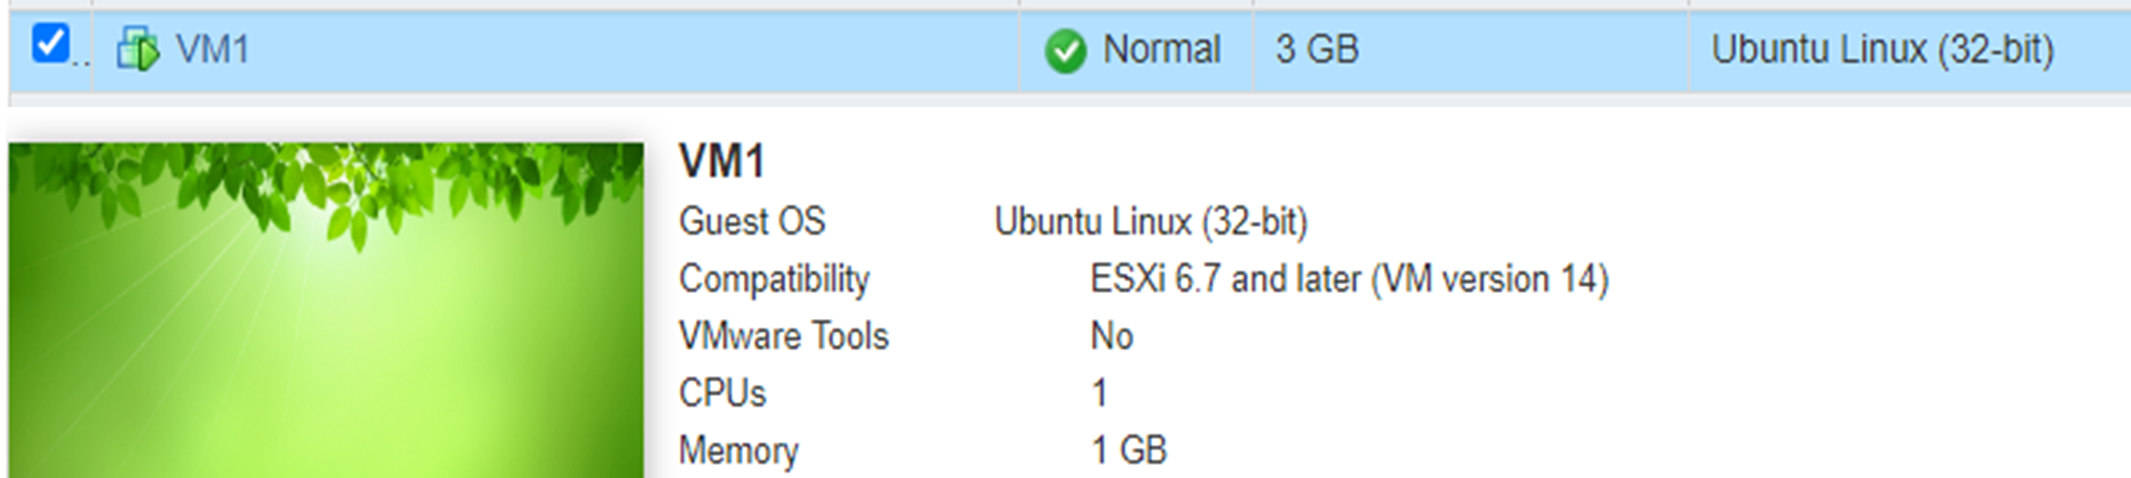
We can take access of this machine by clicking the on the machine:
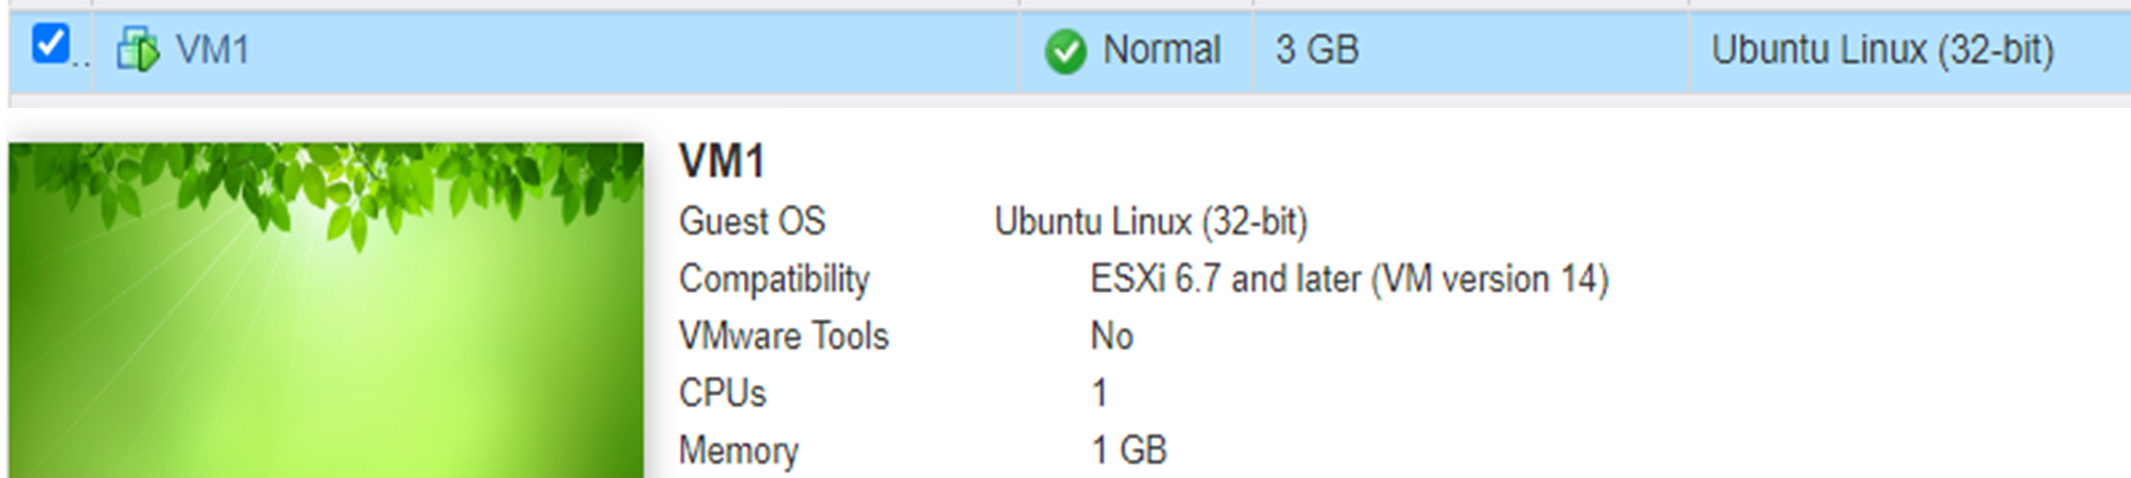
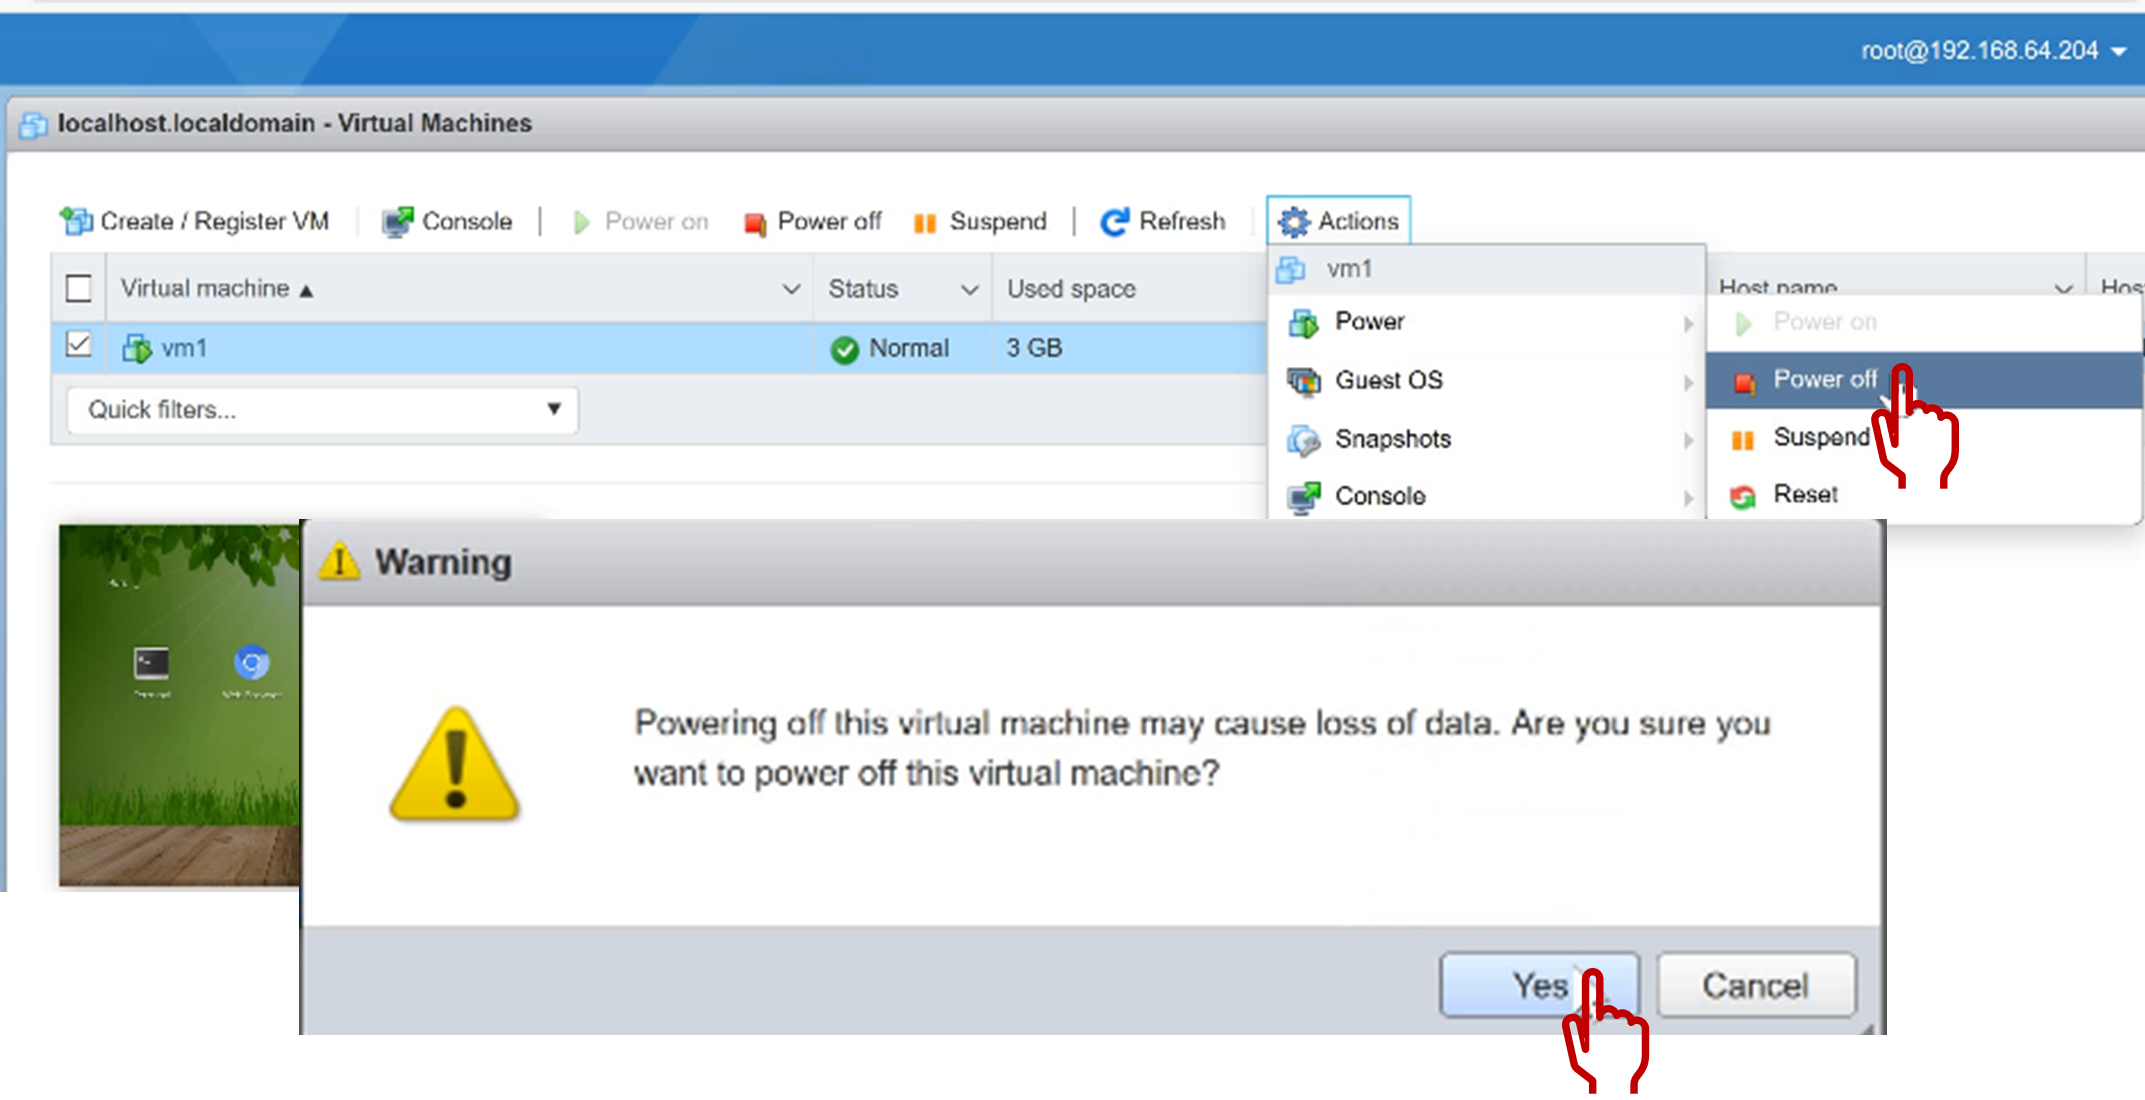
Step 8: Power off the virtual machine that was just created.
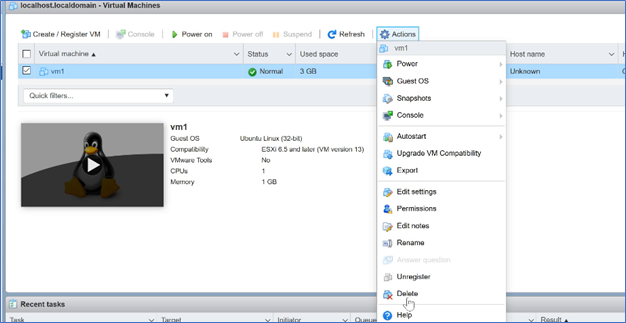
Step 9: Let us Delete the Hypervisor that was just created