Step-by-Step Guide to Create Azure Storage Accounts
Azure Storage Accounts are a fundamental component of Microsoft's Azure cloud platform, providing scalable, durable, and highly available storage solutions. Whether you're storing blobs, files, queues, tables, or disks, Azure Storage Accounts offer a versatile and secure way to handle your data. This guide will walk you through the process of creating an Azure Storage Account, complete with detailed steps and explanations.
Prerequisites
Before you begin, ensure you have:
- An active Microsoft Azure subscription.
- Access to the (https://portal.azure.com).
Step 1: Sign in to Azure Portal
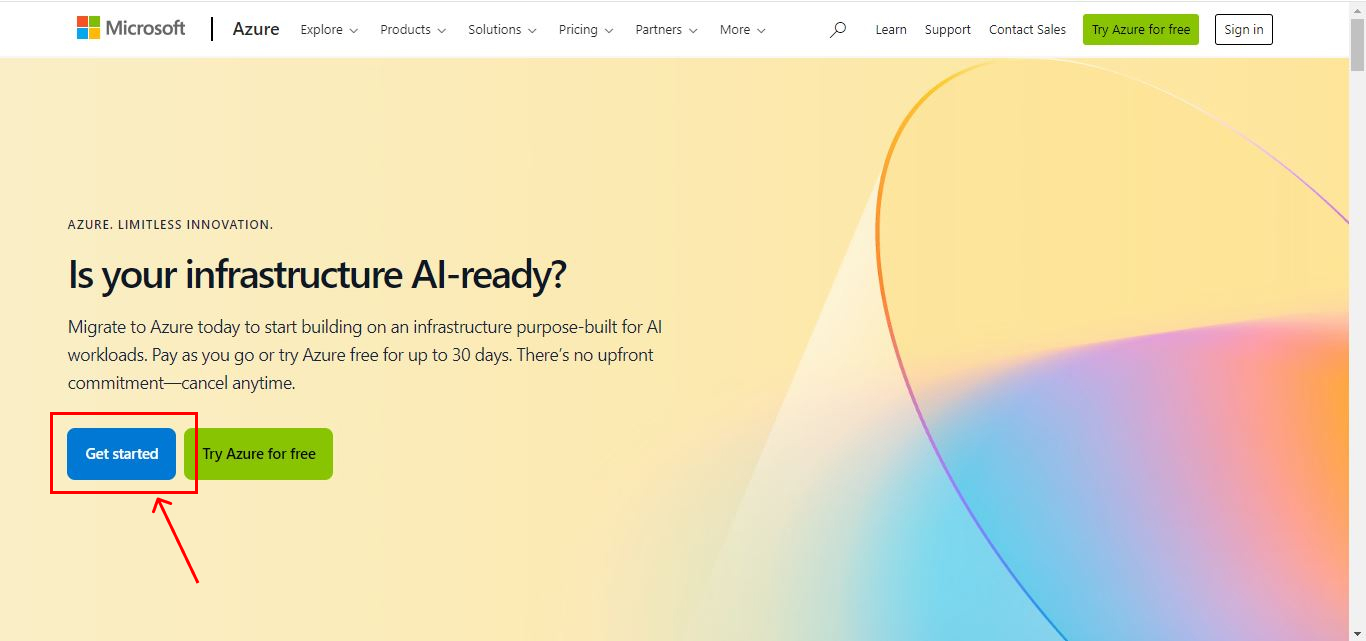
- Open your web browser and navigate to the Azure Portal.
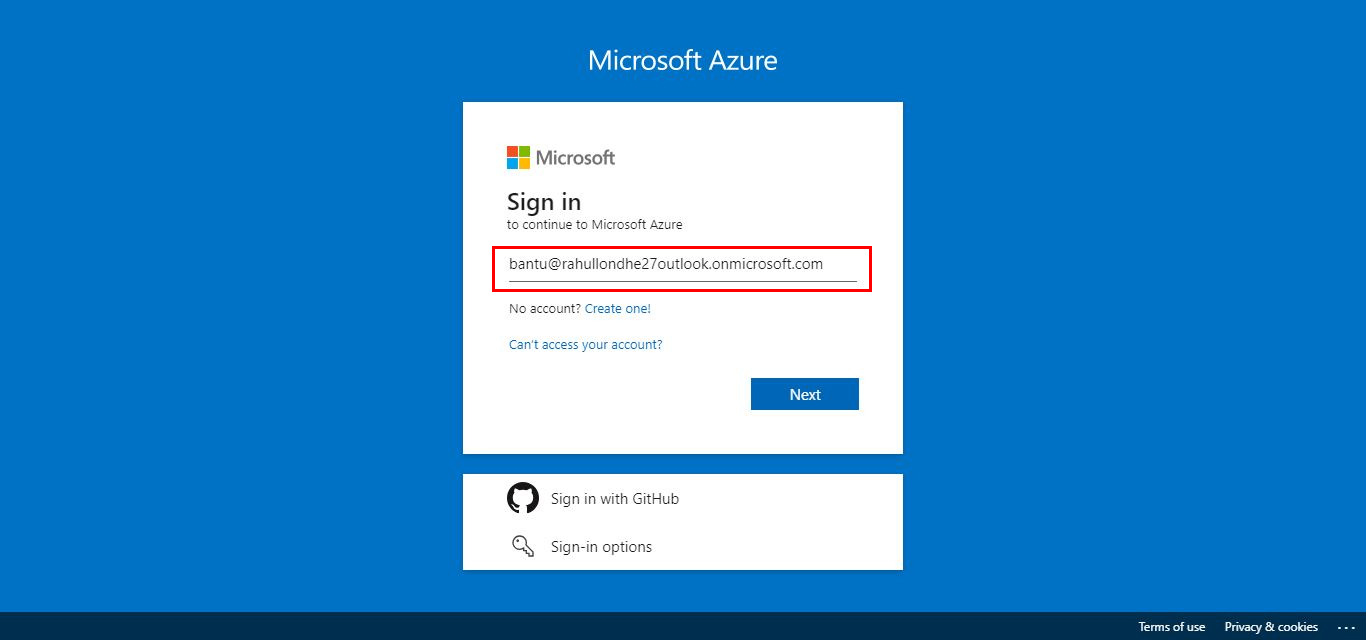
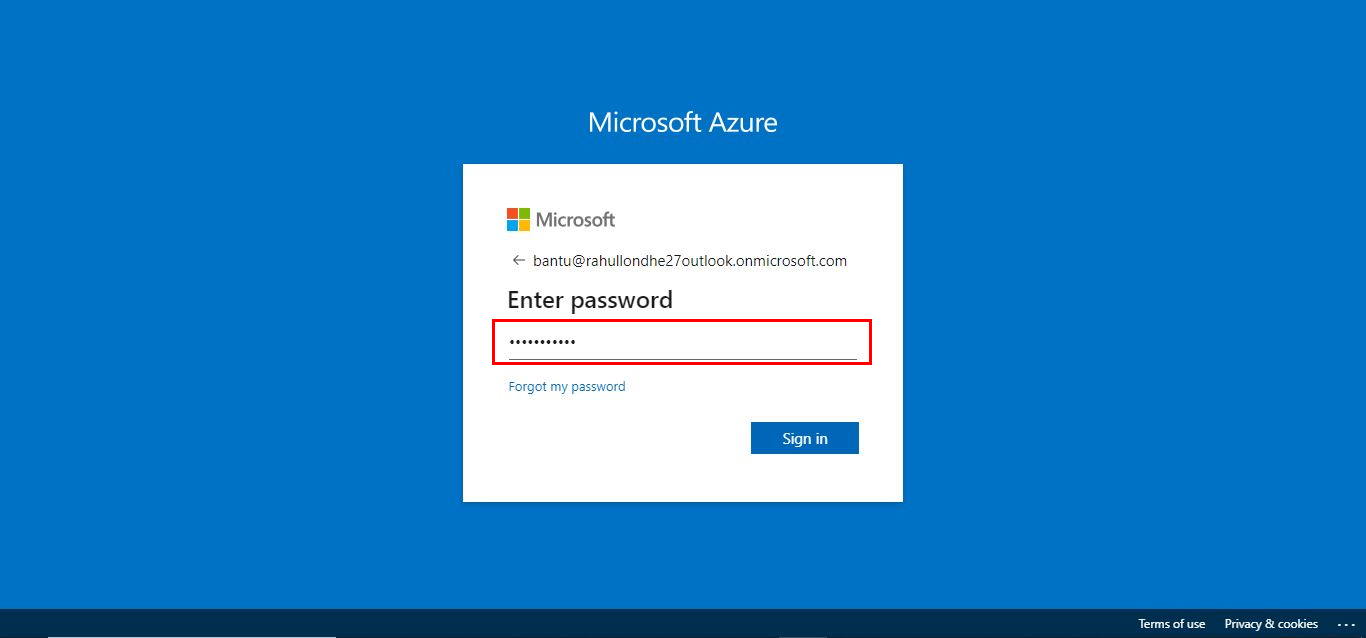
- Enter your Azure account credentials and click Sign in.
Step 2: Navigate to the Storage Accounts Service
- Once logged in, you will see the Azure Portal dashboard.
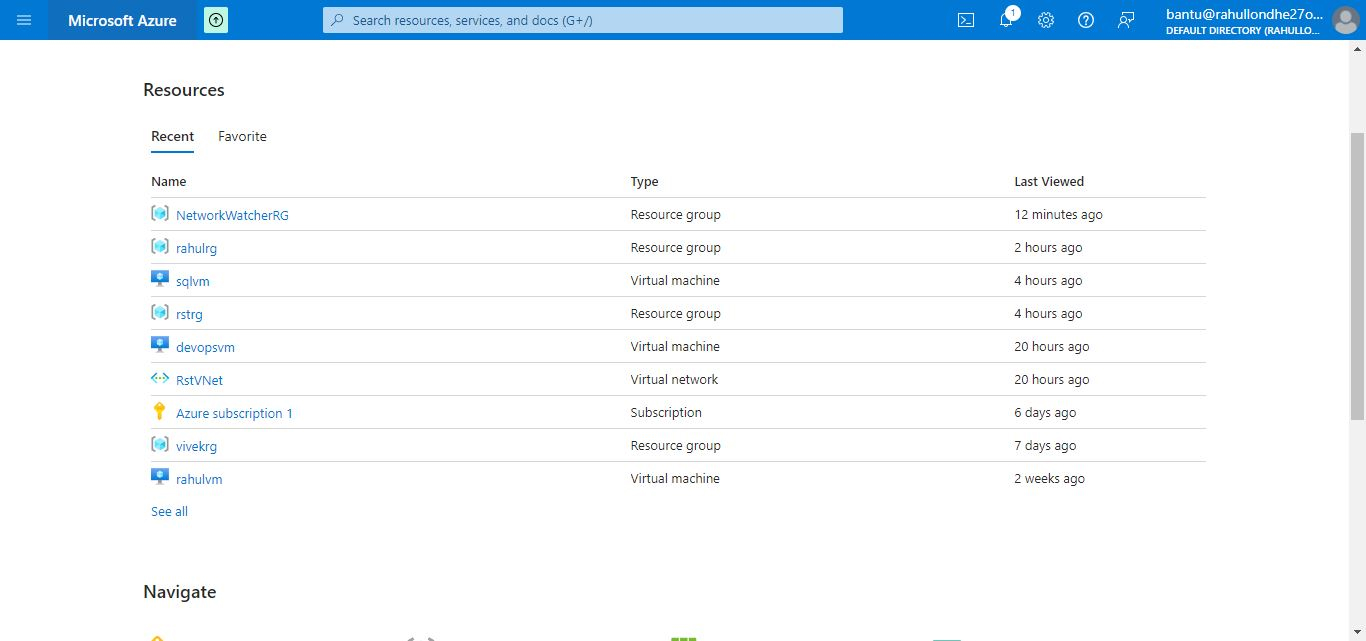
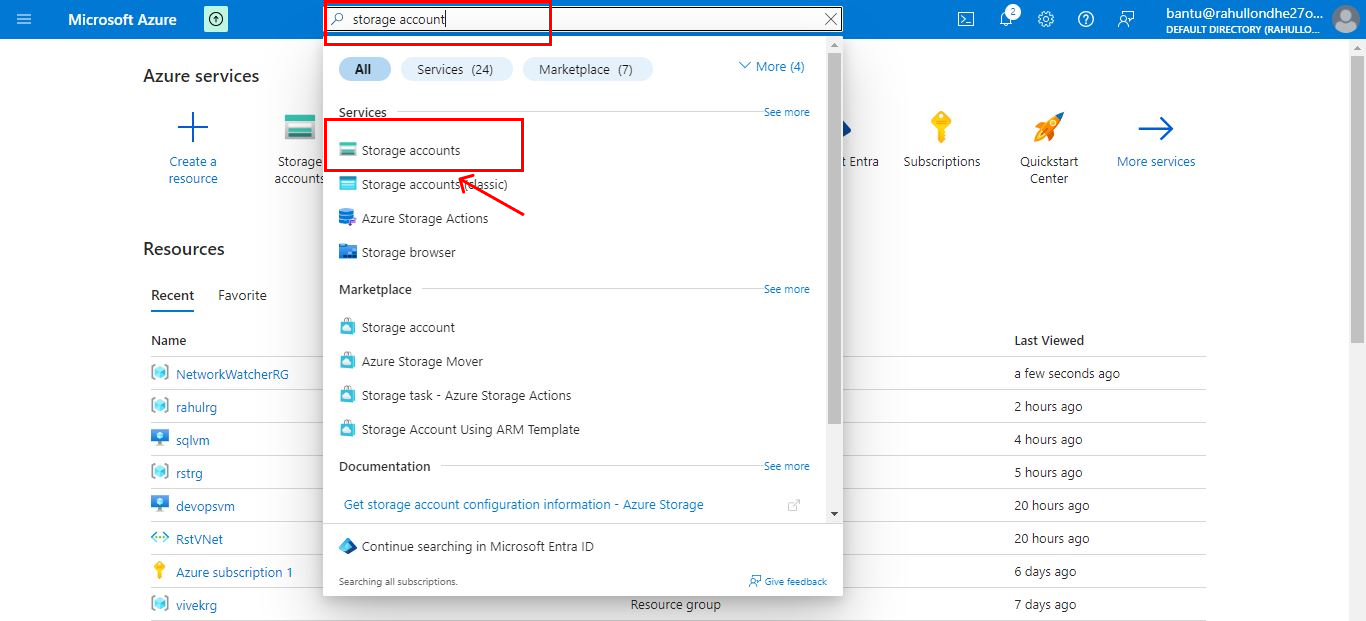
- In the left-hand sidebar, click on Storage accounts. If you don't see it, use the search bar at the top to search for "Storage accounts" and select it from the results.
Step 3: Create a New Storage Account
- In the Storage Accounts pane, click on the + Create button at the top of the screen.
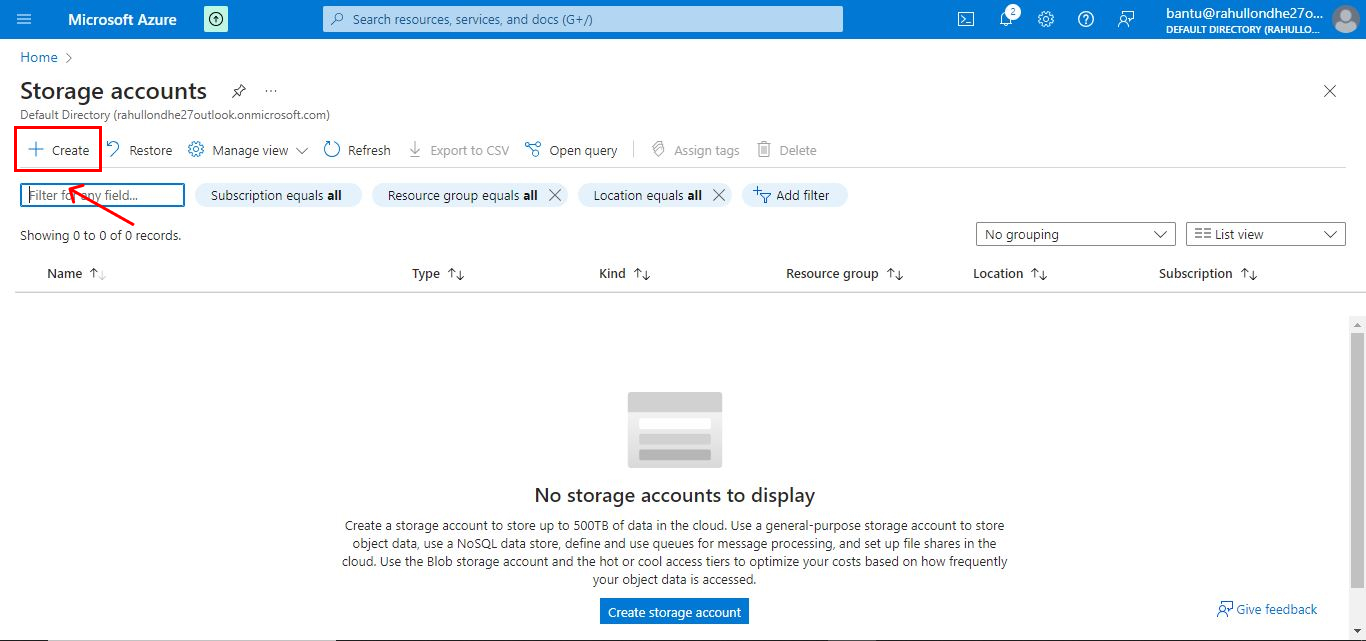
- You will be directed to the Create a storage account page.
Step 4: Configure the Basic Settings
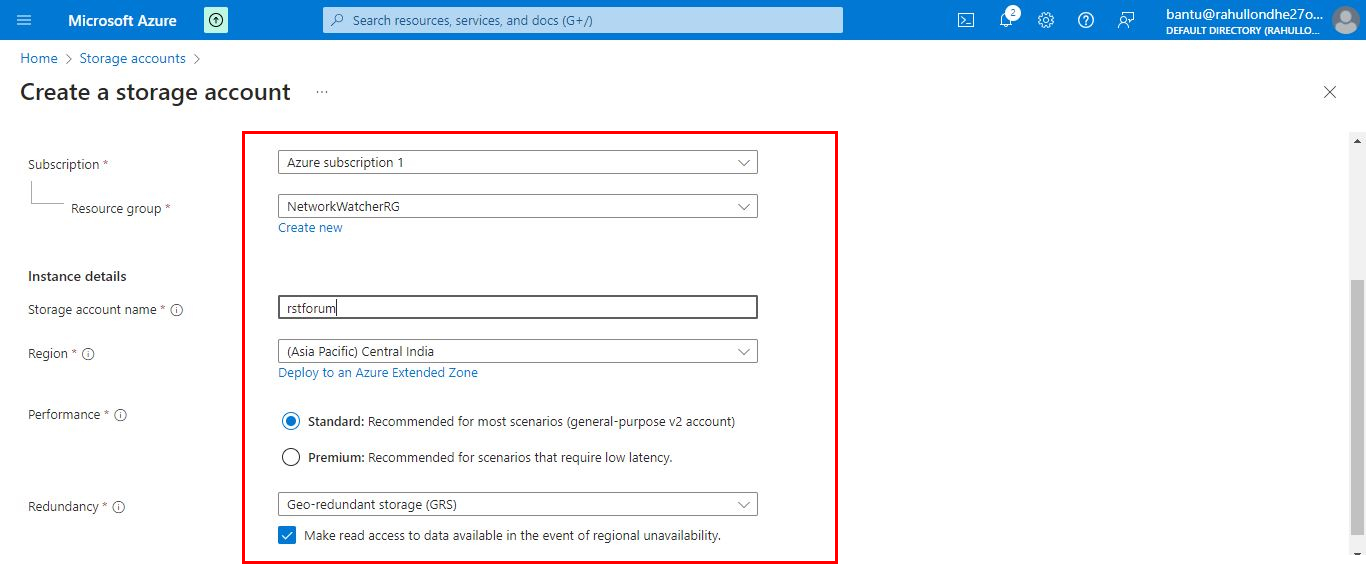
- Subscription: Select the Azure subscription you want to use for this storage account.
- Resource group: Choose an existing resource group or create a new one by clicking Create new. Resource groups help manage and organize related resources in Azure.
- Storage account name: Enter a unique name for your storage account. The name must be between 3 and 24 characters and can include numbers and lowercase letters only.
- Region: Select the region where you want your storage account to be hosted. Choose a region close to your users to minimize latency.
- Performance: Choose between Standard (HDD) and Premium (SSD) performance tiers. Standard is cost-effective and suitable for general-purpose storage, while Premium provides low-latency and high-throughput storage, ideal for I/O-intensive applications.
- Redundancy: Select the redundancy option that meets your data durability and availability needs:
- LRS (Locally-redundant storage): Maintains three copies of your data within a single data center.
- ZRS (Zone-redundant storage): Maintains three copies of your data across multiple data centers in a region.
- GRS (Geo-redundant storage): Maintains six copies of your data, three locally and three in a secondary region.
- GZRS (Geo-zone-redundant storage): Combines the benefits of ZRS and GRS, with zone-redundancy in the primary region and geo-redundancy in a secondary region.
Step 5: Configure Networking (Optional)
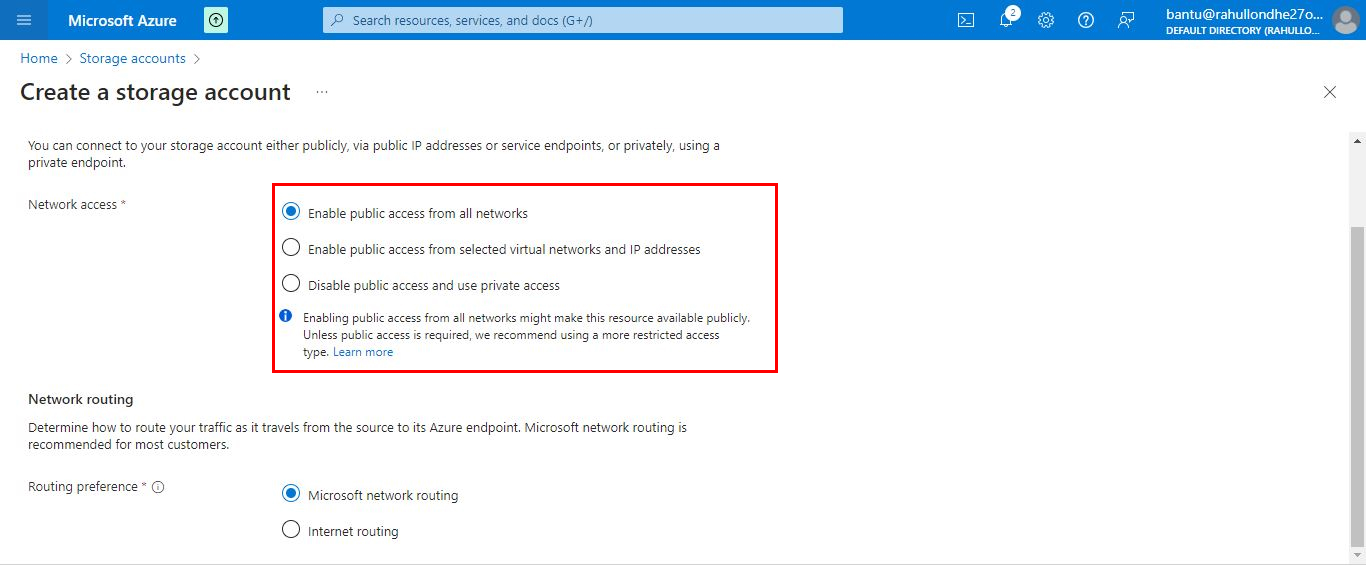
Click on the Networking tab to configure network options:
- Public endpoint (all networks): Allows access from any network.
- Public endpoint (selected networks): Allows access only from selected virtual networks and IP addresses.
- Private endpoint: Allows access through a private endpoint in your virtual network.
Step 6: Configure Data Protection (Optional)
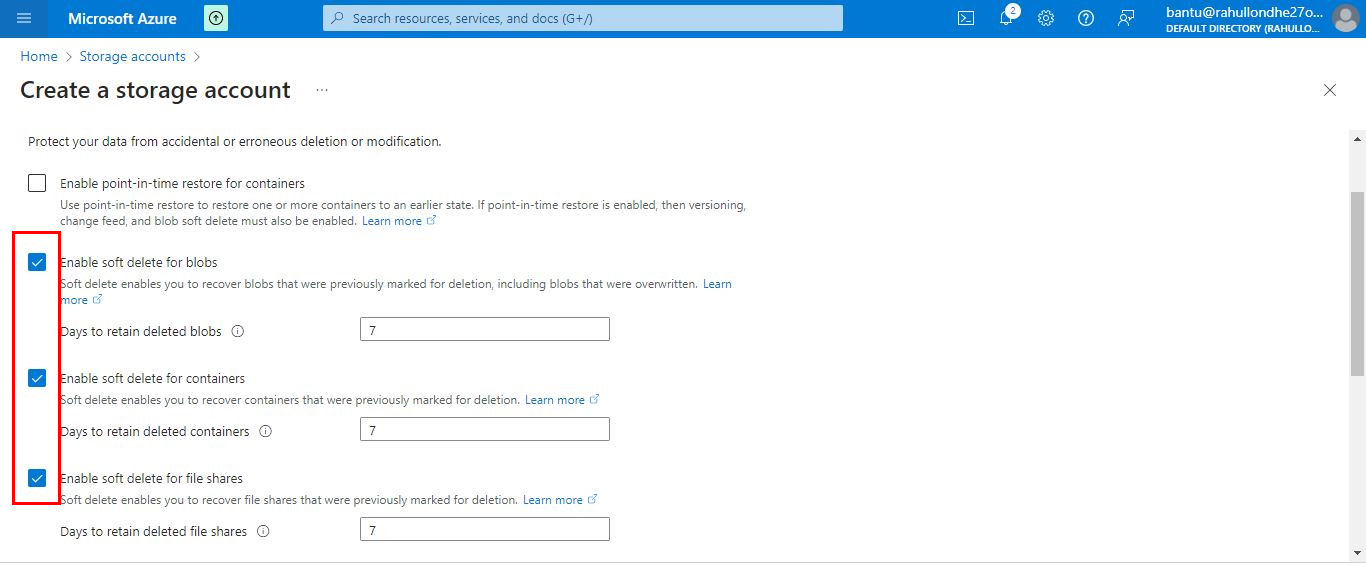
- Click on the Data protection tab to configure data protection settings, such as soft delete for containers, blobs, and file shares.
- Enable all soft delete to recover blobs that are accidentally deleted.
Step 8: Review and Create
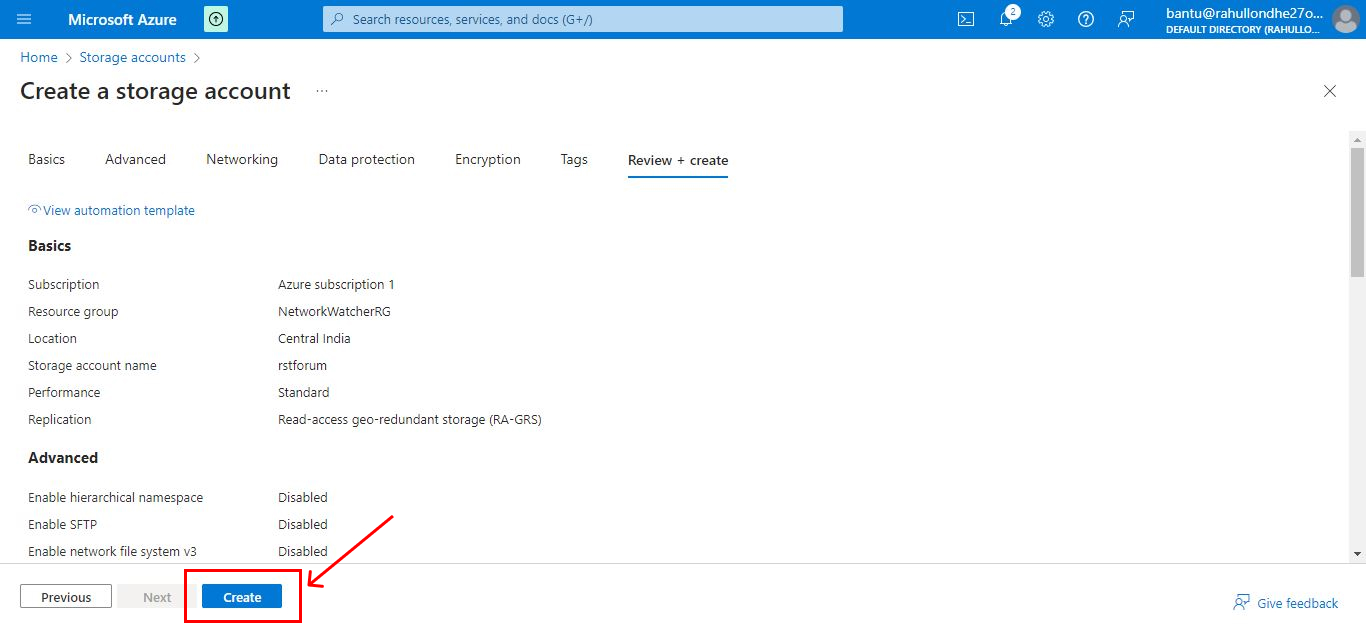
- Click on the Review + create tab to review your storage account settings.
- Ensure all the information is correct. If everything looks good, click the Create button.
Step 9: Monitor the Deployment
- After clicking Create, Azure will begin deploying your storage account.
- You can monitor the progress in the Notifications pane, accessible via the bell icon at the top right of the Azure Portal.
Step 10: Access Your Storage Account
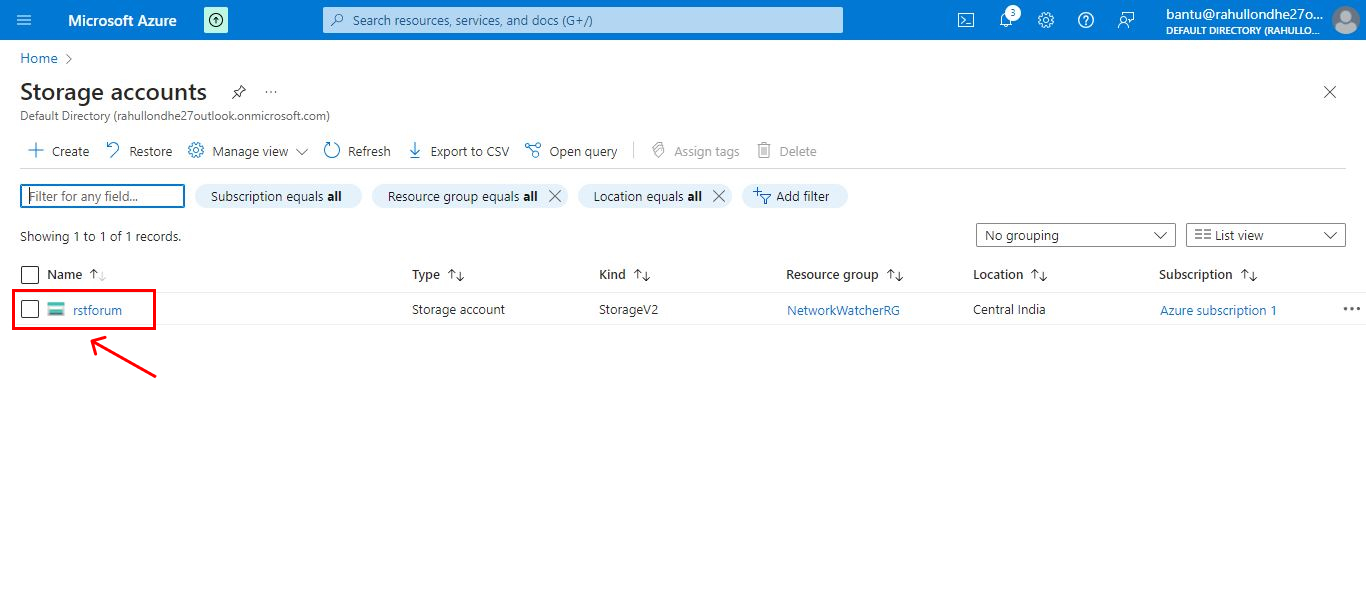
- Once the deployment is complete, navigate back to the Storage accounts service.
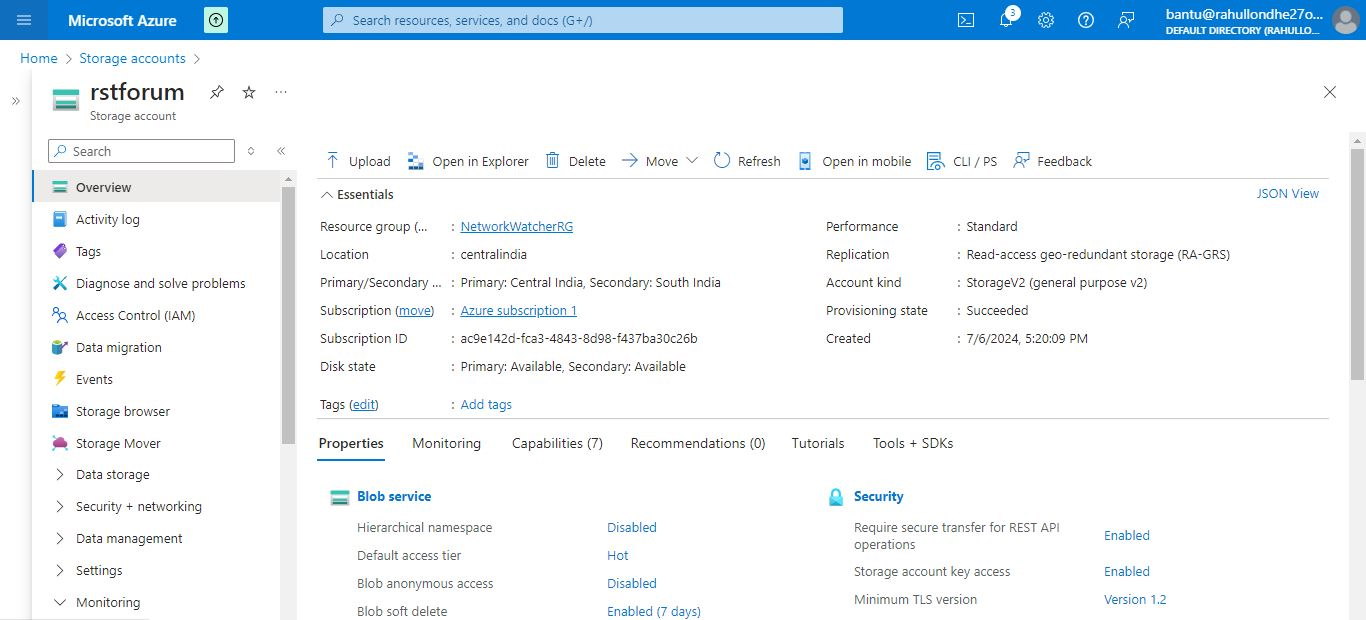
- You will see your newly created storage account listed. Click on it to open its management pane.
- From here, you can configure additional settings, create containers, upload data, and manage access policies.
Conclusion
Creating an Azure Storage Account is a straightforward process that offers a wealth of options to tailor storage solutions to your needs. Whether you're storing large datasets, running virtual machines, or managing logs, Azure Storage Accounts provide a flexible and reliable foundation. By following this guide, you can set up a storage account and begin leveraging the power of Azure's storage services.