Creating and Managing Azure Virtual Machines: A Step-by-Step Guide
Azure Virtual Machines (VMs) offer a scalable computing resource on demand. This guide will walk you through creating an Azure VM with specific configurations, allowing RDP access, and cleaning up resources. Additionally, we'll cover creating another VM with different specifications.
Prerequisites
Before you start, ensure you have:
- An active Azure subscription. If you don't have one, you can create a free account here.
Creating a Virtual Machine
Step 1: Search for Virtual Machines
- Go to the Azure Portal.
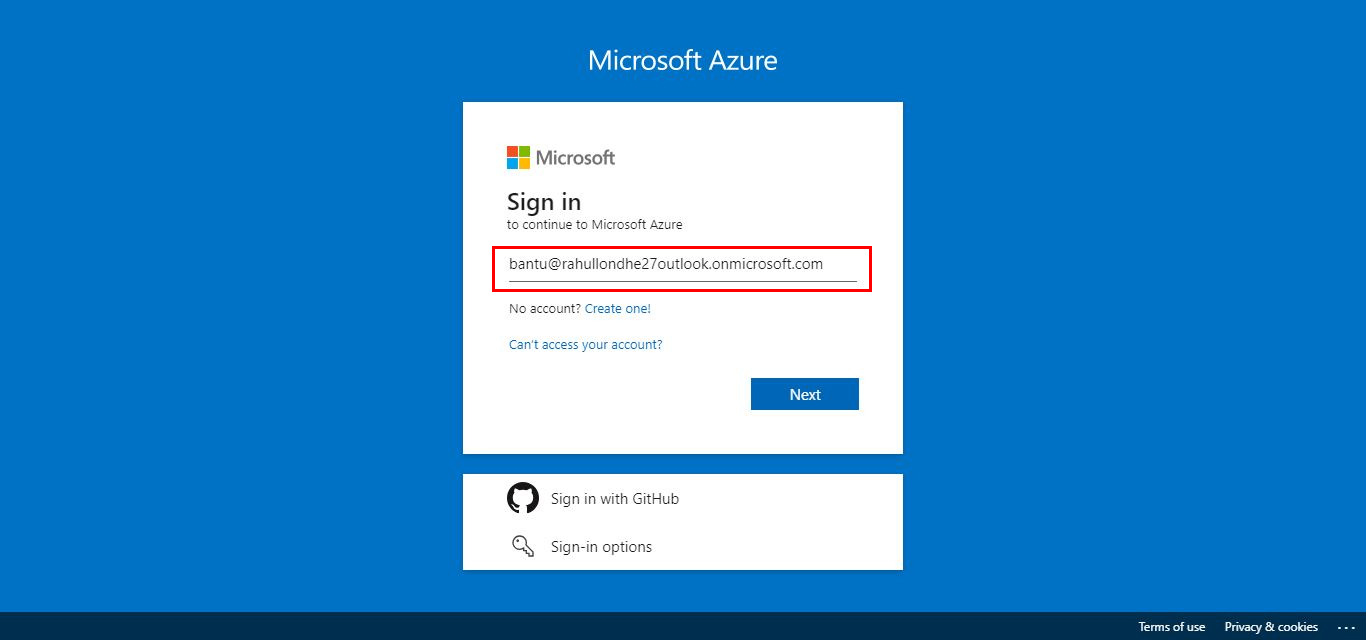
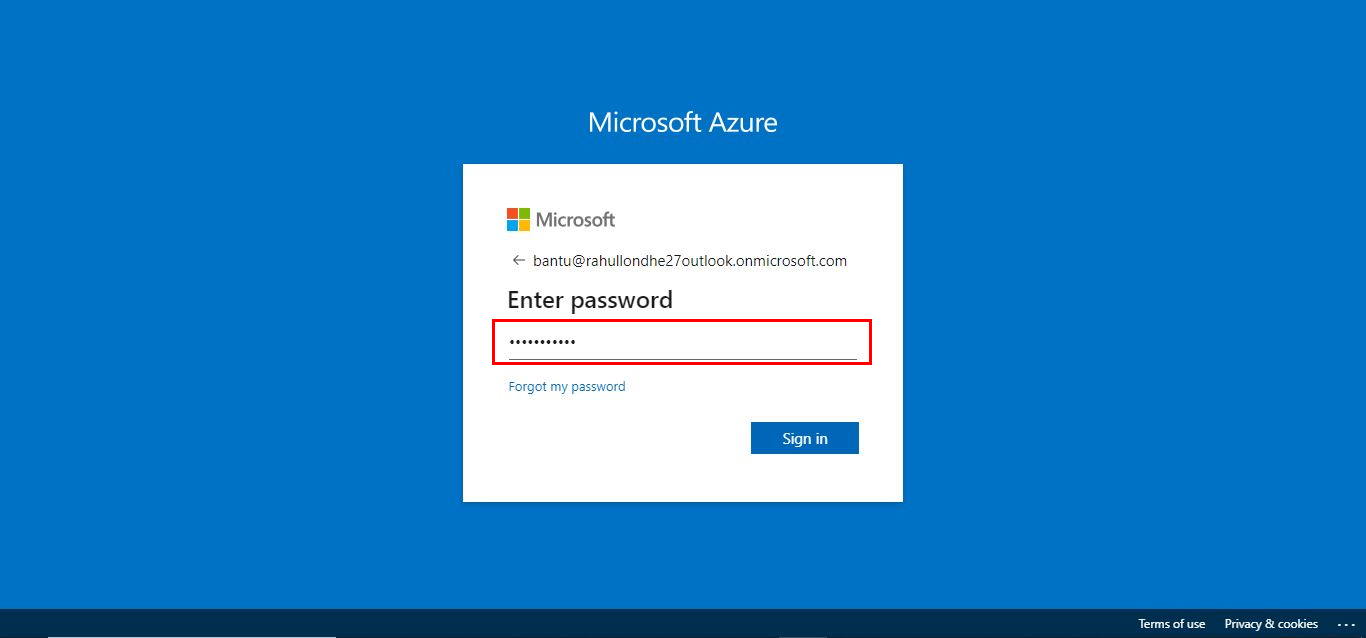
- Sign in with your Azure account credentials.
- In the search bar at the top, type "Virtual machine" and select the suggested option.
Step 2: Initiate VM Creation
- Click on the Create tab on the Azure blade.
- Select Create Azure VM.
Step 3: Provide Mandatory Details
- Resource Group:
- Click on Create Resource Group.
- Name the resource group rst-rg.
- Click OK.
- Instance Details:
- Virtual Machine Name: rst-vm
- Region: East US2
- Availability Option: Select No Redundant Infrastructure
- Image: Select Windows Server 2022
- Size: Select a configuration with 2 vCPU and 16 GiB RAM
Step 4: Administrator Account Details
- Username: Your username
- Password: Your password
Step 5: Allow RDP Inbound Port Rules
- Select Inbound Ports.
- Enable RDP (3389).
Step 6: Configure Networking and Finalize Creation
- Click on Next: Disks.
- Click Next again to proceed to the Networking tab.
- Under Virtual Network, click Create new.
- Name the virtual network rst-vnet.
- Click OK.
- Click Next to proceed to the Review + create tab.
- Review the configuration and click Create.
- Wait approximately 2 minutes for the VM to be created.
Step 7: Connect via RDP
- Once the VM is created, select it from the Azure portal.
- Click Connect and download the RDP file.
- Use an RDP client to connect to the VM using the provided credentials.