Create an Azure Virtual Network (VNet)
Azure Virtual Network (VNet) is a fundamental building block for your private network in Azure. It enables many types of Azure resources, such as Azure Virtual Machines (VM), to securely communicate with each other, the internet, and on-premises networks. In this article, we'll guide you through the steps to create an Azure VNet.
Prerequisites
Before you start, ensure you have:
- An active Azure subscription. If you don't have one, you can create a free account here.
Creating a VNet
Step 1: Sign in to Azure Portal
- Go to the Azure Portal.
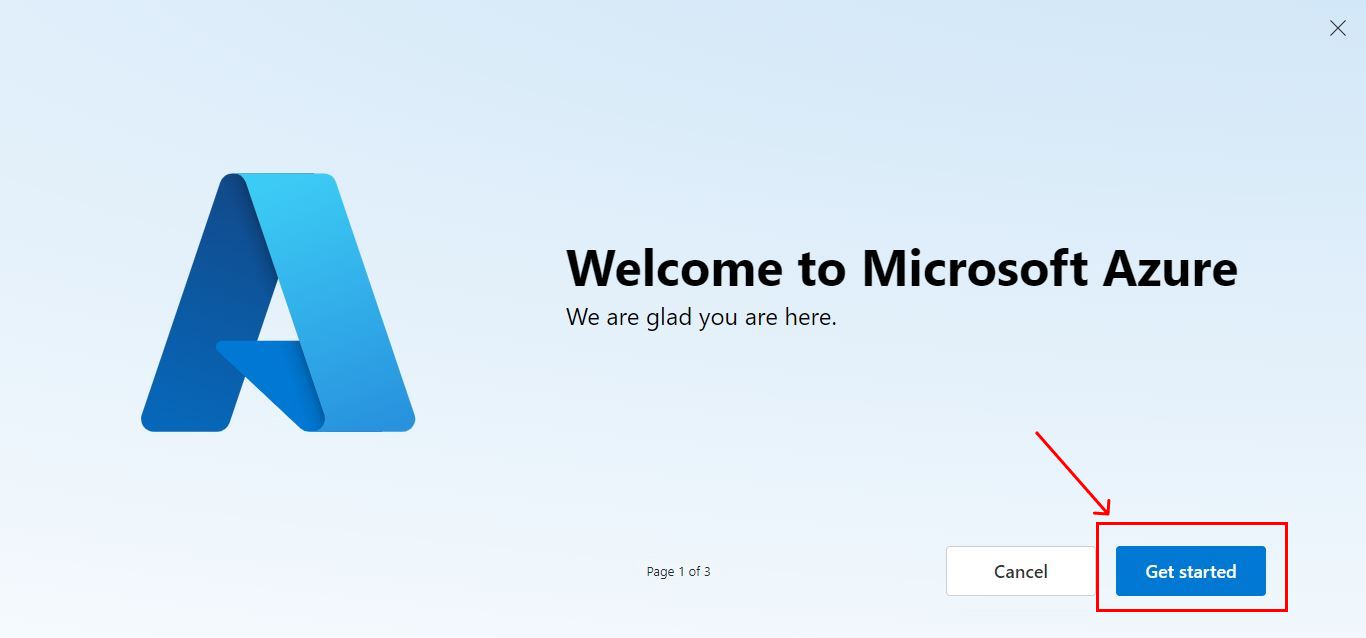
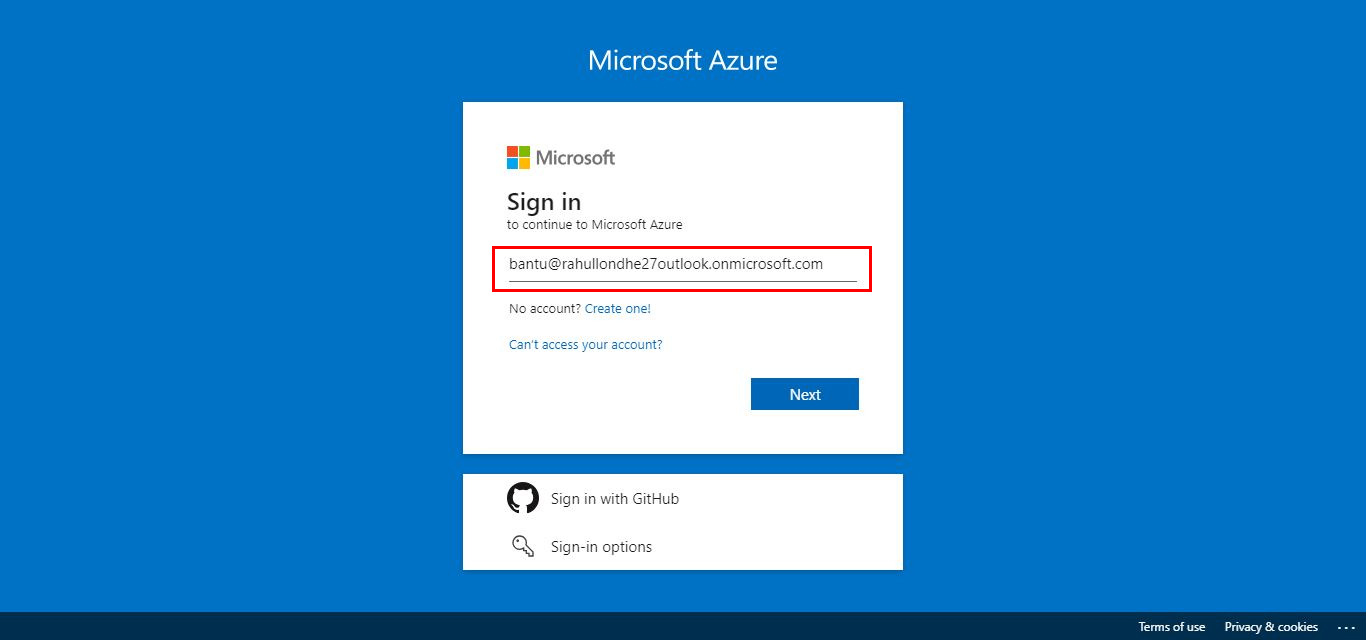
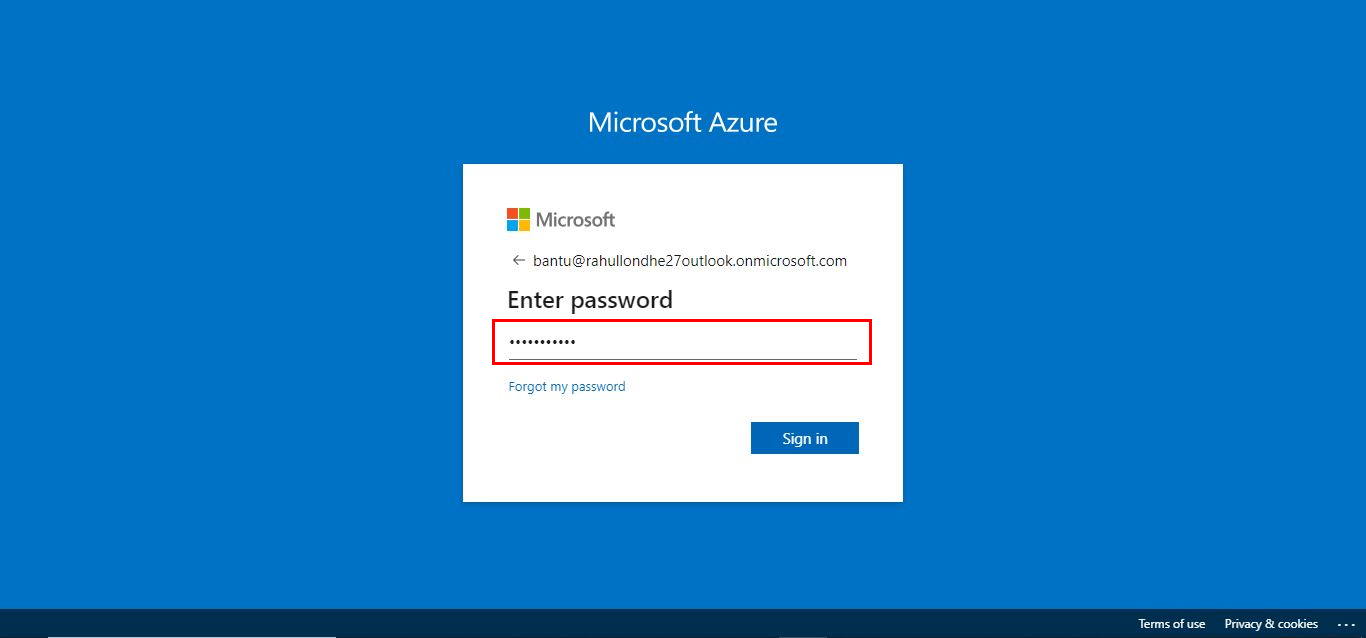
- Sign in with your Azure account credentials.
Step 2: Create a Resource Group
A resource group is a logical container for Azure resources. You need to create one if you don't already have one.
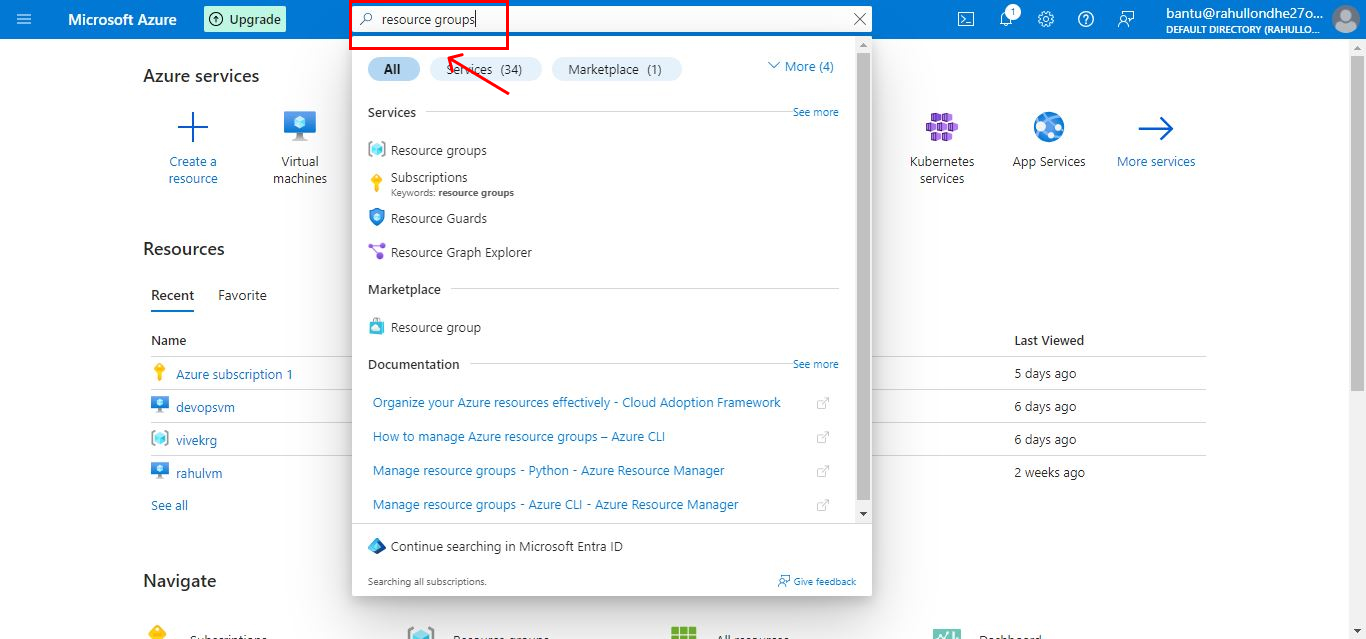
- In the Azure Portal, search for "Resource groups" in the top search bar.
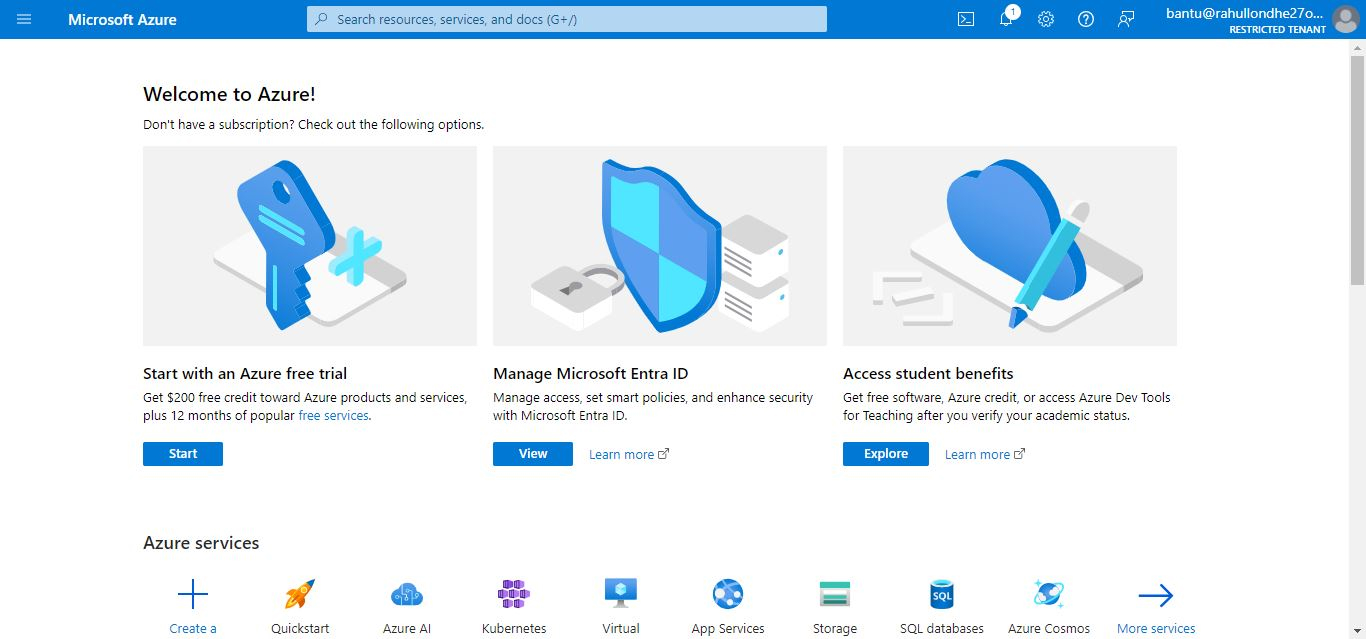
- Click on "Resource groups" in the search results.
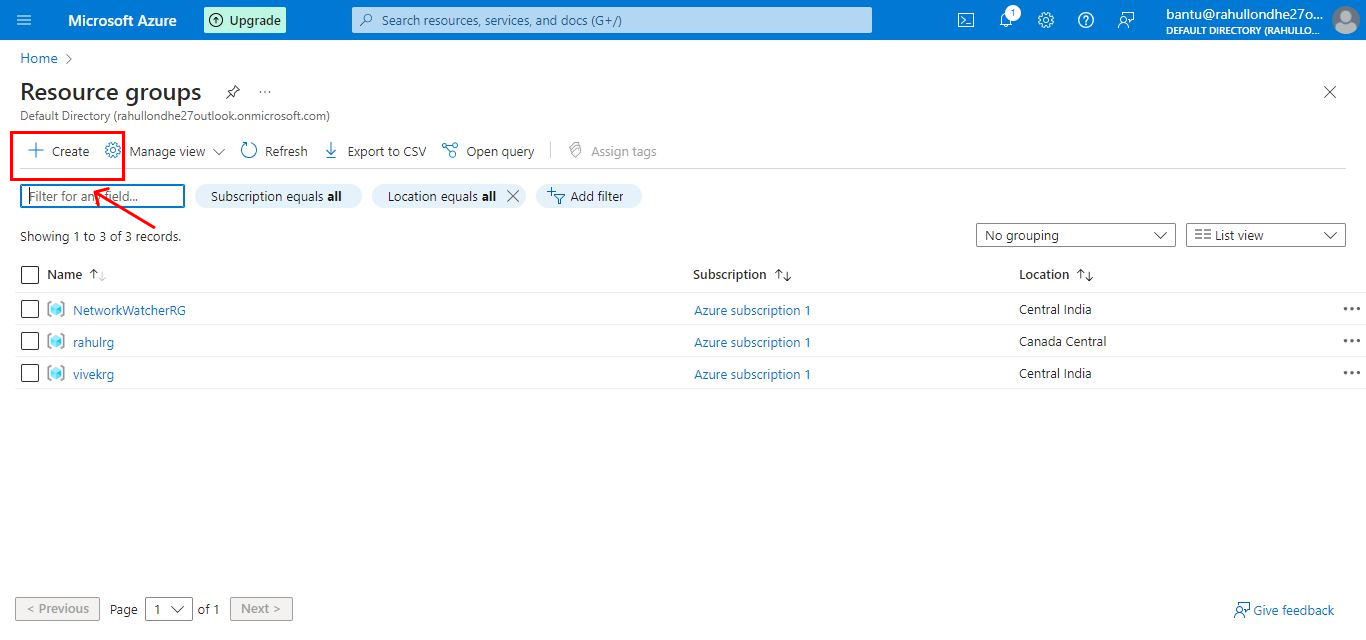
- Click the "Create" button.
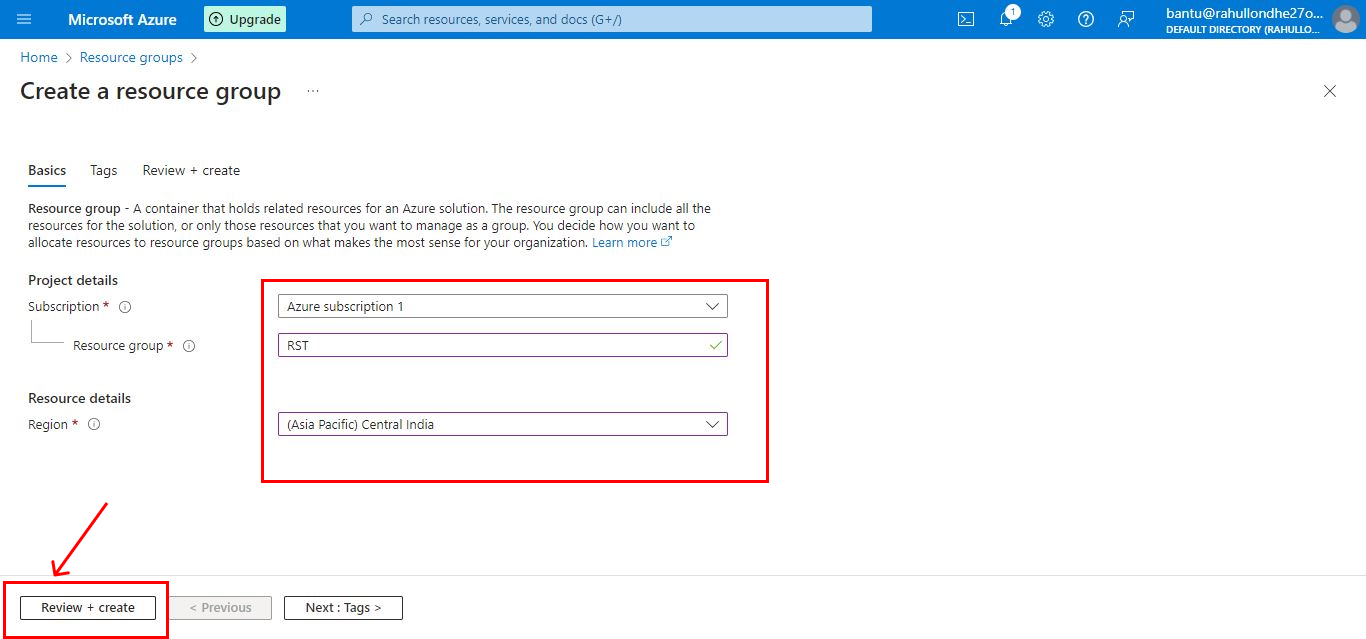
Fill in the required details:
- Subscription: Select your subscription.
- Resource group: Enter a name for your resource group.
- Region: Select a region (e.g., East US).
Click "Review + create".
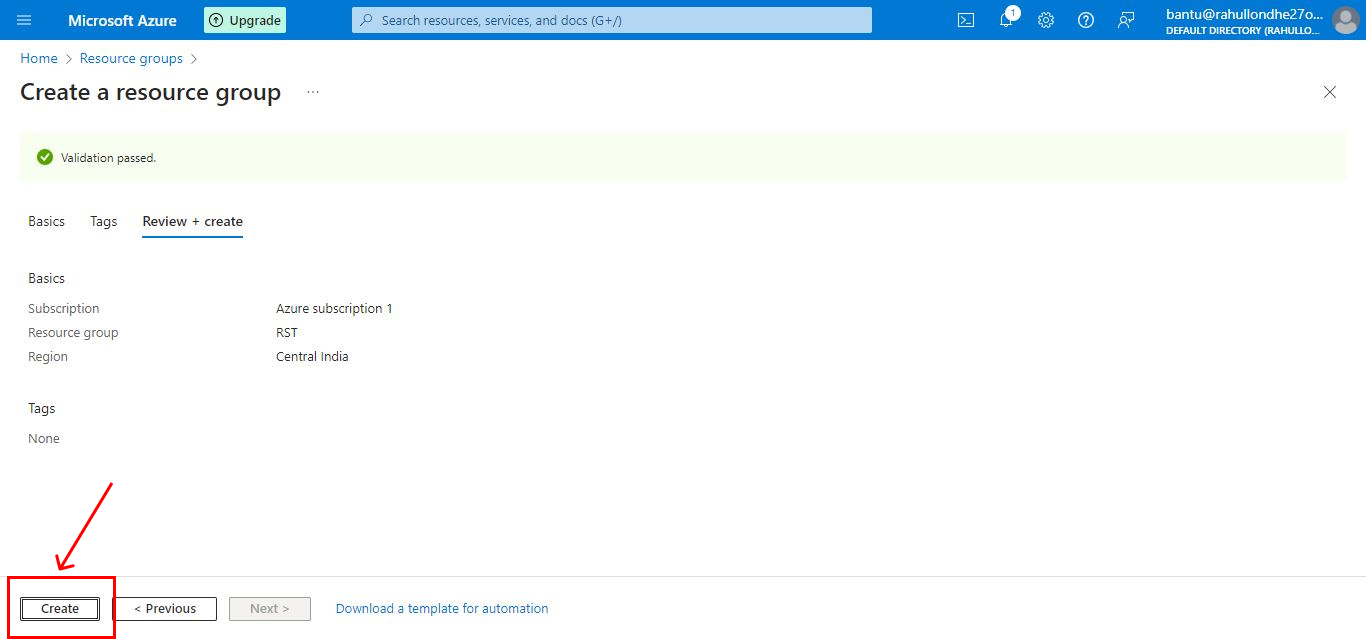
- Click "Create".
Step 3: Create the VNet
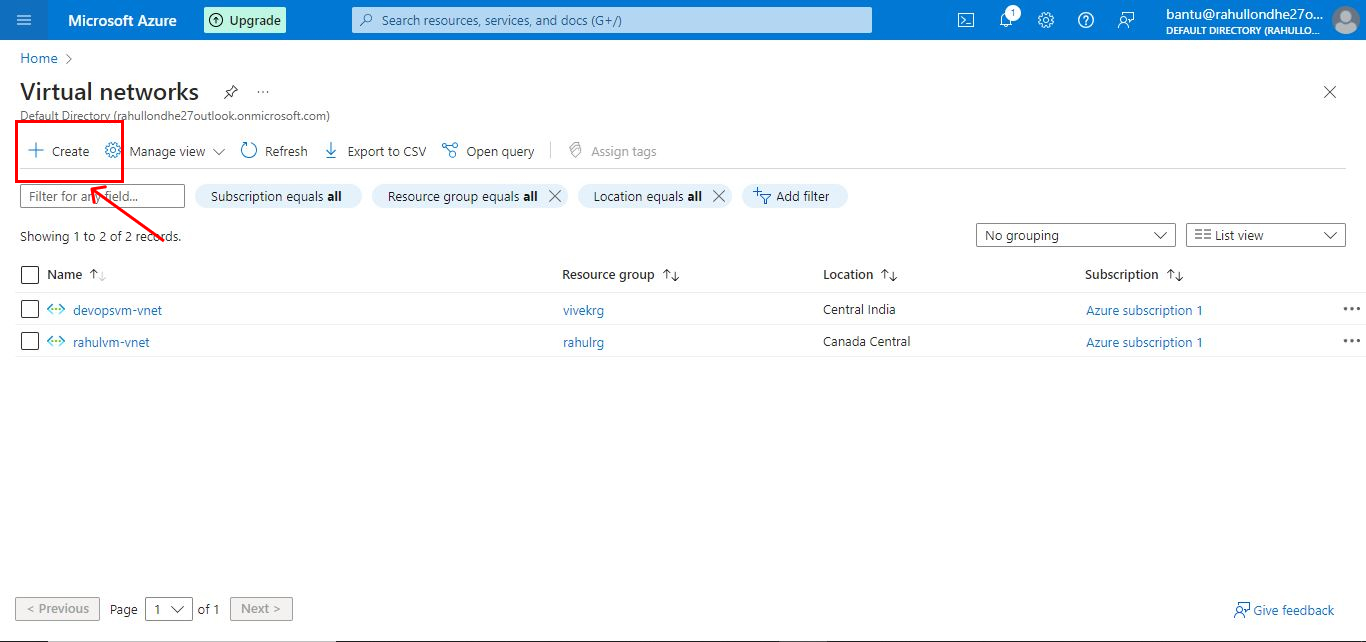
In the Azure Portal, search for "Virtual networks" in the top search bar.
Click on "Virtual networks" in the search results.
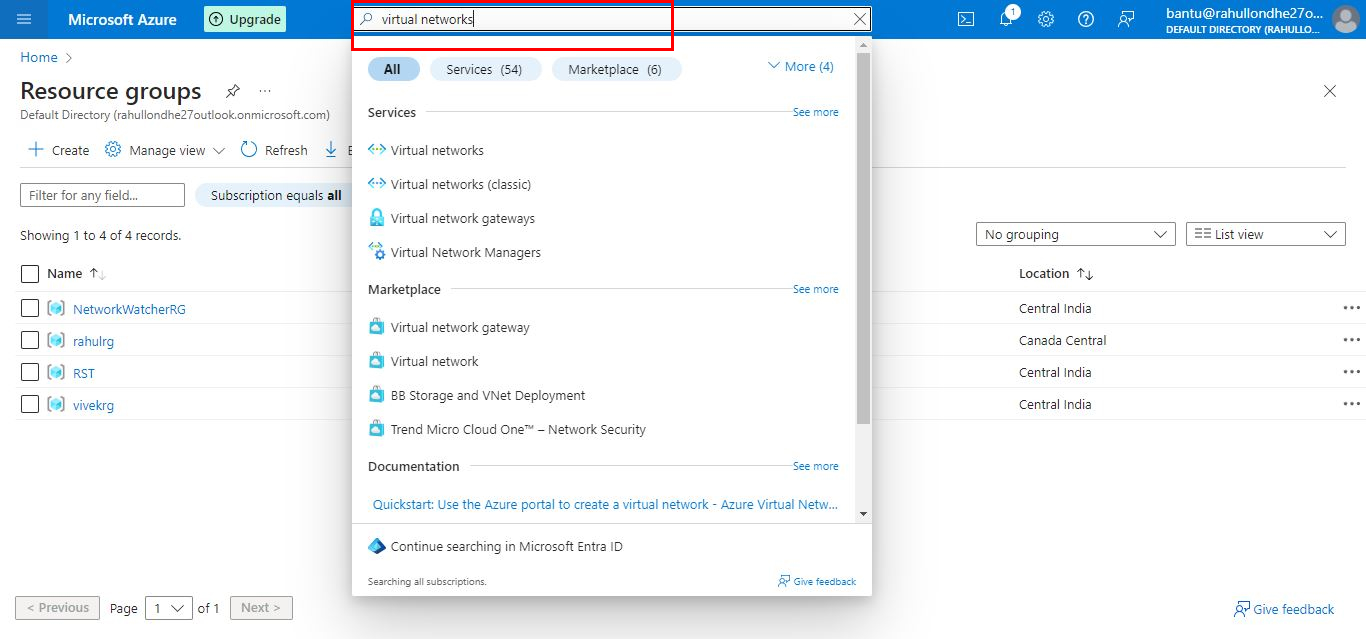
- Click the "Create" button.
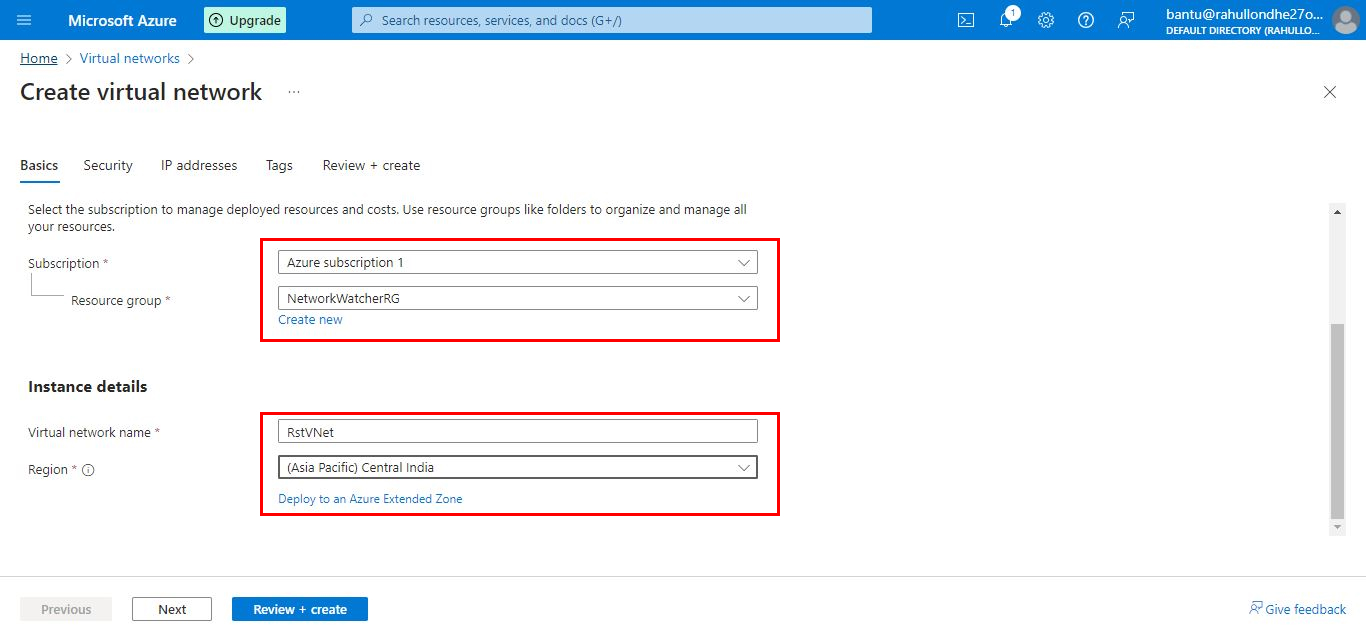
- Fill in the required details under the "Basics" tab:
- Subscription: Select your subscription.
- Resource group: Select the resource group you created earlier.
- Name: Enter a name for your VNet (e.g., MyVNet).
- Region: Select the same region as your resource group.
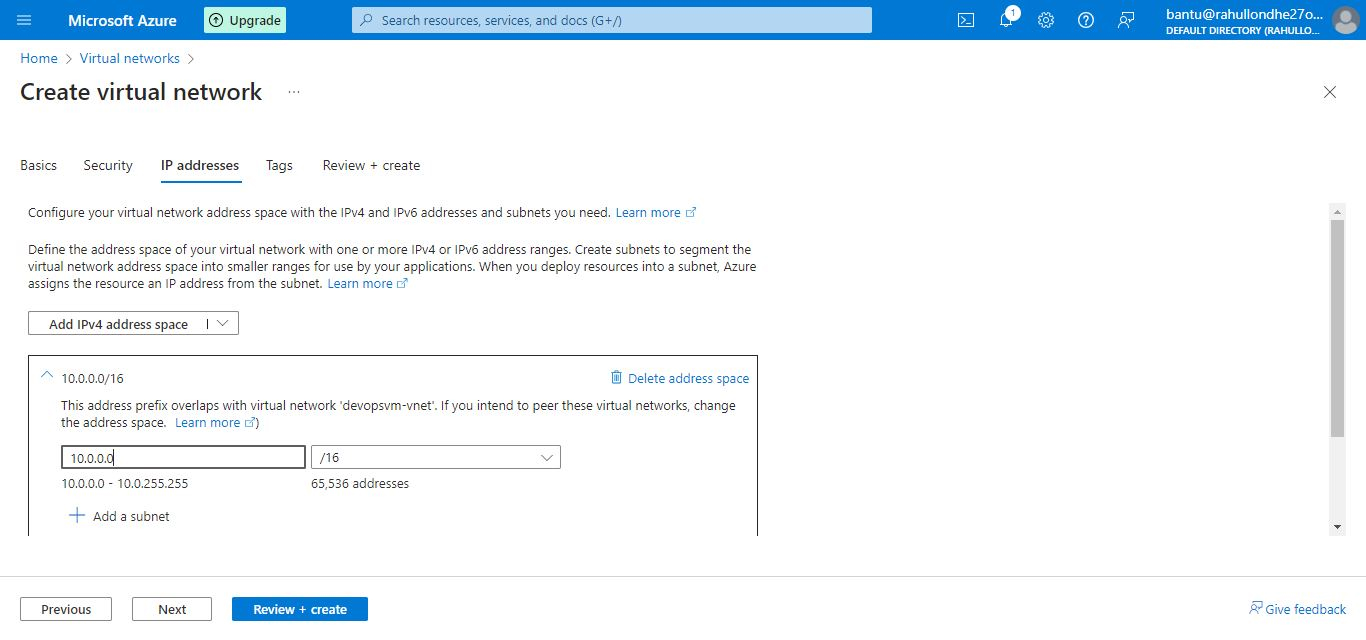
- Click on the "IP Addresses" tab.
Step 4: Configure Subnets
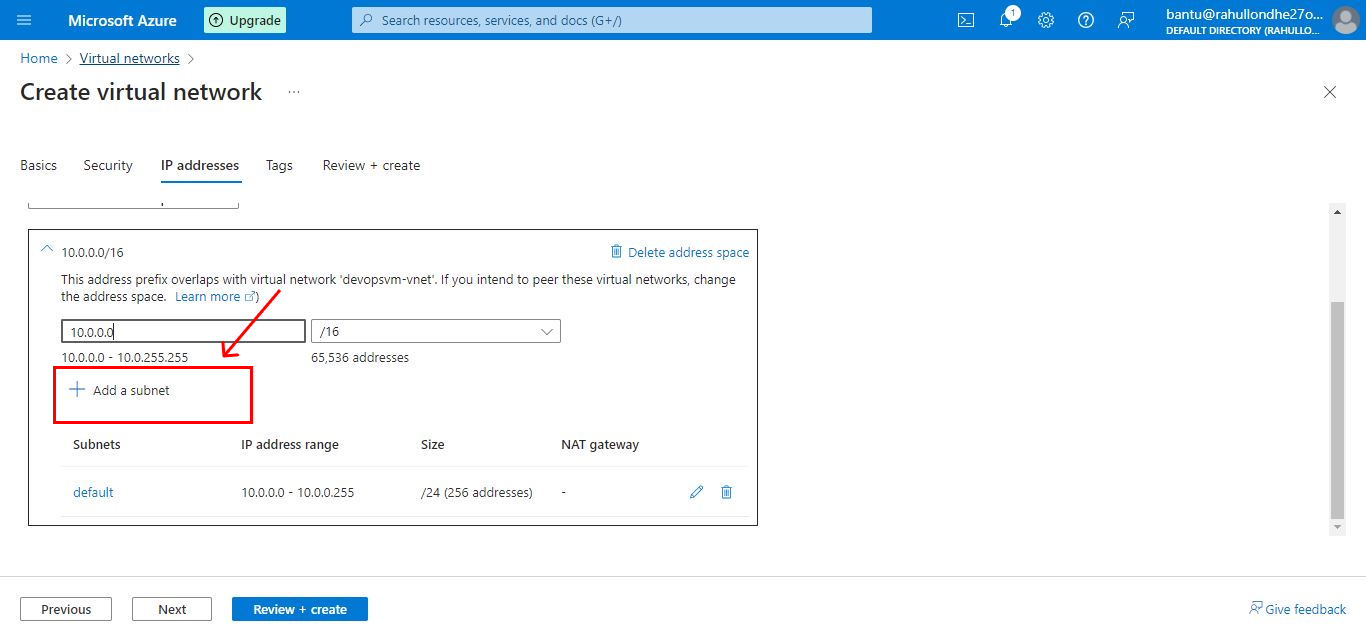
- Under the "IP Addresses" tab, you will see an option to add an address space. Enter your address space in CIDR notation (e.g., 10.0.0.0/16).
- Scroll down to the "Subnets" section and click "Add a Subnet."
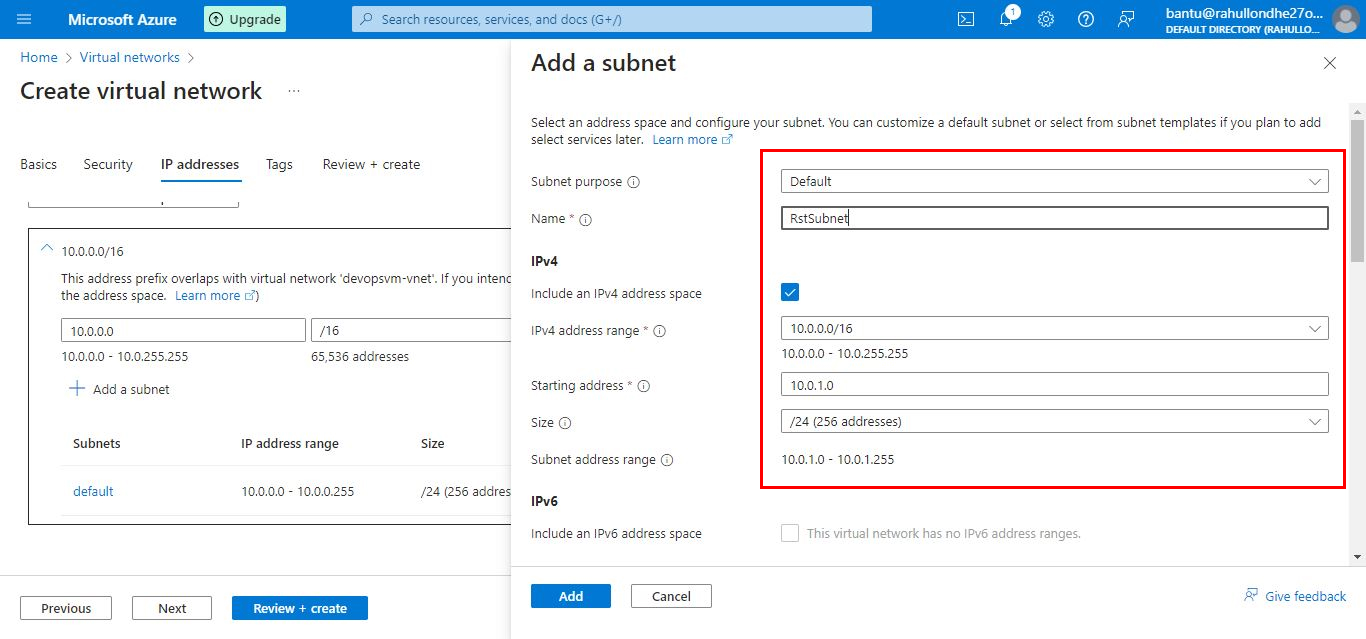
Fill in the required details:
- Subnet name: Enter a name for your subnet (e.g., MySubnet).
- Subnet address range: Enter an address range for your subnet in CIDR notation (e.g., 10.0.0.0/24).
Click "Add".
Step 5: Review and Create
- Click on the "Review + create" tab.
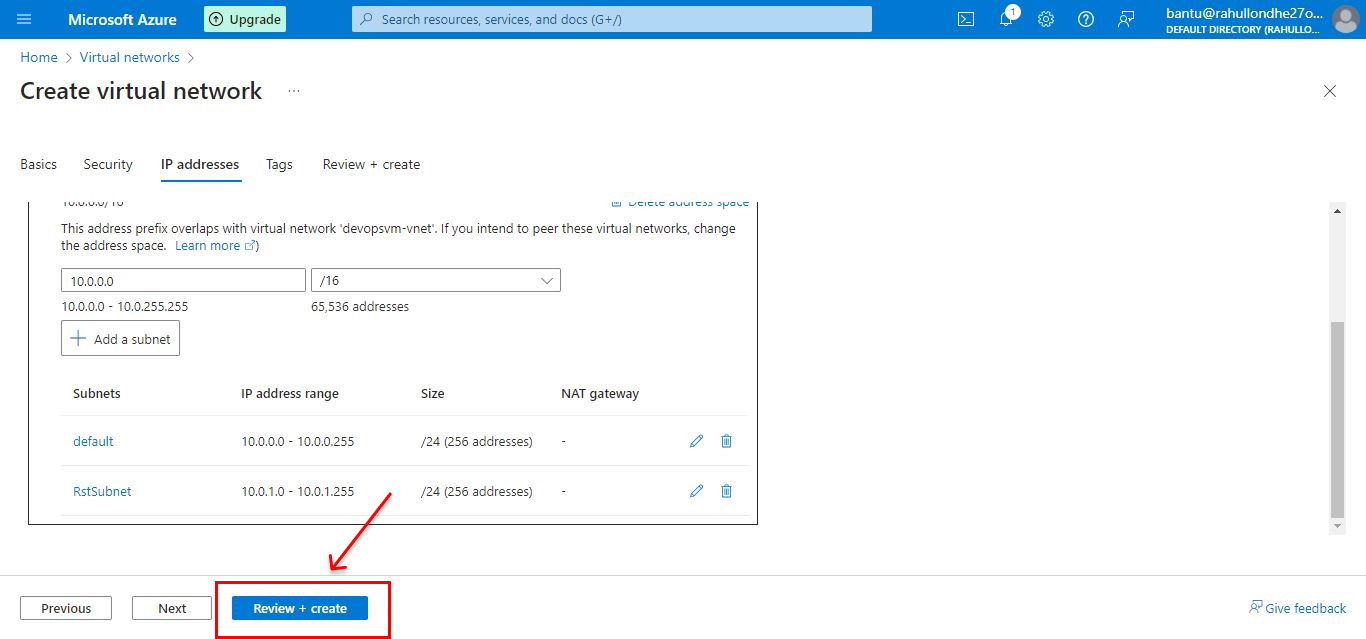
- Review the configuration details.
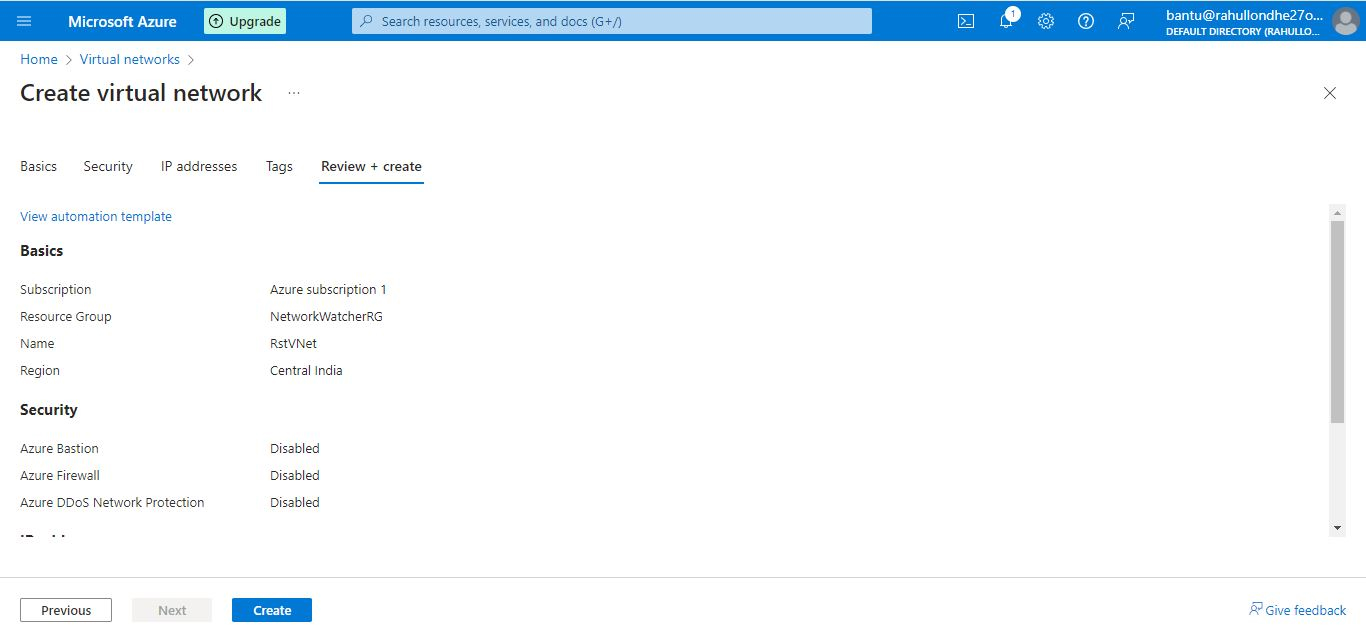
- Click "Create" to create the VNet.
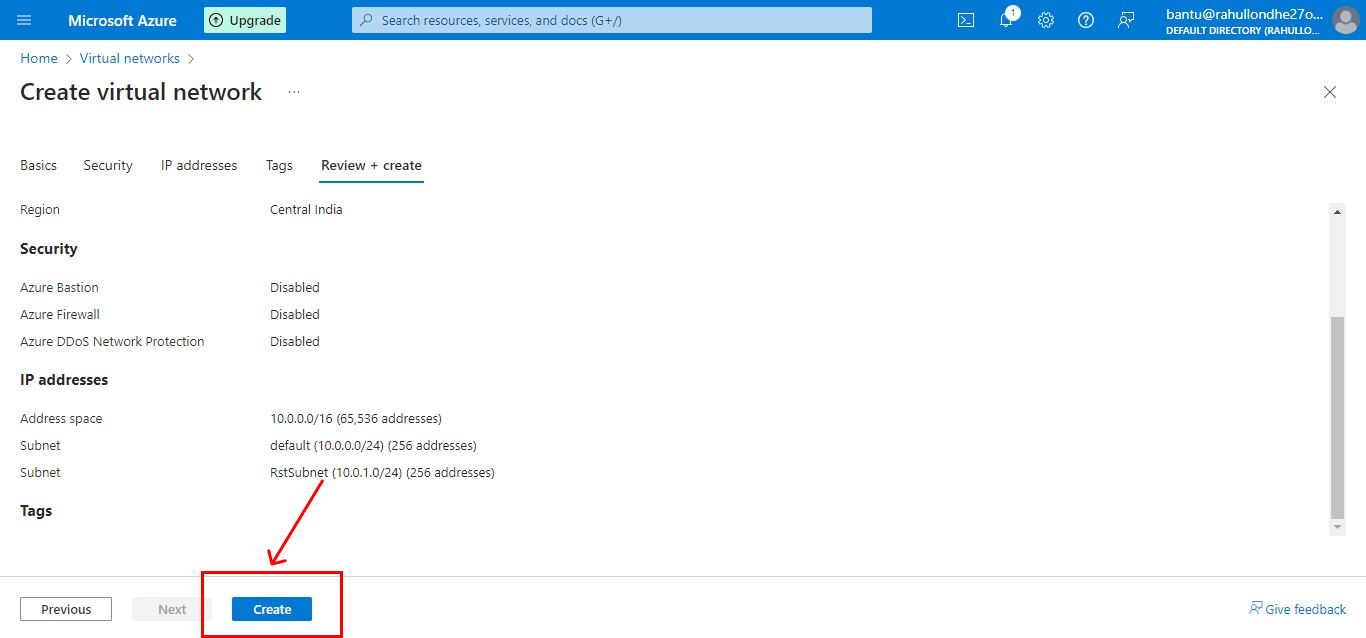
Verification
To verify that your VNet has been created:
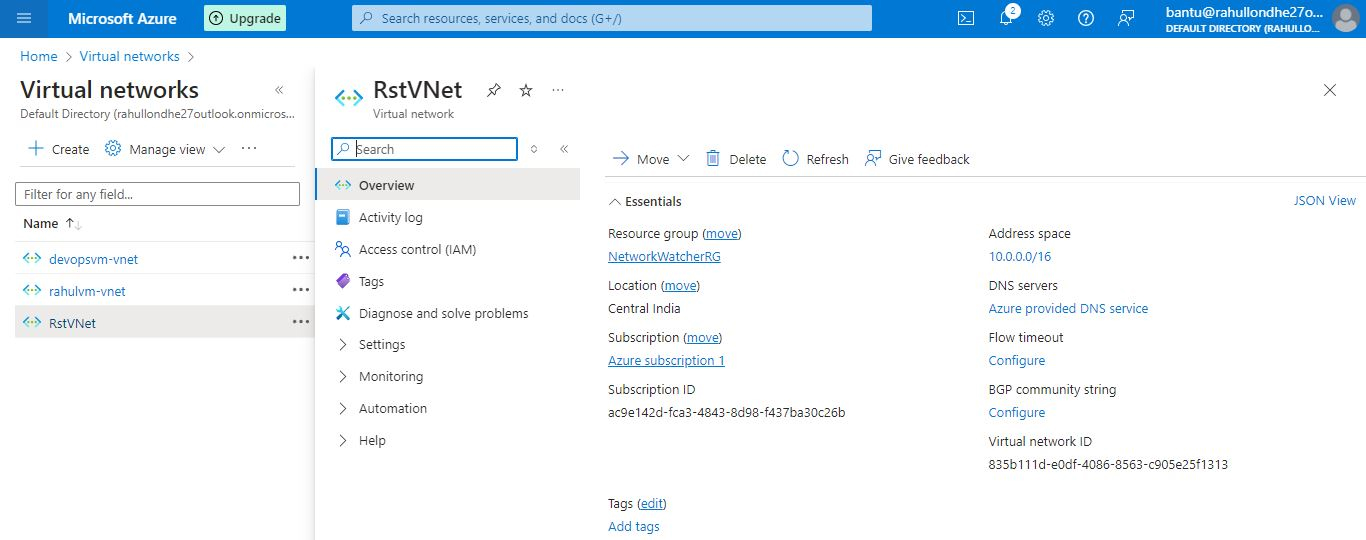
- Navigate to "Virtual networks" in the Azure Portal.
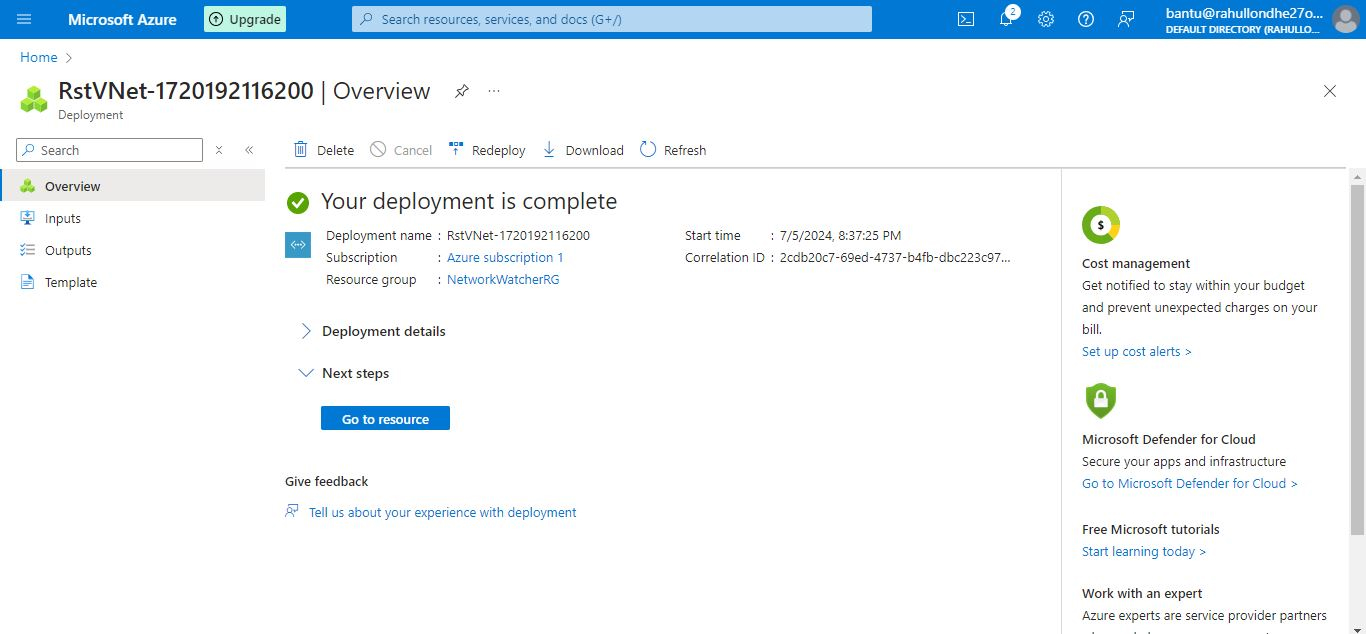
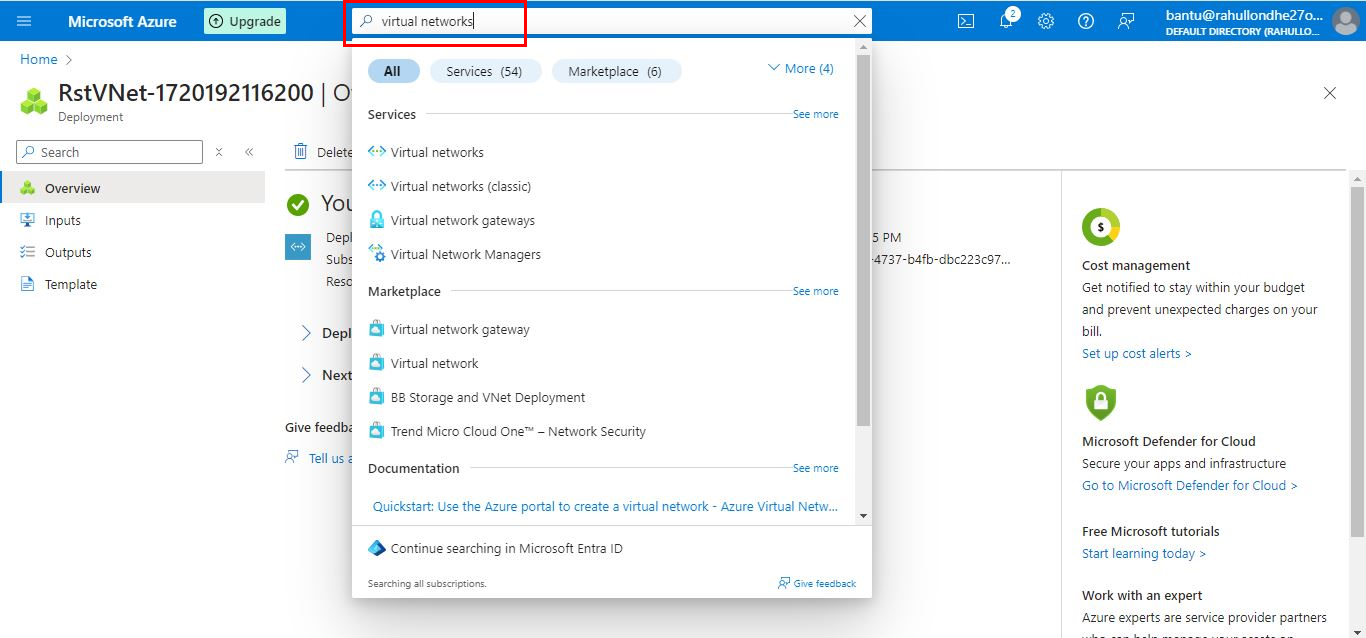
- Find and click on the VNet you created.
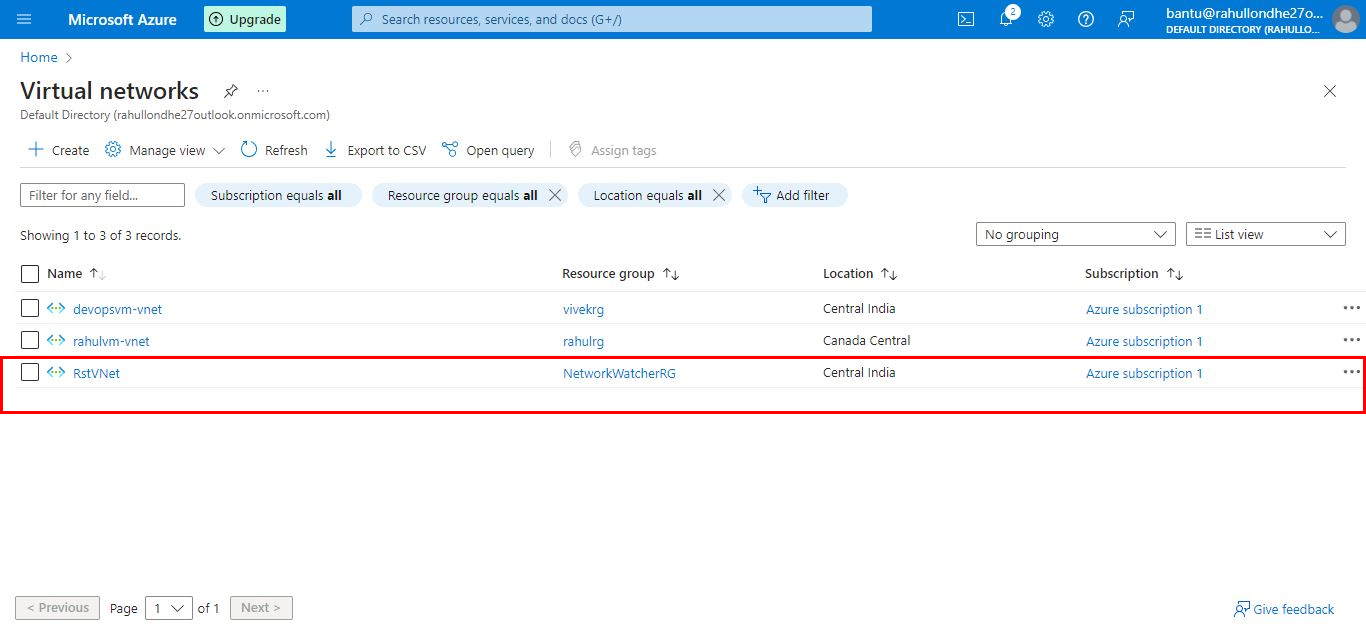
- Check the overview and settings to ensure all configurations are correct.
Conclusion
Creating a VNet in Azure is a straightforward process that involves setting up a resource group, configuring address spaces and subnets, and verifying the setup. This guide covered the essential steps to get you started with Azure VNets, a crucial component for networking in Azure. Whether you're setting up a simple network or preparing for more complex architectures, understanding VNets is fundamental for managing your Azure resources effectively. By following these steps, you should now have a functional Azure Virtual Network. From here, you can explore further configurations such as network security groups, peering, and more to enhance your network's capabilities and security.